Extracting Data Using Amazon S3
Prior to setting up data extraction familiarize yourself with the latest implementation notes at Amazon S3 Connector.
To set up connection details
- On the Home page select a space or create a new one. This is the space to which the data will be extracted.
- Go to Admin - Define Sources - Application Connectors. Alternatively, click the Use Extractors link on the Admin Navigation page.
- Click New
in the Connections panel.
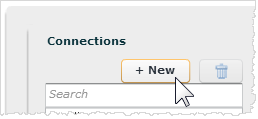
The Connection Details panel opens.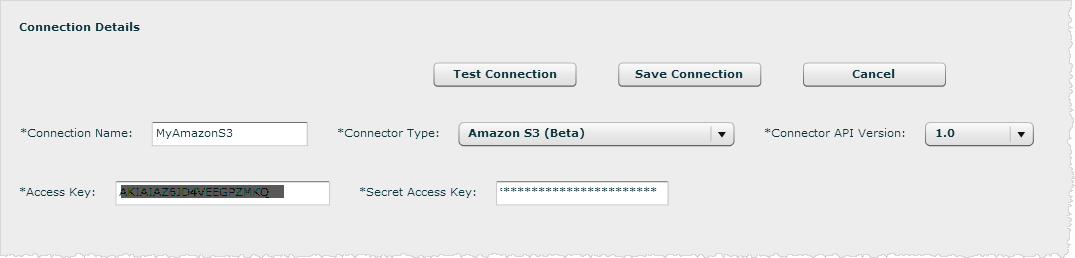
- In Connection Details panel name the connection.
- Select Amazon S3 as the Connector Type.
- Enter the Access Key.
- Enter the Secret Access Key.
- Click Test Connection.
- If the connection validates, click OK. If not, check your S3 credentials and try again. Make sure you have access to and the keys for an S3 bucket.
- Click Save Connection.
The new connection displays in the Connections panel.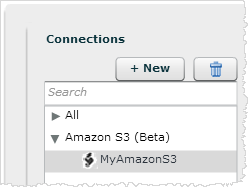
Also, the Data Sources panel appears under the Connections panel. This panel will list the extraction objects you define in the next steps.
To configure data source extractions
Extraction objects help you organize the extracted data.
- Select the connector from the Connections list.
- Click Add
Object.
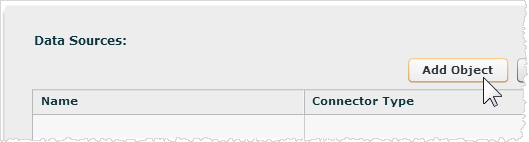
The dialog prompts you for information needed to create a new Data Sources extraction object. This object holds data extracted from S3. - Enter a unique Object
Label to use as the name in Birst.
Important: Do not use the same name as an existing saved object from this or any other connector. It must be unique within a Birst space. Important: This connector does not support the Source File Prefix, even though the field is shown in the UI. - Select a bucket from the list of buckets that you have access to in S3.
- Click Get Files.
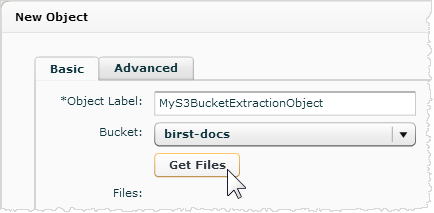
The connector lists the files in the bucket. - Select the file or files you want.
Tip: This is different than Birst Connect, which can only extract one file.Optionally, set up wildcard matching for extracting from multiple files that have similar names. The Prefix is a string that is the beginning of the file name. The Delimiter is a character that groups the file names that start with the prefix and contain the delimiter. For example if you have 20 files that all have a name matching "MyCo_<Timestamp>", you can extract them all by giving "MyCo" as a prefix and "_" as Delimiter. Then when you click Get Files, you can select "MyCo_*" to extract all files that match the pattern. Optionally, you can expand "MoCo_*" to see which files currently match the pattern. If you do this you do not have to select each file from the Files list. The connector will also extract files with this pattern that are added in future. Note: The plus (+) and asterisk (*) symbols will not work in prefixes or delimiters for Amazon S3 Connector objects.
To view only files starting with a given string and select files individually, use Prefix and leave the Delimiter blank. Doing this will give you only the files that start with the Prefix string without grouping them.
- Optionally, click the Advanced tab to set the following:
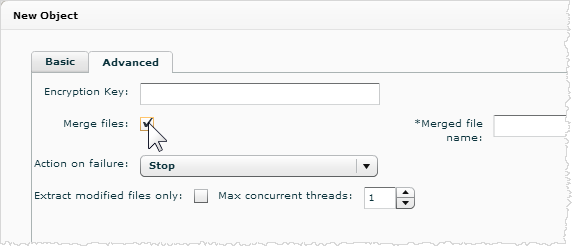
- Encryption Key: If the files are encrypted using a custom S3 encryption key, enter the key.
- Merge files: If you want to concatenate multiple source files into one extraction object, click this option. Then enter a file name for the merged file.
- Action on Failure: If you are extracting from multiple files, and if there is a problem with a file, you can set whether the connector will ignore the failure and move on to the next file, retry once and then stop if the retry does not succeed, or just stop.
- Extract modified files only: Extract only those files that have been modified on S3. The connector uses the timestamp on S3 to determine whether changes have occurred.
Tip: Edit the extraction object to use this setting only AFTER extracting the file the first time. - Max concurrent threads: Select how many files to extract at the same time. By default one file is extracted at a time.
- Click Validate.
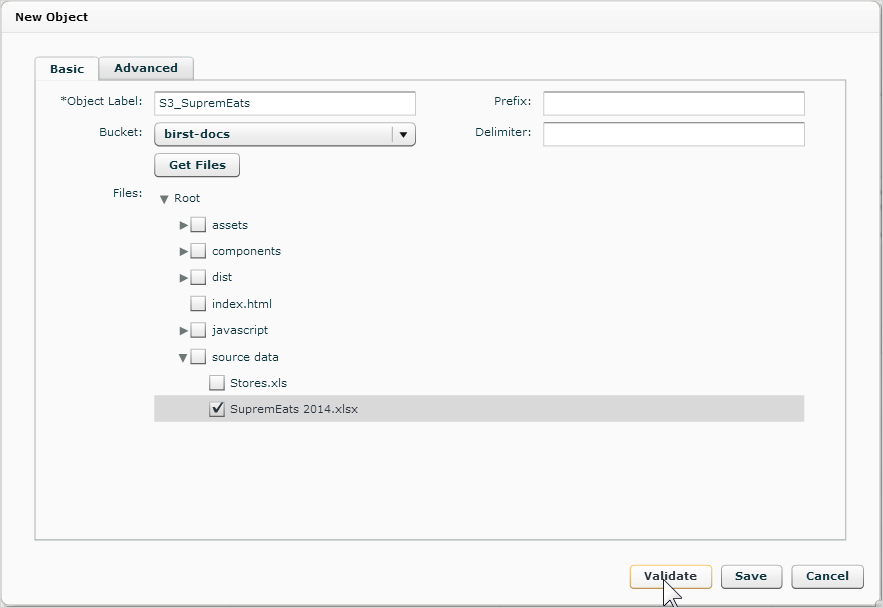
The connector checks the file for any incompatibilities. - In the Object Validated message, click OK.
- Click Save.
- The connector lists the file or files in the Data Source tab.
- There is one data source for each file.
- Optionally,
select the row and enter the name of one or more extract groups, separated
by commas, in the Extract Group Name(s) field. Extract groups make it
possible to extract specific objects and process them separately
from other objects. See Creating
Extract Groups.
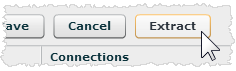
Click Save after adding extract group names. - Click Extract to import the data into Birst.
If you did not previously assign one, the connector prompts you for an extract group. Normally you can use the default.
The extraction proceeds.
Tips:
- You can safely log out of Birst while the extraction takes place and log back in later.
- To cancel the extraction, click the Cancel Extract link under the progress bar. If there are multiple files, the connector will finish processing the current file and then stop.
- Click the Last Extract Log link to view the logs from the data extraction and check for errors.
- To remove an object from the Data Sources list, select the row and click Remove on the right.
Next Steps
- Look at the raw data in Manage Sources page. Iterate the extraction process, if needed, to get the data you expect.
- Process the data in the Process Data - Process New Data page. See Processing Data.
- Set up scheduling in the Process Data - Schedule Data Processing page. See Scheduling Extraction and Data Processing for Cloud Applications.