Use a Networked Source
Once a Network has been created, users can access it from Connect. For information on creating a network, see Create a Network.
Note: Both networks and packages are accessible from the Modeler Connect page.
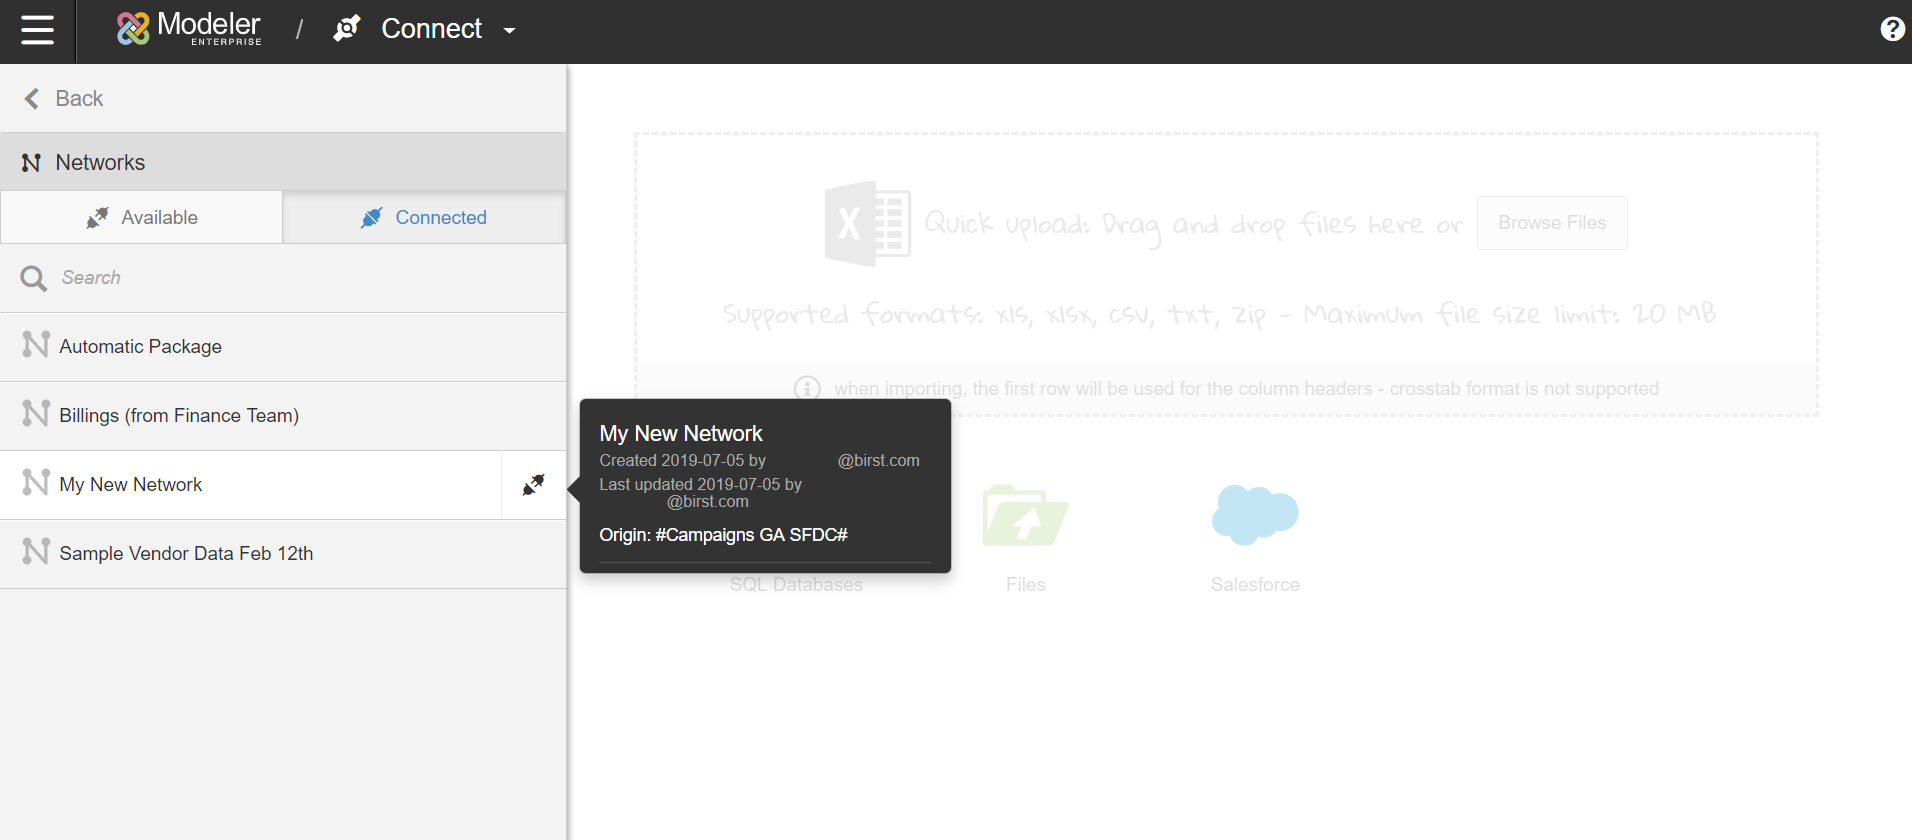
- From Modeler Connect, click the ... icon and select Networks.
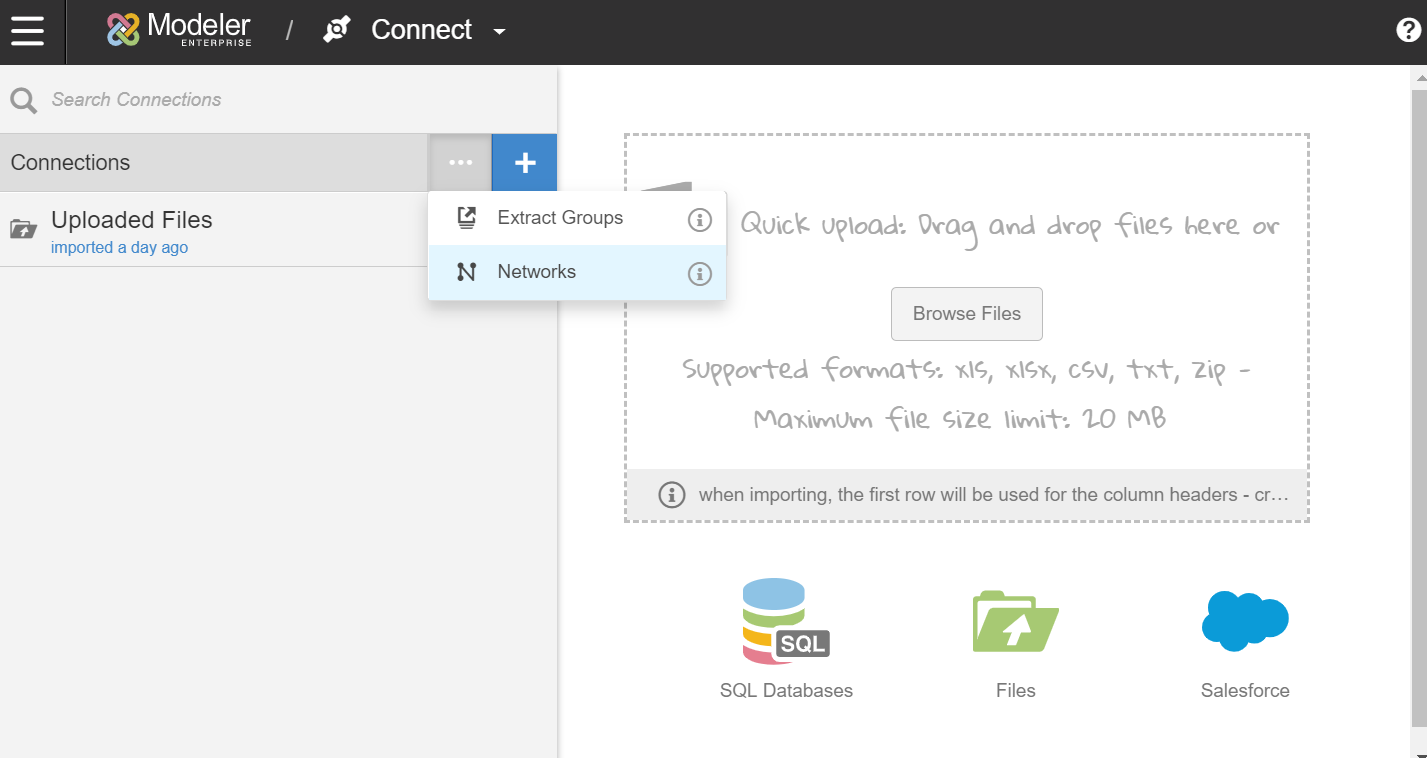
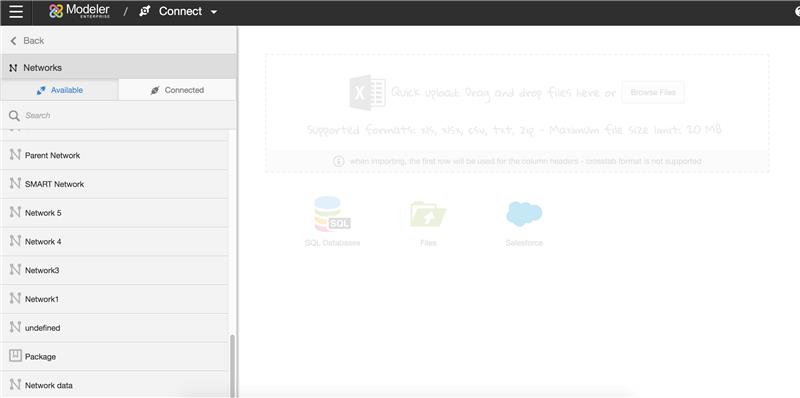
- Select from the list of available networks and packages. Networks and packages have different icons.
- Select the Connect icon. This will connect the network to your space.
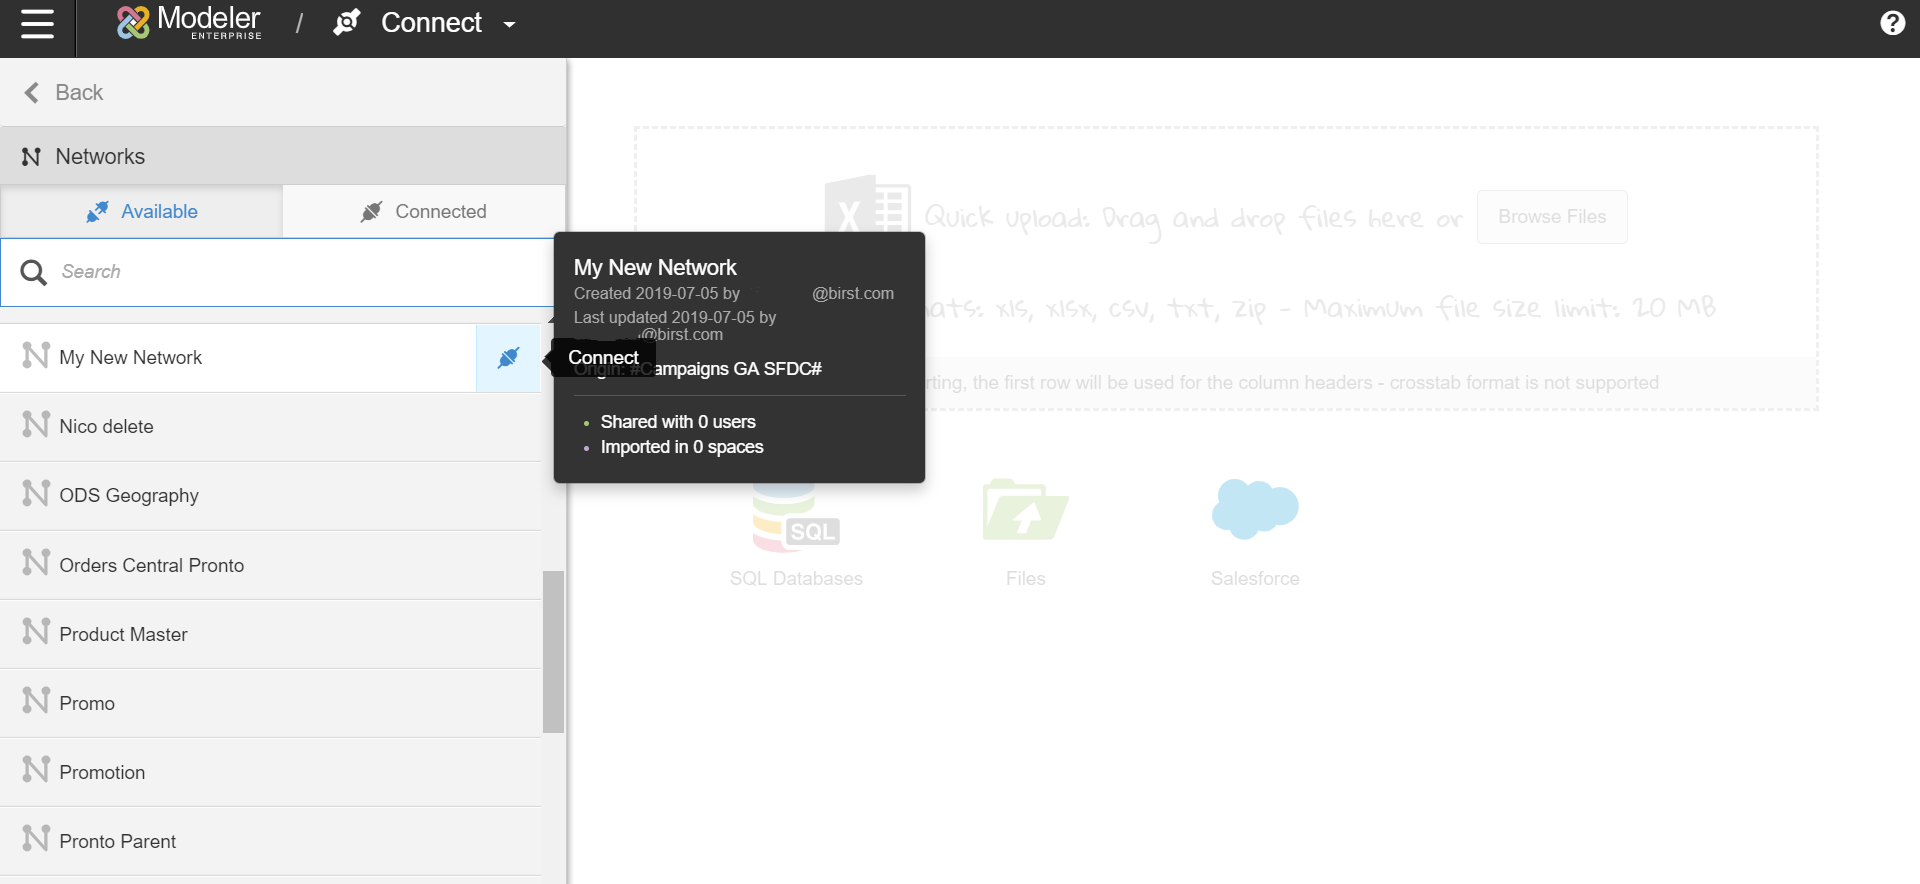
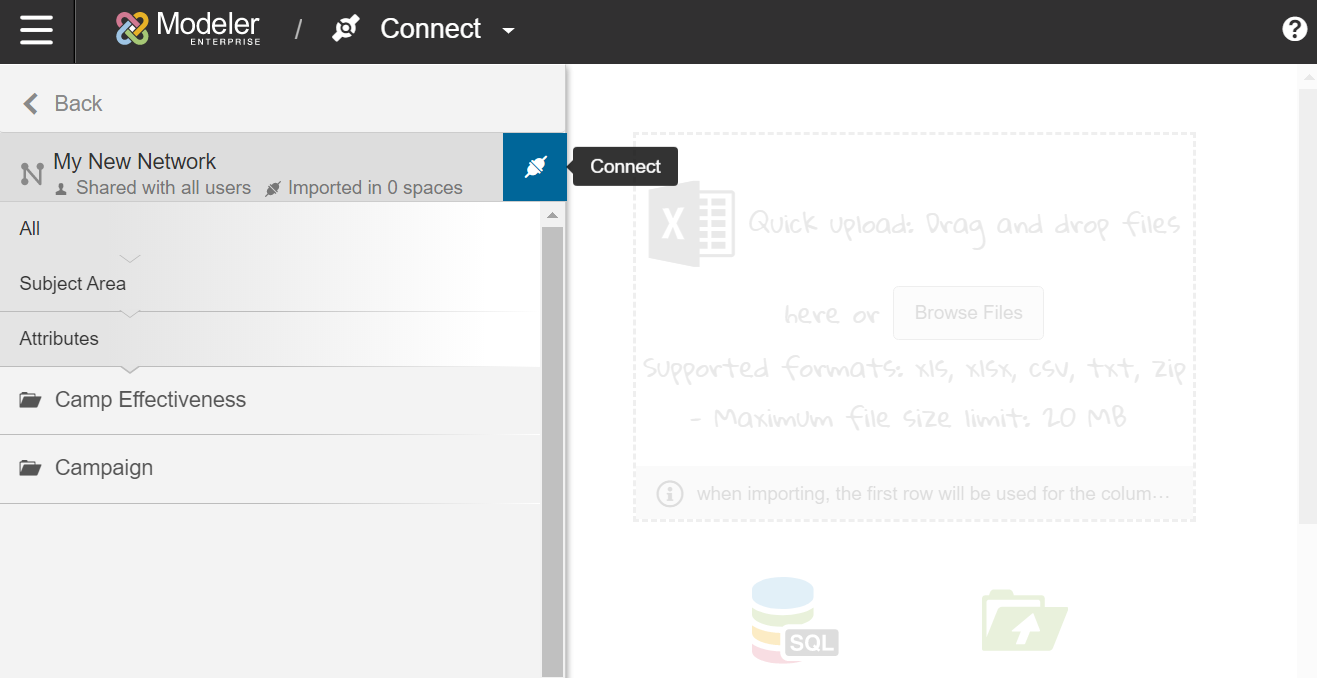
- If you would like to preview the shared items, click on the network and then click Connect.
- The network will now appear under your Connected tab. You can disconnect from a network by clicking the Disconnect icon.
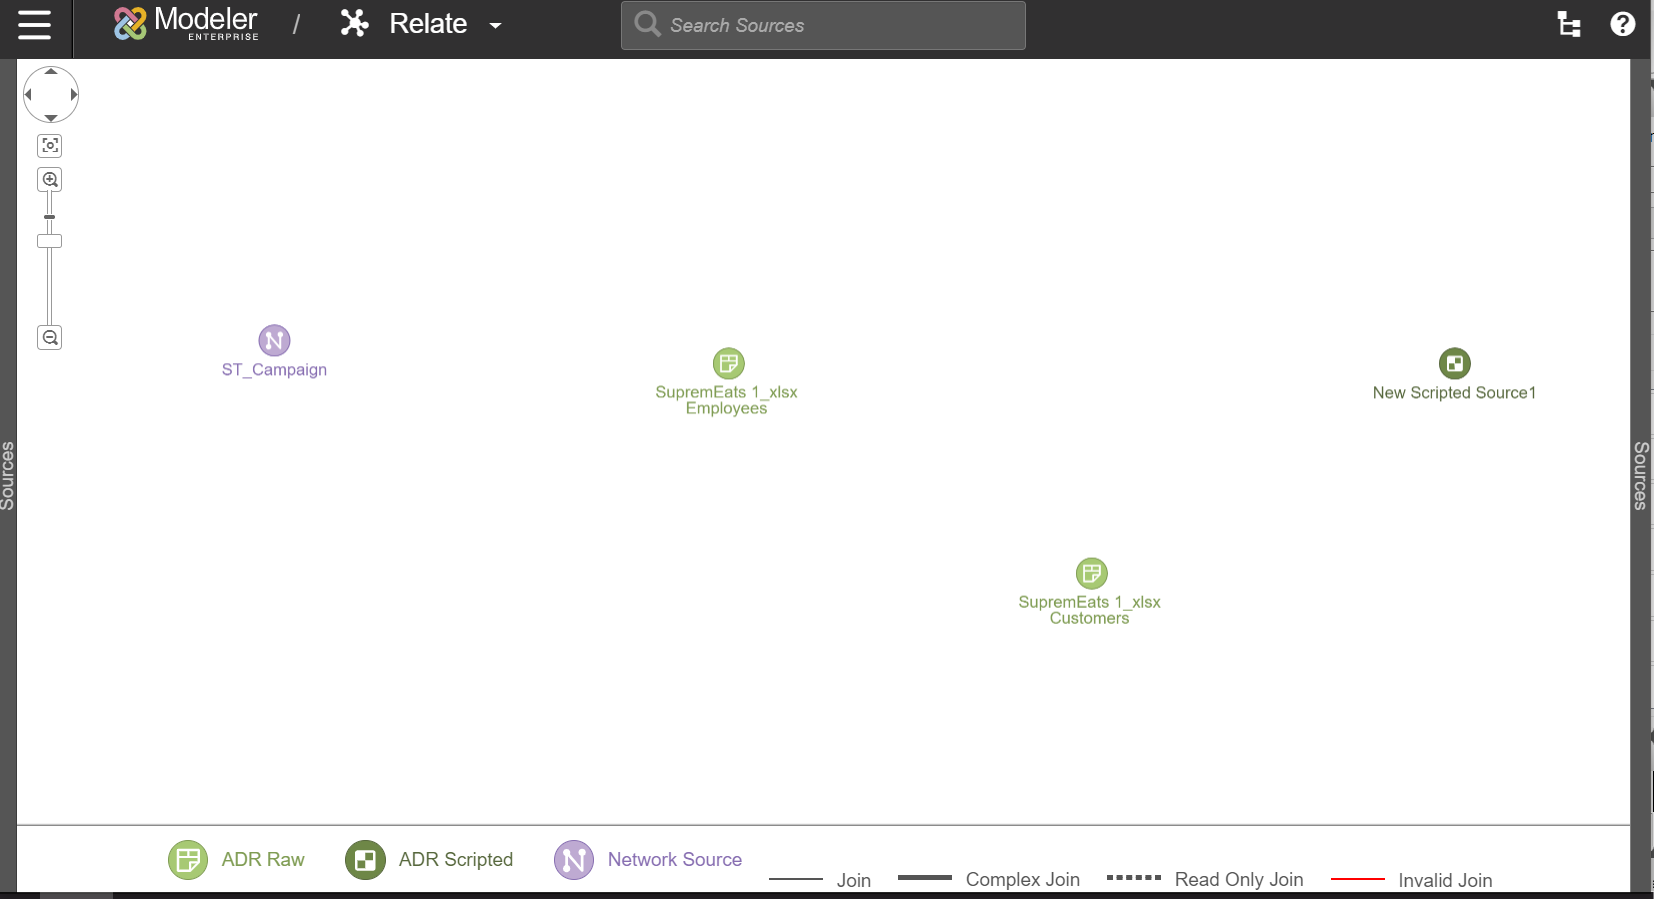
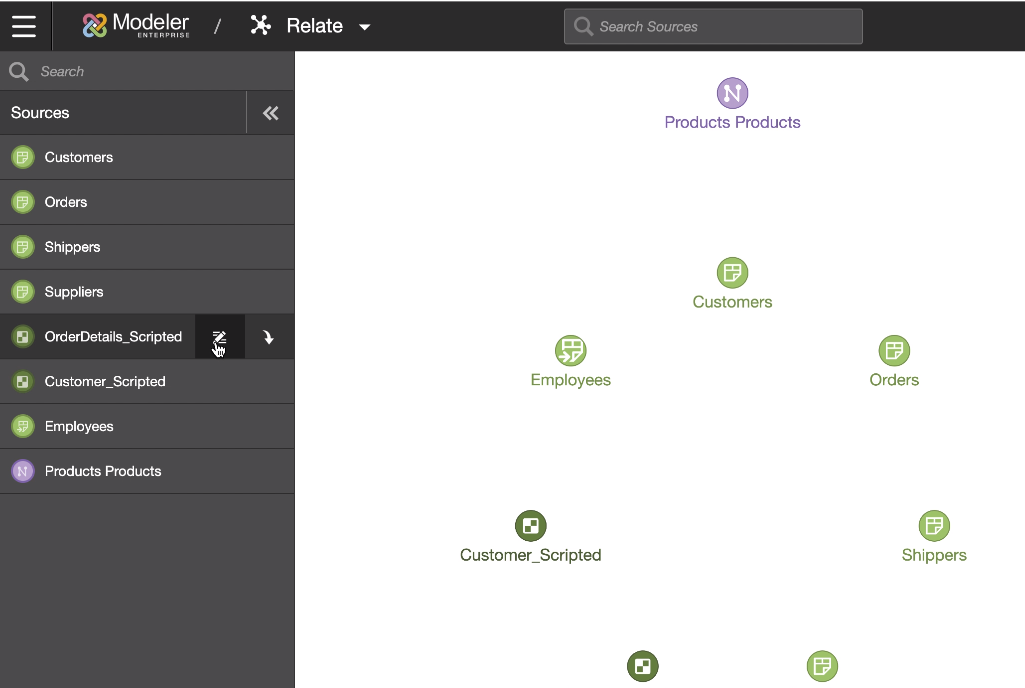
- The data available from the network is now visible on the Relate page.
- Sources from packages are available under Prepare. These sources can be used to create prepared and scripted sources. For more information on creating scripted sources, see Manage Scripted Sources in Modeler.
- If you are importing a package source to a Professional space, users can create a prepared source through Pipeline. For more information, see Create a Prepared Source from a Network.
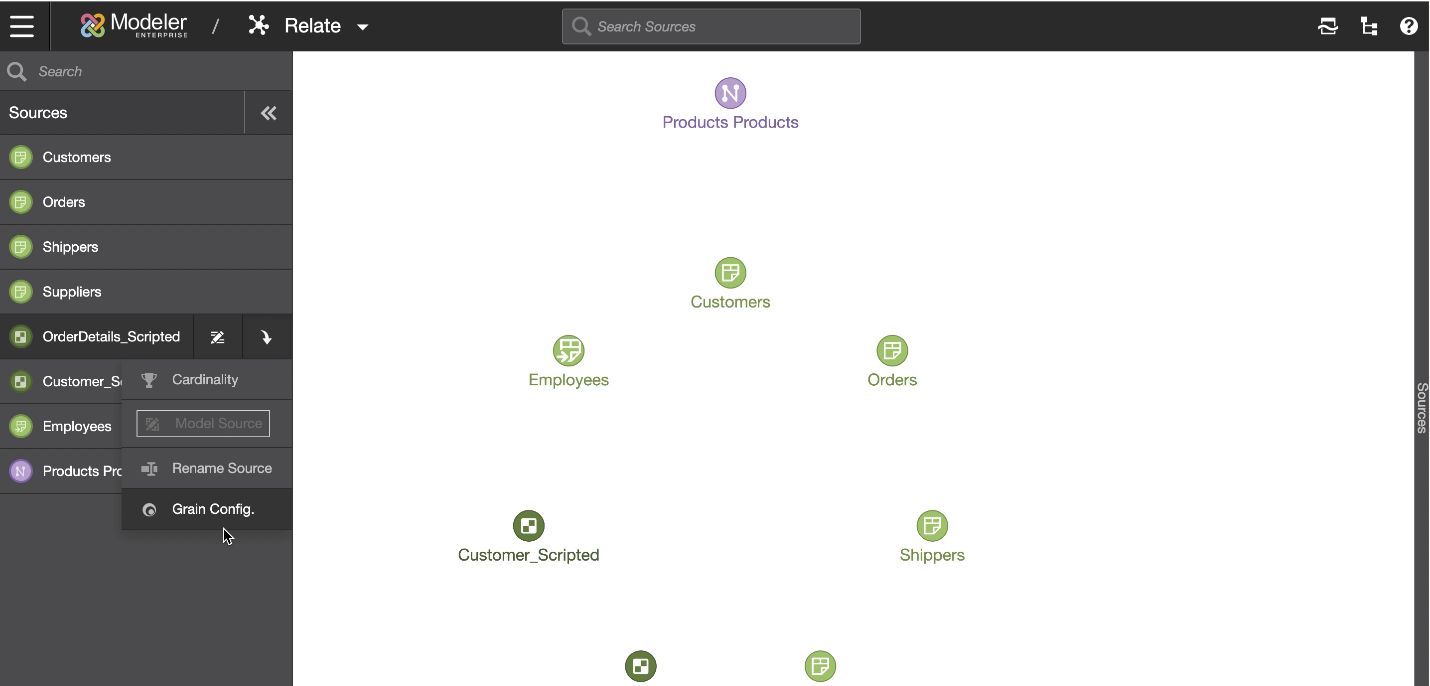
- When connecting an imported dimension table to a local data model, additional steps are needed to complete the star schema by setting the grain configuration and hierarchy.
- From Relate, select the source and click Grain Config..
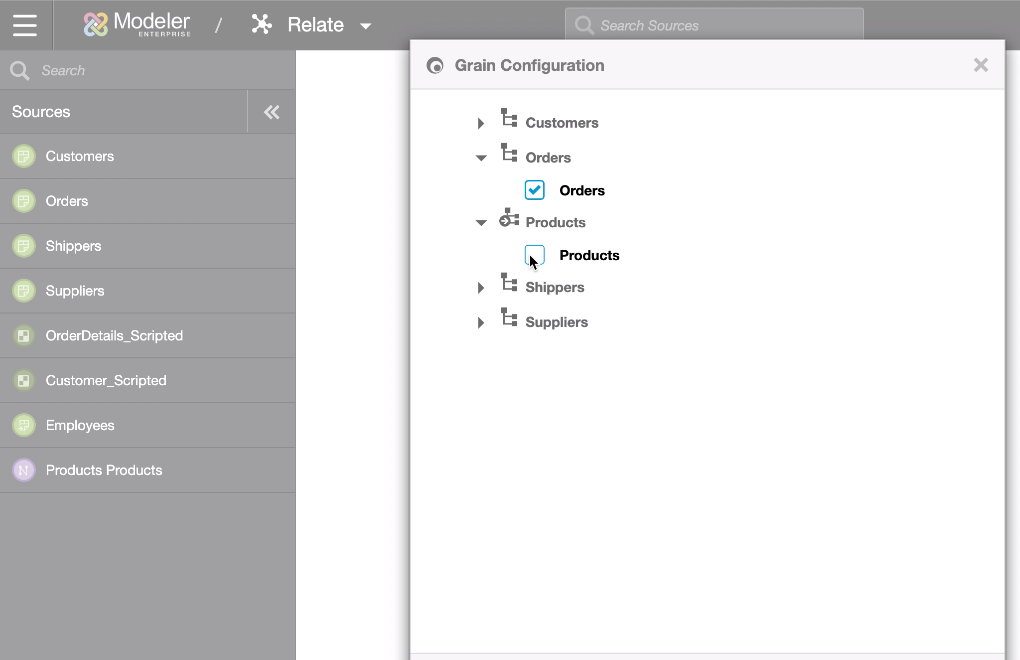
Grain the sources that contain the level key for the networked dimension table.
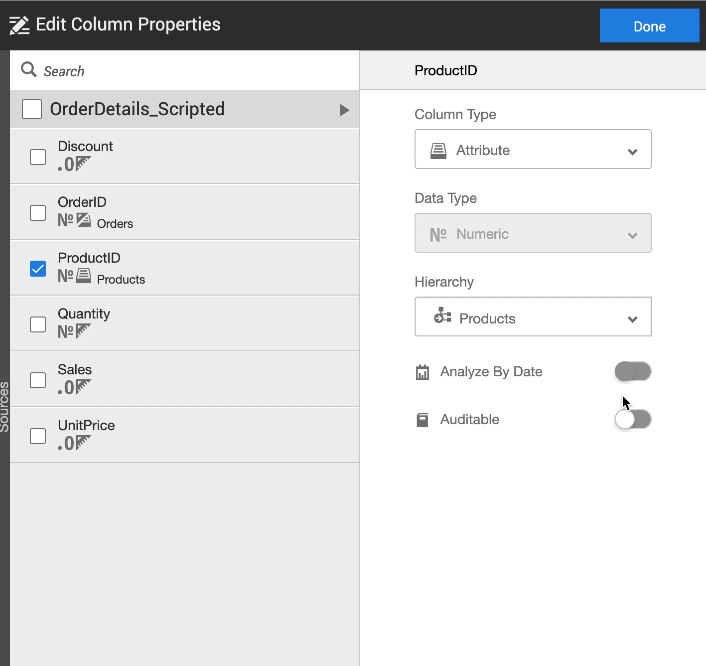
- Click the Edit Column Properties icon for your source.
- Set the Column Type.
- Set the Hierarchy of the level key column in that source to reference the networked dimension.
- Publish your changes.
- From Relate, select the source and click Grain Config..