Hierarchies Tab
Use the Hierarchies page at Admin - Define Sources to create hierarchies and assign level keys to a hierarchy level. See Creating Hierarchies.
You cannot assign a hierarchy to a data source using the Hierarchies page. To do this, use the Grain tab of the Manage Sources page.
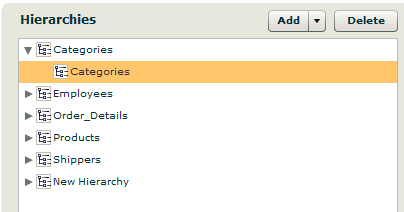
Hierarchies Pane
The Hierarchies pane on the left lists the hierarchies and their levels.
Add and Delete Buttons
Click the Add button to create new hierarchies and levels within a hierarchy. Use the Delete button to delete a selected hierarchy or level.
Filter to a Data Source to Set the Key Columns for This Level

To assign level keys, first select the hierarchy level from the left pane. In the upper right pane (pictured above) use the search box to locate a source that contains the level keys. Highlight the data source and in the lower right pane (pictured below), check each column that represents the level key for that hierarchy level.
Note: A hierarchy and its levels are not linked to a specific data source here. Data sources are displayed only to make it easier to find columns that represent the hierarchy level keys. After hierarchies and levels have been set up, if you select a hierarchy or level on the left, the data source that is highlighted in the data source box above may not be the original data source that was used to select the level keys, however, the selected source will contain the level key columns that were assigned. The level key columns can be changed as necessary without regard for the data source that is used.
Level Key Columns
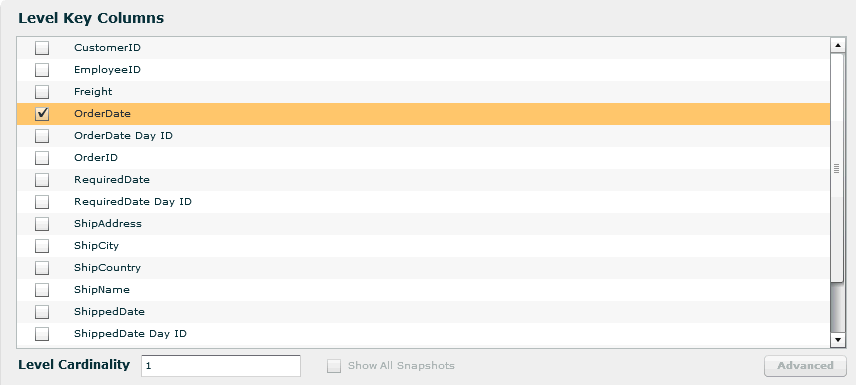
Level Cardinality
Birst auto-generates the Level Cardinality value for levels. It is inactive when a hierarchy (the top level) is selected. You can assign a different value. See About Navigation and Cardinality.
Show All Snapshots
When a hierarchy is selected on the left, the Show All Snapshots box becomes active (it is not active for levels). When the Rows in Data Source are Transactions (vs. Snapshot) and Keep Data from Last Upload Only boxes are not checked for a source in the Properties tab of the Manage Sources page, snapshots of your data are taken each time the data is loaded and processed, but by default, the data in report queries is filtered for the last load number. You can force the query to run on all the snapshots for a desired dimension by checking the Show All Snapshots checkbox for the corresponding hierarchy here. See Setting Transaction and Snapshot Policies for a Data Source for more information.
Advanced Button
Click this button to access the
Advanced Properties dialog box in order to a create
a hierarchy alias or set a hierarchy as a Type
2 Slowly Changing Dimension.
Note: This button
is only enabled for users who are members of a group that has the AdvancedAdmin
ACL.
Save and Cancel Buttons
All modifications are transactional. Changes are saved only when you click the Save button. Multiple developers can work across different hierarchies without overwriting changes. Clicking the Cancel button will revert back to the latest saved change.
See Also
Creating Hierarchies
Creating a Hierarchy Alias
Setting
a Hierarchy as a Type 2 Slowly Changing Dimension
Creating a Custom Time Hierarchy