Managing Files in the Report Catalog
The Report Catalog shows the directory structure of the folders and files that contain dashboards, Designer, and Visualizer reports. All the files and folders in the Report Catalog are stored on servers.
Using the Report Catalog, Space Administrators can manage the report files and image files for a space.
- View Report Catalog
- Create New Folders
- Search Report Catalog
- Upload Files
- Download Images
- Move Files or Folders
- Copy Files or Folders
- Rename Files or Folders
- Delete Files or Folders
- Tag Files or Folders
- Modify Folder Permissions
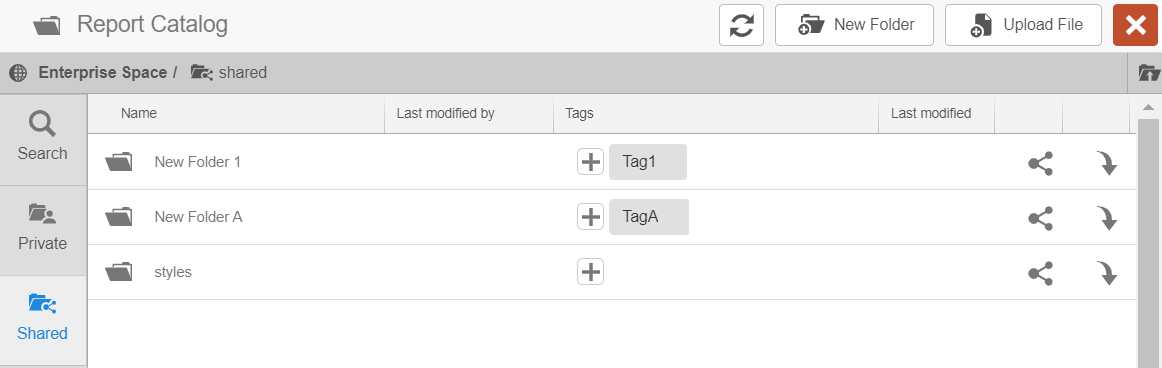
View Report Catalog
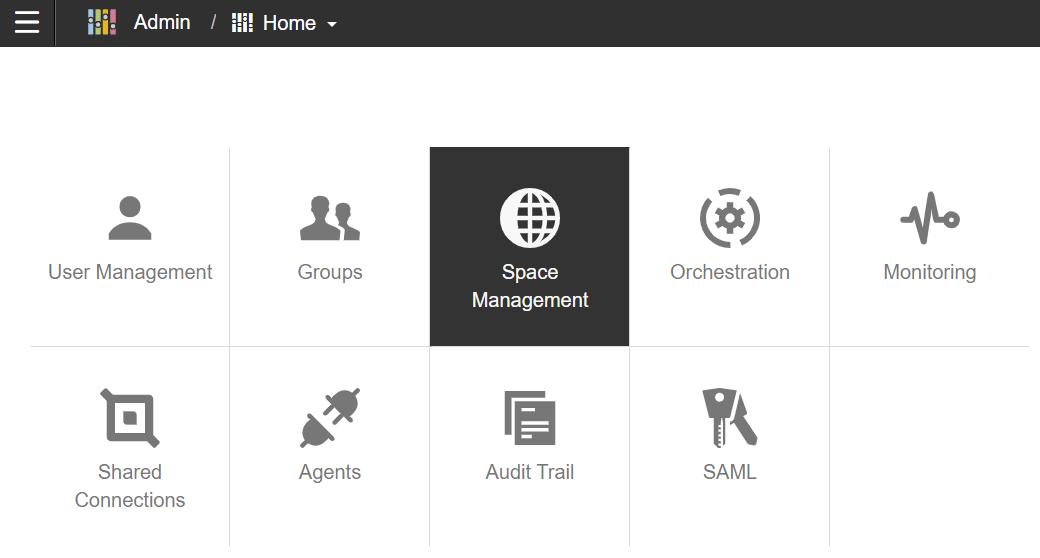
- From Admin 2.0, select Space Management.
- Select the space and click Report Catalog.
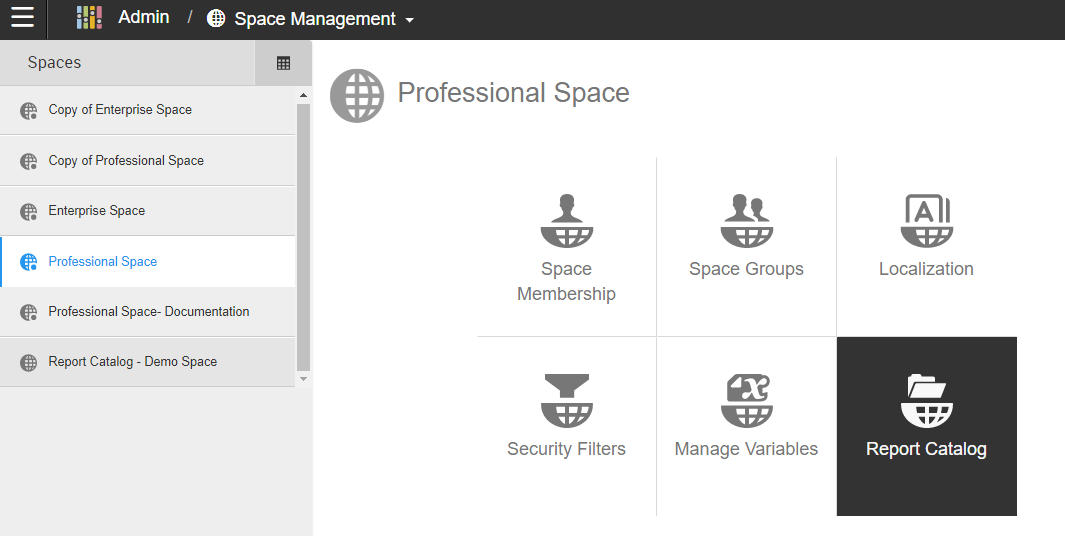
- This takes you to the Report Catalog for the selected space. Report Catalog is organized by the main Private and Shared folders.
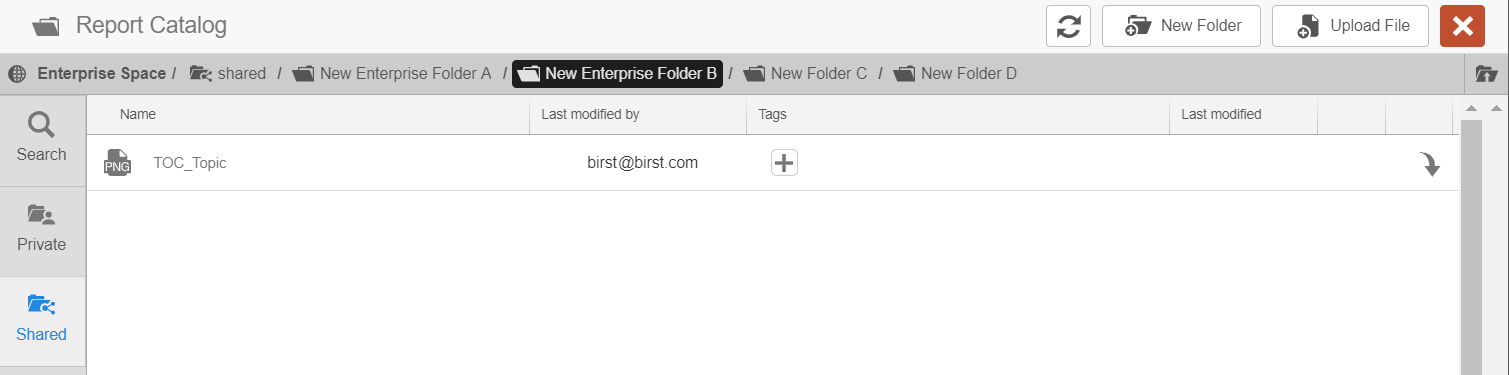
- As you navigate through your folders, you can use the breadcrumb path at the top of the screen to return to parent folders.
Create New Folders
- From the Report Catalog, determine where you would like to create a new folder. When creating a new folder, select the folder you would like to create the new folder inside of.
- Click + New Folder.

- Enter a name for the folder and click Create.

By default, all users in a space have full access to a newly created folder located under the Public folder. For more information on setting permissions, see the Modify Folder Permissions section.
Search Report Catalog
- From the Report Catalog, click Search.
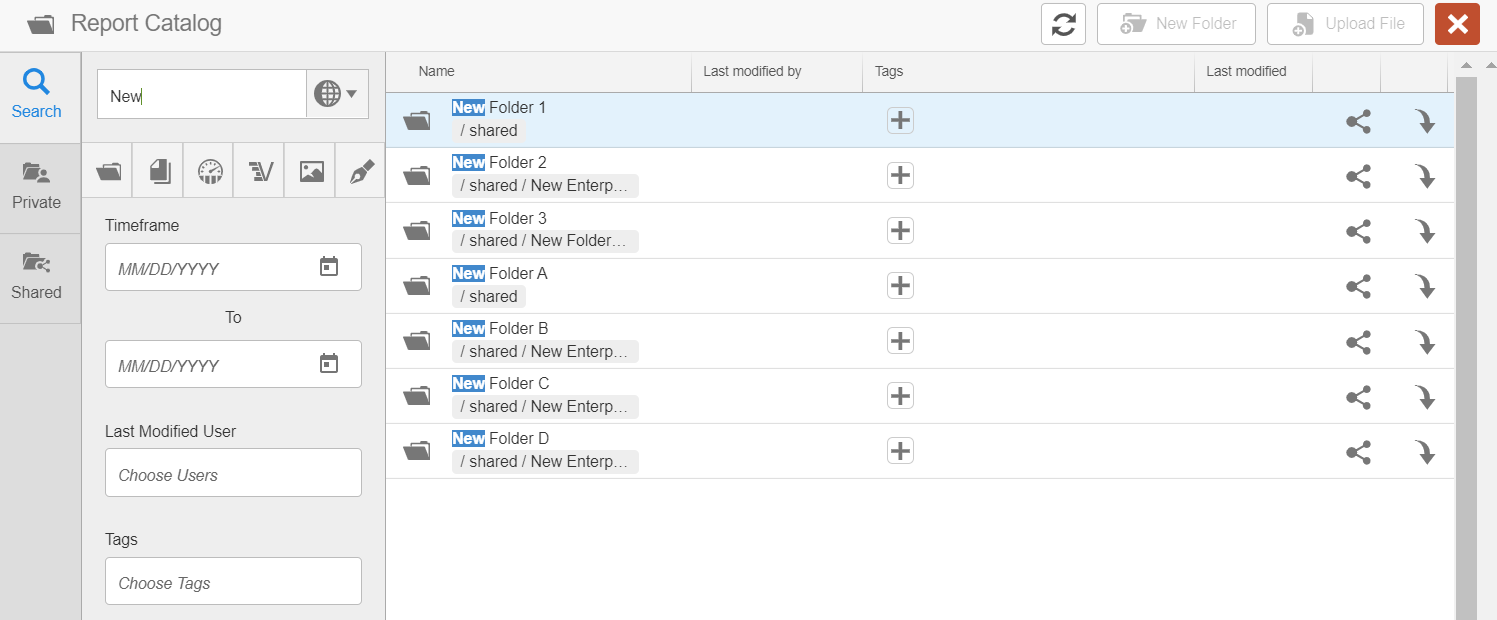
- The search functionality and allows you to search by multiple name, tag, file owner, and date.
- To search by folder or file name, type in the main search bar.
- To filter by type, click the folder, collection, Dashboard, Visualizer, image, or Designer icons below the main search bar.
- To search by last modified date, use the Start Date or End Date under Timeframe. These dates are inclusive. For example, if you chose April 1st as your Start Date and April 3rd as your End Date, folders and files with a last modified date of April 1st, 2nd, or 3rd would all display in the search results.
- To search by the reports last modified by a specific user, enter a username.
- To search by tag, enter the tag name.
- As you search, the results will begin to populate on the right.
Upload Files
- From Report Catalog, determine which folder to upload the file to.
- Click + Upload File.
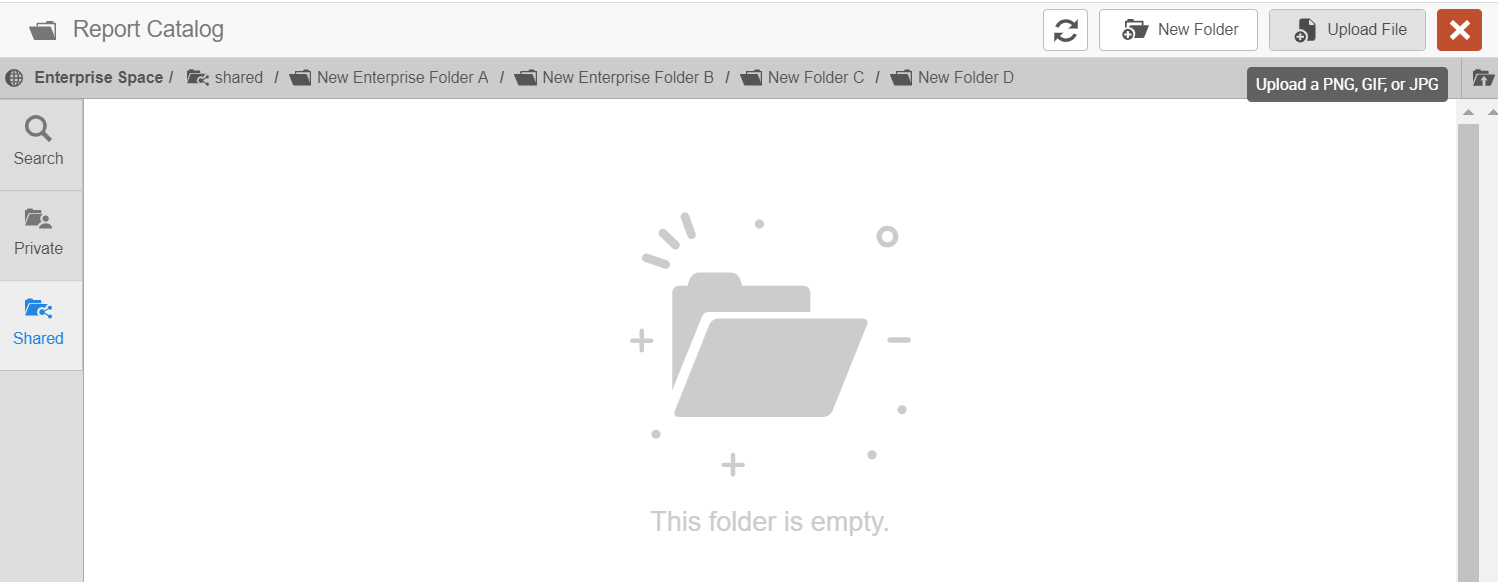
- Select the file.
- Click Upload.
Download Images
Admins can download images from report catalog.
- From Report catalog, select the image you would like to download.
- Select More Actions icon.
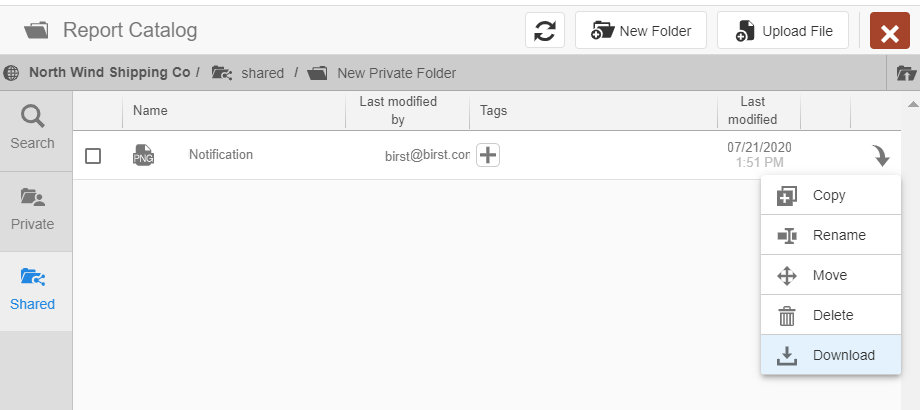
- Select Download.
Move Files or Folders
Files and folders can be moved by dragging and dropping or using the Move action. Note: You cannot move the top-level folders private/<user@domain> or Shared. These are reserved folders that cannot be modified or moved.
Warning: Moving an object will change that object's filepath. This may break existing links to reports or dashboards.
Drag and Drop
- Drag and drop a file or folder to the target folder. You can also drag and drop files to the folders in the breadcrumb.
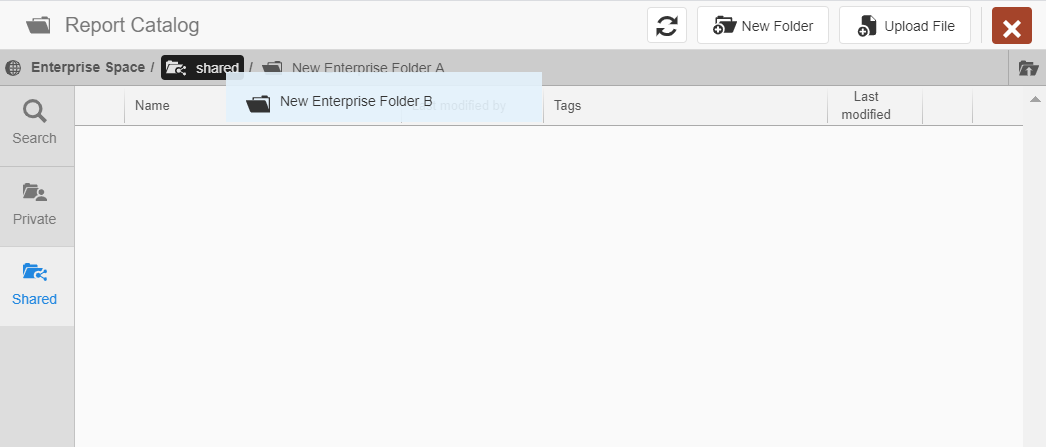
- Warning: Moving an object will change that object's filepath. This may break existing links to reports or dashboards. In order to confirm, select Proceed.

Move Action
- Select the files or folders you would like to move.
- Select the More Options menu.
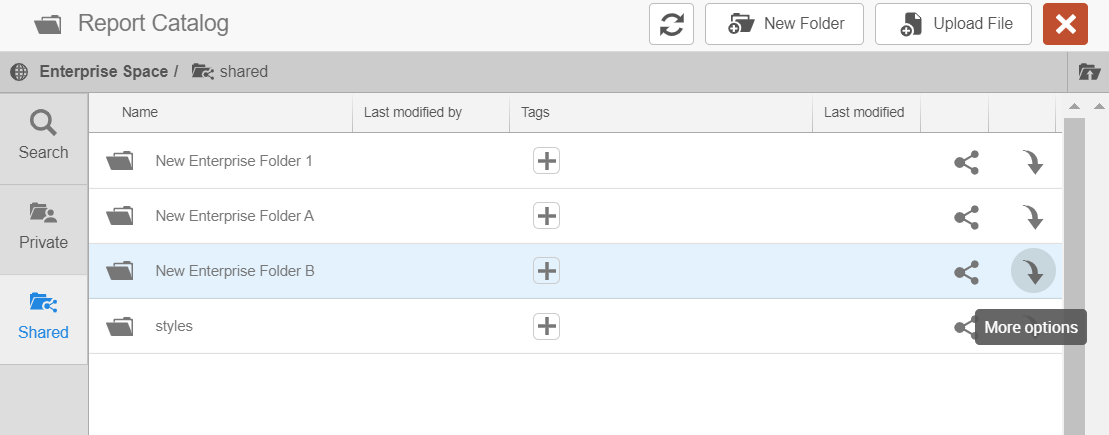
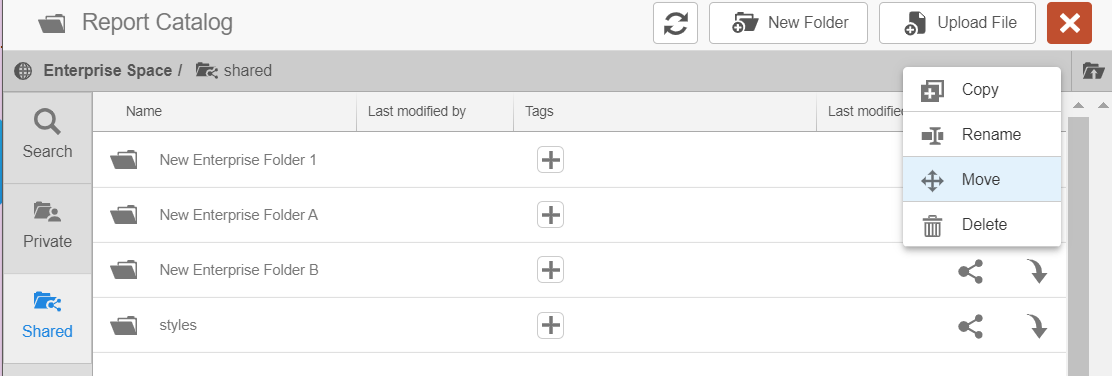
- Select Move.
- Select the folder you would like to move the object to. Warning: Moving an object will change that object's filepath. This may break existing links to reports or dashboards.
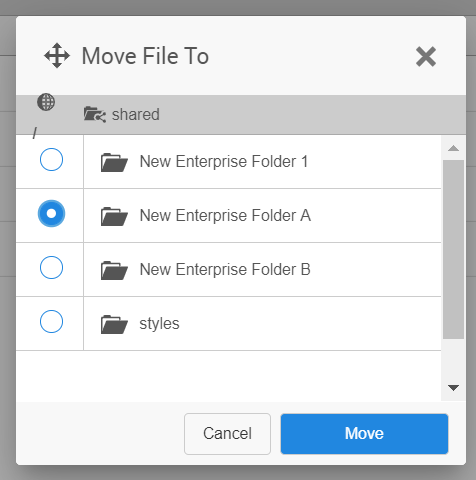
- Click Move.
Copy Files or Folders
- From the Report Catalog, select the files or folders your would like to copy.
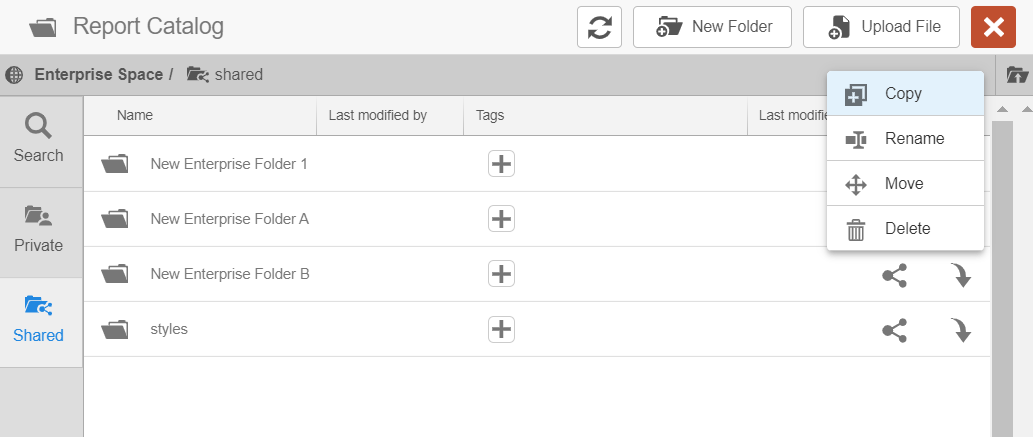
- Click the More Actions icon.
- Select Copy.
- When copying dashboards through Report Catalog, only the dashboard is copied. The new copy of the dashboard continues to reference all the original objects on the dashboard including filters, images from catalog, and Visualizer and Designer reports. Any changes to those original items will be reflected on the copied dashboard.
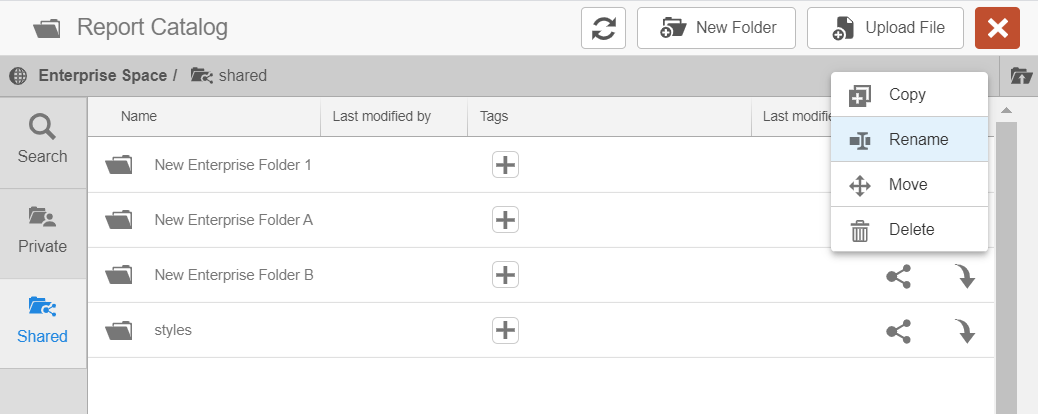
Rename Files or Folders
- From the Report Catalog, select your file or folder.
- Select the More Actions icon.
- Select Rename.
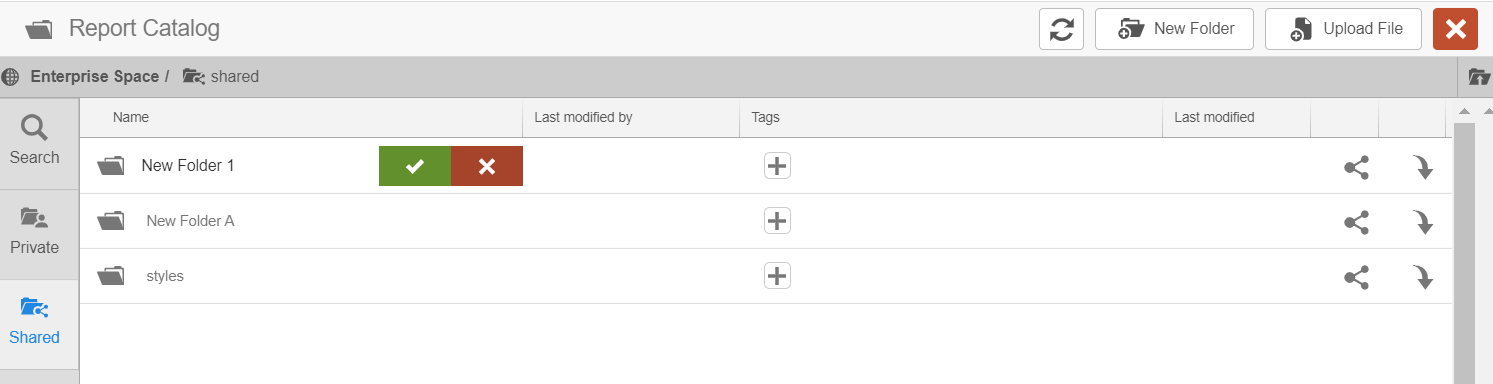
- Enter the new name and click the green checkmark to save.
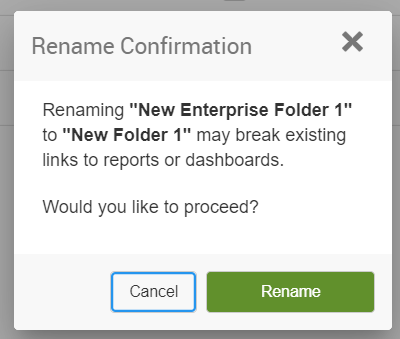
- Warning: Renaming a file or folder may break any existing report paths. You must click the Rename button to confirm.
Tips:
- The report name must be unique within a folder.
- You cannot rename the top-level folders shared or private/<user@domain>.
- You cannot modify the file type or extension.
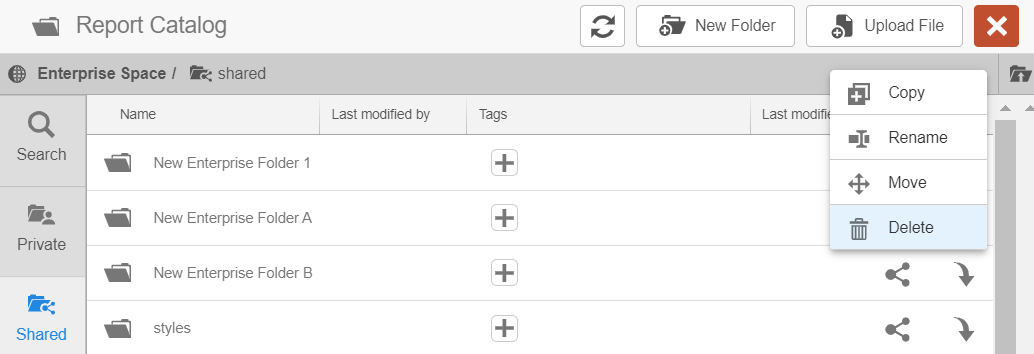
Delete Files or Folders
- From the Report Catalog, select the files or folders your would like to delete.
- Click the More Actions icon.
- Select Delete.
- Click Delete on the confirmation message. Warning: Deleting an object is permanent; this action can't be undone.

Tag Files or Folders
Tags are used to organize and categorize your files and folders in Report Catalog.
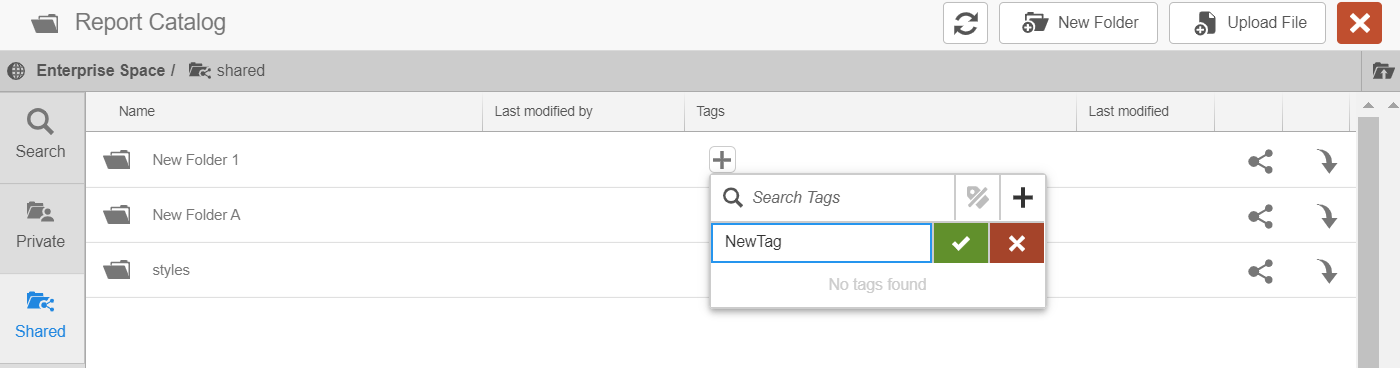
Create New Tag
To create new tags in Report Catalog, users will need the Create Tags permission. For more information, see Group Permissions.
- From the Report Catalog, select your file or folder.
- Click the + Add Tag icon.
- Select + Create Tag.

- Enter the name of the new tag and click the green checkmark to Save. This will create a new tag that can be added to other files and folders in the space.
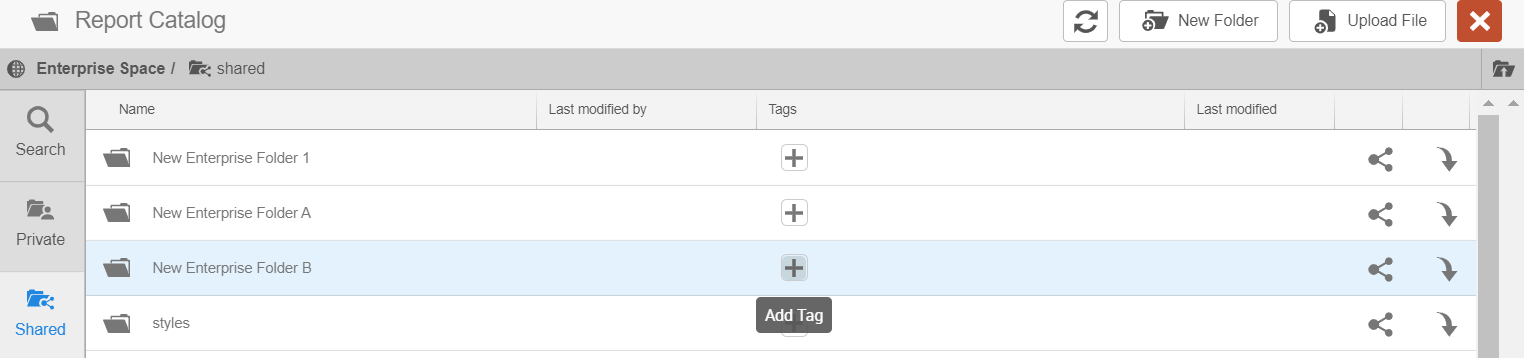
Add Tag
To add tags to a file or folder in Report Catalog, users will need the Add Tags permission. For more information, see Group Permissions.
- From the Report Catalog, select your file or folder.
- Click the + Add Tag icon to add a tag.
- Select the tag from the list of existing tags or create a new tag. Tags applied to your object are highlighted in the menu. When a tag is applied to a folder, it is only applied to the specific folder. Any files or sub-folders within the parent folder do not have the tag applied.

Remove Tag
To remove tags from a file or folder in Report Catalog, users will need the Add Tags permission. For more information, see Group Permissions.
- From the Report Catalog, select the tag you would like to remove.
- Click the Remove Tag icon.
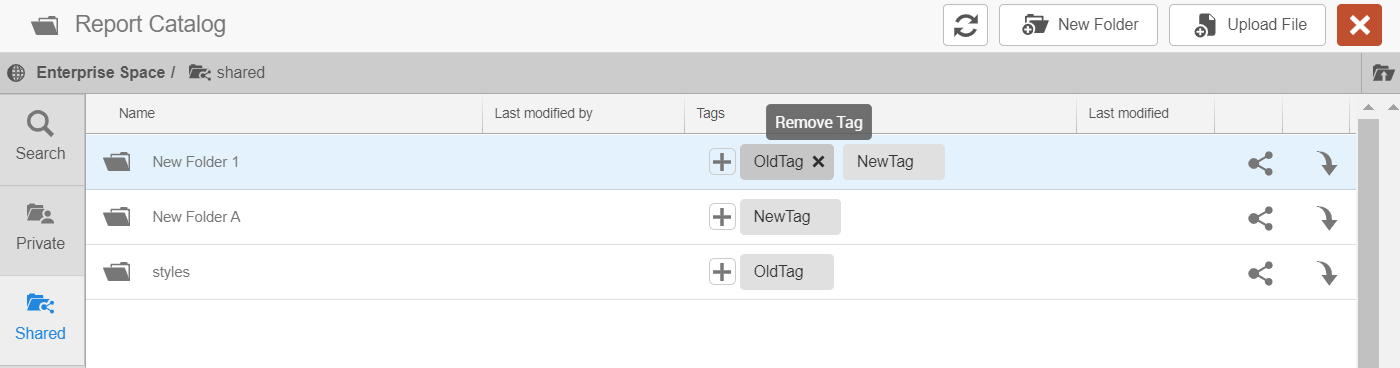
- Removing a tag removes it from the specific object. Other files and folders using the tag in the Report Catalog are not affected.
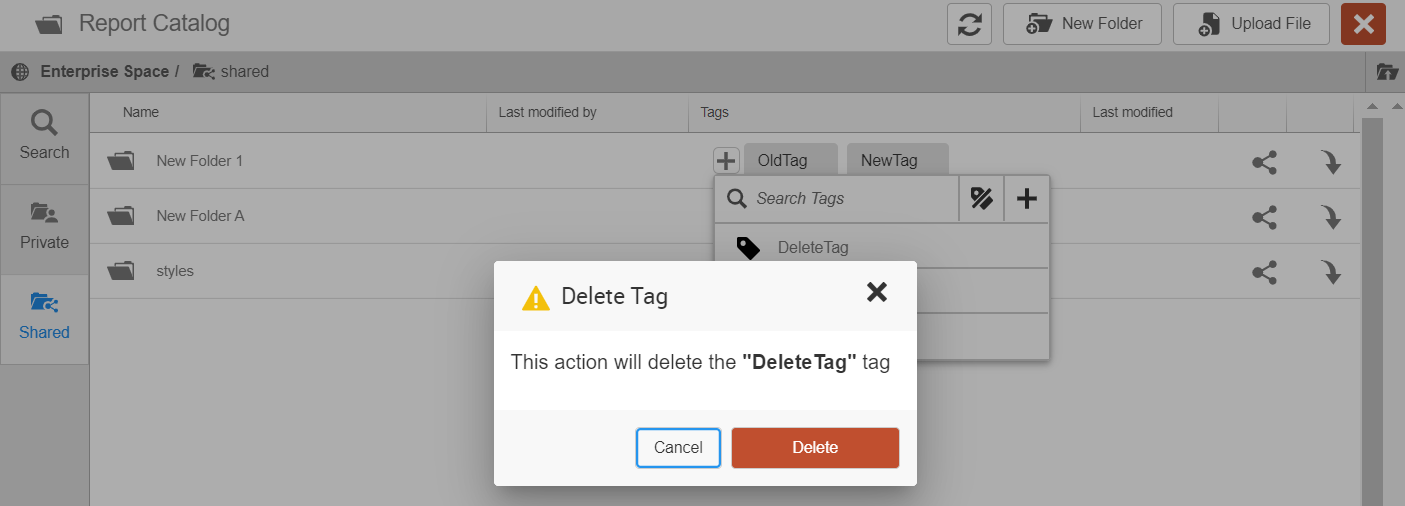
Delete Tag
To delete existing tags in Report Catalog, users will need the Create Tags permission. For more information, see Group Permissions.
- From the Report Catalog, select your file or folder.
- Click the + Add Tag icon.
- Click the Delete icon on the tag.

- Click Delete on the confirmation message. Warning: Deleting a tag is permanent; this action can't be undone. The tag will be removed from all items in the Report Catalog.
Modify Folder Permissions
Space Administrators can set permissions for folders in Report Catalog as long as the items are located in the Shared folder directory. Permissions are not available for dashboard and collections. Permissions are set at the folder level and are not inherited by sub folders.
Folders in the Private folder directory can not be shared.
Permissions are set for either Space Groups or Account Groups. Note: As of 7.5, Account Group permissions will only be honored when a space does not have any Space Groups.
The All Users in Space option applies a default permission to all users in the selected space. Tip: If a user belongs to multiple groups in a space, they will be able to use the highest level of permission granted to them.
- Edit: User can view, modify, add, or delete files and folders.
- Read Only: Users can view all files and folders, but not make any changes. Users with Read Only permissions are now able to copy dashboard through the Collection Manager.
- Not Shared: Files and folders are not shared. If a user belongs to multiple groups, this setting will not override their Read Only or Edit access.
Change Sharing Permissions
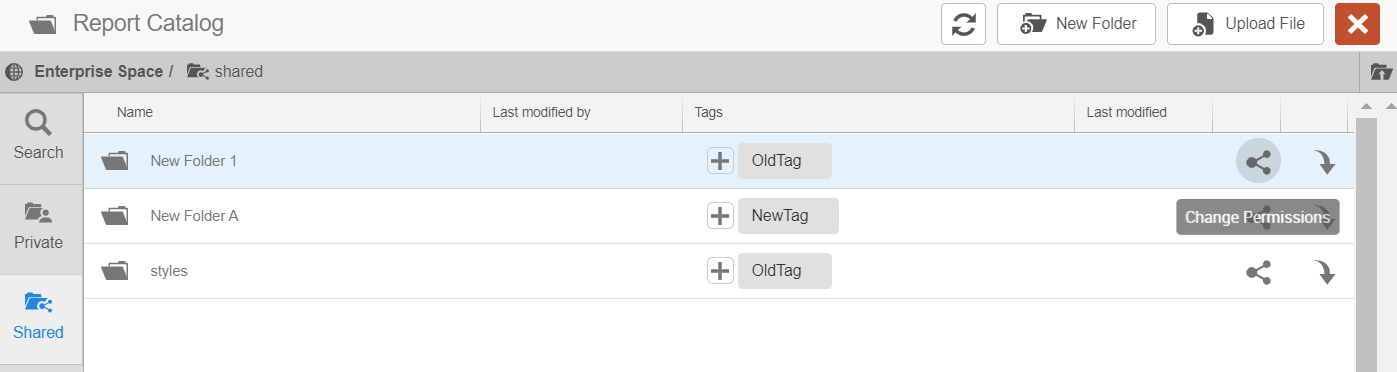
- From Report Catalog, select the files or folders.
- Select the Change Permissions icon.
Note: To set the permissions for the Shared folder, select the Shared folder. From the Shared folder, select the Change Permissions button at the top of the screen.

- Select either Space Groups or Account Groups. The All Users in Space option applies a default permission to all users in the selected space. This will display either the available space groups or account groups with potential access to the item and their associated permissions.
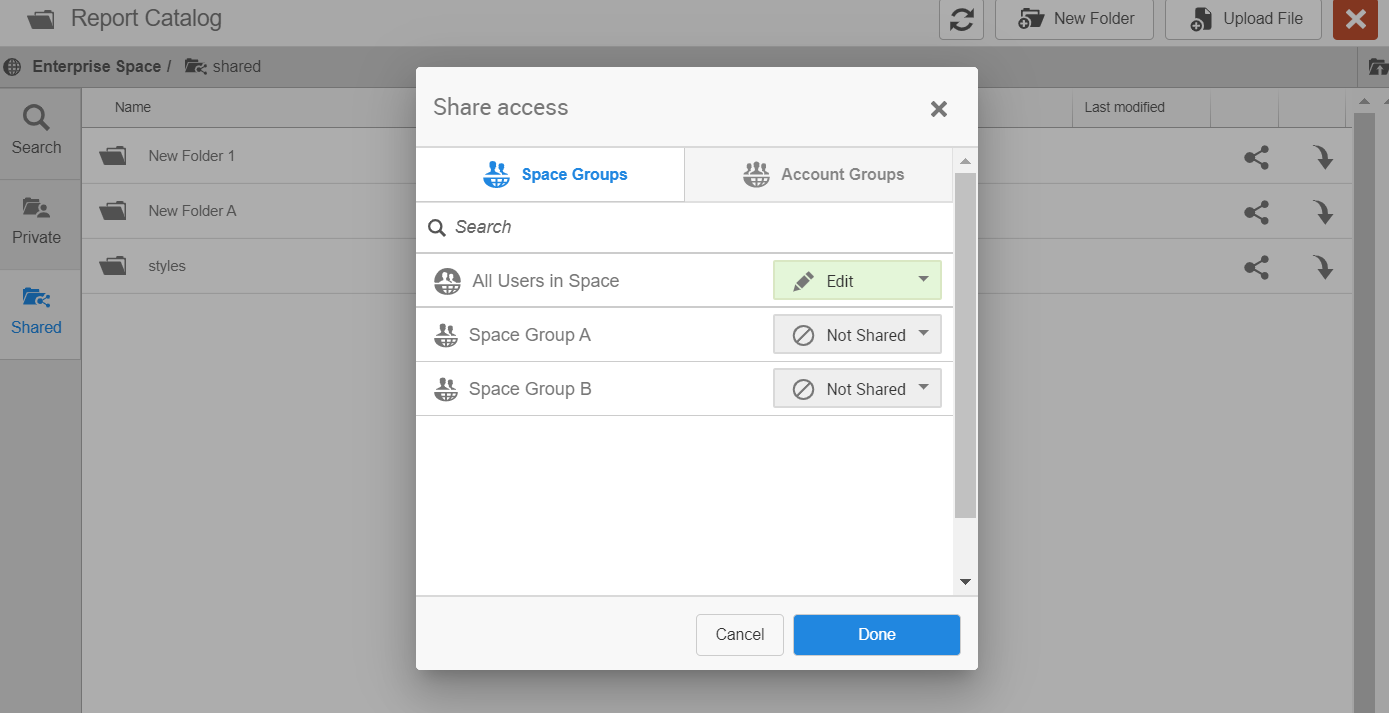
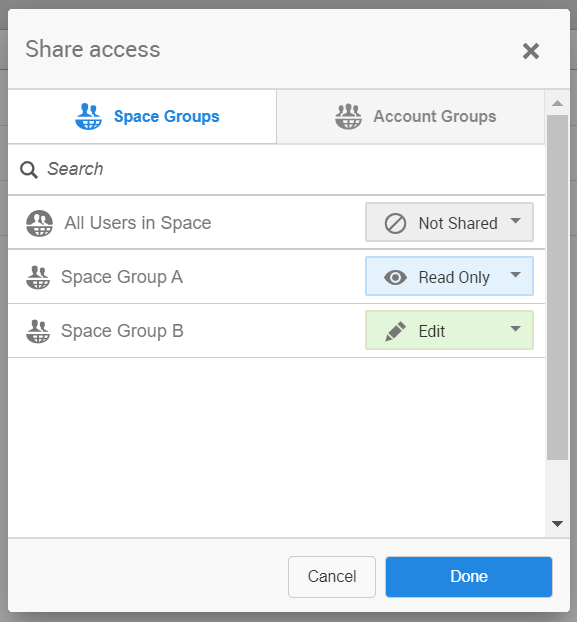
- Click on the permission and select either Edit, Read Only, or Not Shared from the menu. Repeat for each group.
- To apply a group 's permission to all child folders, select the Apply to subfolders icon.
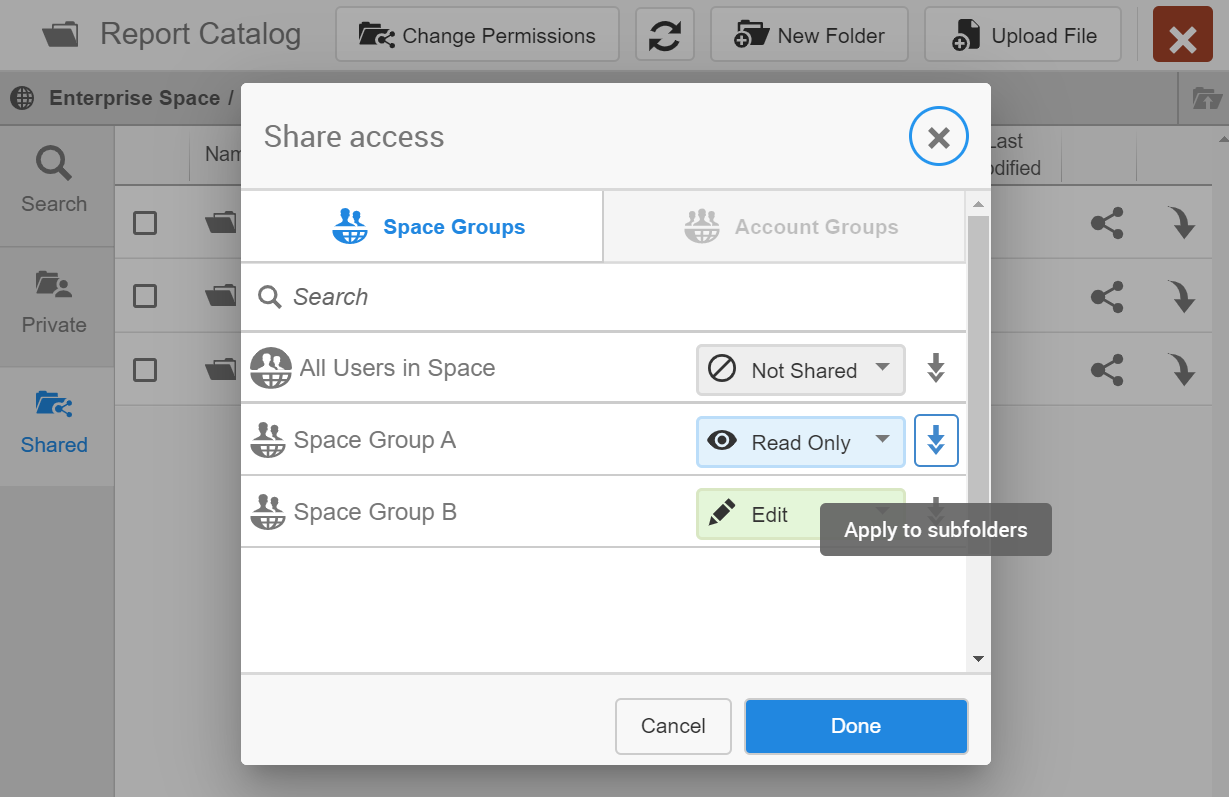
- Click Done.