Adding a new case ID during standard picking
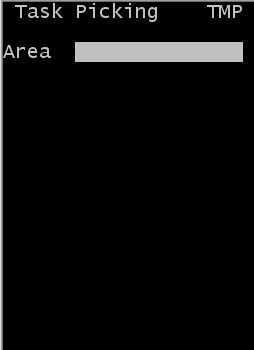
- From the RF device select Main > Picking (4). The Pick Menu (PM1) screen is displayed.
- Select Task Picking (0). The Task Picking (TMP) screen is displayed.
- Specify this information:
- Area1
- Area or location for the tasks. If this field is blank, the application finds tasks for all areas in which you have permission.
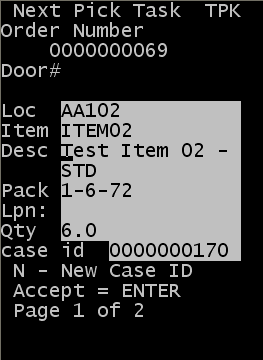
- If applicable, the application sends you the first pick task. The Pick (TPK) screen is displayed.
- If the product does not fit in the designated case or tote, proceed to the next section, Creating Additional Case IDs.
- Do one of the following:
- To accept the current pick task, press Enter.
- To cancel, press Esc.
- The application asks you to enter a reason code. A new Pick (TPK) screen is displayed.
Note: If any special instructions exist, a separate screen is displayed with instructions.
- Confirm information in these fields:
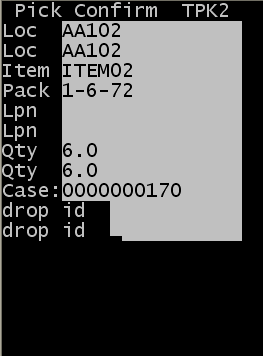
- Loc
- Location of the item before picking.
- LPN
- License Plate Number associated with the item if there is one.
- QTY
- Amount of item in the designated location.
- Drop id
- New ID associated with the item (optional).
-
Note: Picks with the same case ID cannot be placed in different drop IDs. The user must create a new case ID if the case ID must be split.
- REAS
- Reason code, if applicable. (Whenever you short-pick a task, enter a reason code.)
-
The application enters information into the following fields:
- CASE
- Case ID or Label number associated with the pick task.
- PACK
- Pack for the item.
- Item
- Item being picked.
-
Note: After you press Enter on the last field, the N/n - New Case ID message is displayed. You can now specify a different case ID.