Performing load tasks on RF devices
To perform load tasks on an RF device.
-
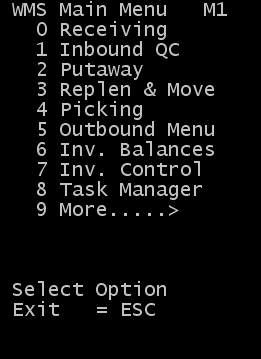
From the RF device
menu, select
.
-
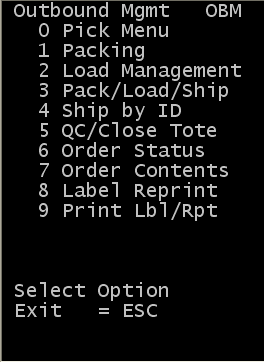
Select
.
-
The menu is displayed. Select
.
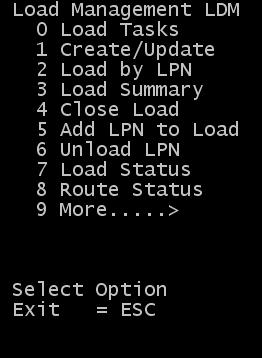
The Load Tasks (LD10) screen is displayed to start retrieving load tasks.
Note: If the Labor Module within the SCE application is enabled and you did not select to start work, a message indicating that you need to start work before continuing is displayed. See the Infor WMS Productivity and Labor User Guide for information on starting and stopping work.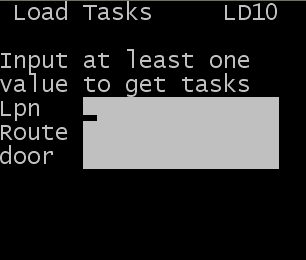
-
Specify this information to begin getting and loading tasks:
- Lpn
- License Plate, Case ID, or Drop ID of the picked product to be loaded. Valid LPNs available for loading can be found in the Outbound Units tab of the Load Management screen.
- Route
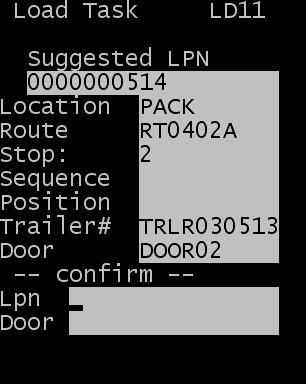
- Route code for a load record in the system. If route is used to initiate the tasks, the system suggests a license plate based on the stop assigned to the orders (normally in reverse stop sequence).
- Door
- Valid door number assigned to a load record in the system. If the door is used to initiate tasks, the system suggests a license plate based on the stop assigned to the orders (normally in reverse stop sequence).
-
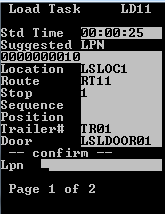
If the SCE Labor module is enabled, the standard time for the task is displayed on the screen.
-
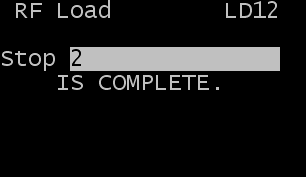
When the current stop is complete, the
RF Load (LD12) screen is displayed.
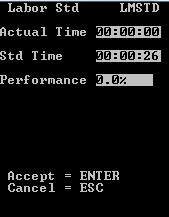
If the SCE Labor module is enabled, the task performance information is displayed.
-
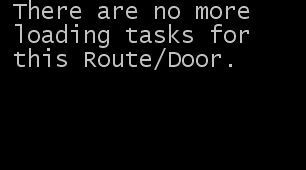
When all loading tasks have been completed, the following message
displays.