Accepting and completing a clustered assignment
To accept and complete a clustered assignment using the RF Task Manager:
-
If you selected
Assignment Picking, the
Assignment Pick (LAPK1) screen is displayed. To
receive the pick task, enter the equipment ID and the assignment number. Note
that if the equipment type is included on the assignment, the Equipment ID
field is mandatory. If not, you can press
to navigate past
the field.
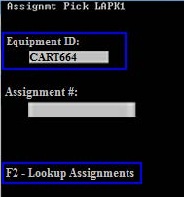
You can press to look up the assignment number. The Assignment List (CRESLT) screen displays the open work assignments. Navigate to the applicable assignment and press to select it. The Assignment Pick (LAPK1) screen is displayed again.
-
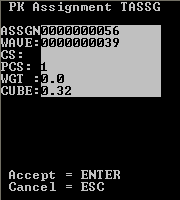
View the
Assignment Summary screen. Press
to accept.