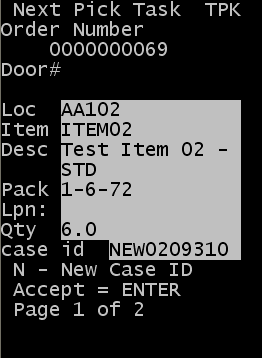
Creating additional case IDs

  1. If you need to create another case ID, press N. The General Pick (NCI) screen is displayed.

  2. In theNewID field, specify the new case or tote ID.
    Caution: 
    If you enter a new case ID, it must be distinguishable from the application-generated case ID. A case ID from a different order cannot be used. You can assign an existing case ID; however, it must be within the same Shipment Order.

    You can either populate the NewID field or the Printer field to request an application-generated case ID label. For an example, see the end of this section.

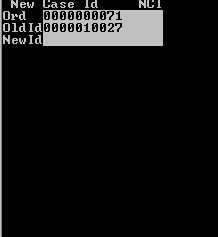
  3. To accept the entry, press Enter twice. If the case ID is accepted, it is assigned to the pick detail, and the following screen is displayed.

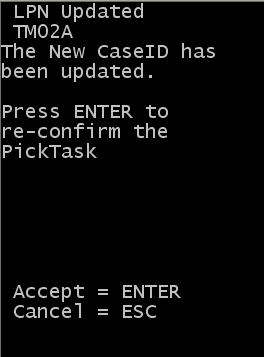
  4. To re-confirm the Pick task, press Enter. The initial Pick (TPK) screen is displayed again.

  5. Complete the pick process as previously described.
  6. When you complete the last field on the screen, press Enter.
  7. Do one of the following:
    • To accept the next task, press Enter.
    • To cancel, press Esc.

    After you press Enter, the application sends the next pick for the same location. If there are no picks for same location, the application sends picks for the next location, following the Forward or Reverse logic.

  8. When all picks for the tote are completed, the RF device returns a Close Tote message. If you have arrived at the end of a pick path and the RF device has not returned a Close Tote message for all totes, this means outstanding picks exist in other work areas. RF pickers assigned to other work areas scan the remaining totes to retrieve any outstanding tasks.
  9. If no more tasks exist, the application displays the message: Nothing to do. To return to the Main menu, press Esc.