Step 1: Performing shipping pallet moves
- From the RF device Main menu, select Task Manager. The Task Manager (TMM) screen is displayed.
- Select Standard. The Task Manager (T1) screen is displayed.
-
Specify this information:
- Area1
- Specify the area or location for the tasks. If this field is blank, the application references tasks for all areas in which you have permission.
- Task
- To select Picking tasks, specify P. PK – Pick displays in the field. If nothing is selected, non-pick tasks are sent.
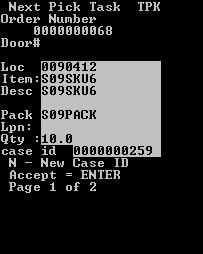
The application sends you the first pick task. The Pick (TPK) screen is displayed.

-
Do one of the following:
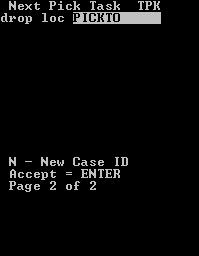
- To accept the next task, press Enter. A new Pick (TPK) screen is displayed.
- To exit the screen, press Esc and enter a reason code.
If special instructions are included, a separate screen is displayed with special instructions.
-
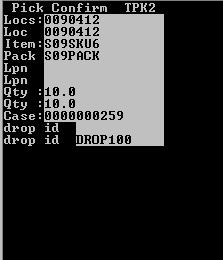
Confirm this information:
- Loc
- Location of the Item being picked.
- LPN
- LPN upon which the item is located.
- QTY
- Quantity of items in the location.
- Drop id
- Drop ID or case ID (required for PND).
- REAS
- Reason code. Whenever a user short picks a task, you must enter a reason for doing so.
- Press Enter. The device transmits the data to the application database.
-
Do one of the following:
- To accept the next task, press Enter.
- To exit the screen, press Esc.
-
Repeat steps 5-7 until you have completed all pick tasks for the
drop ID.
Note: The
N/n – New Case IDmessage refers to your ability to assign a new case ID to picks remaining after an initial case is full.