Adding serial numbers to a new receipt
This function is used to finish adding the serial numbers to a
receipt if not all of serial numbers are captured when the inventory is
received. The System Setting for DELAYSNUMCAPTURE is used to control if the
receiver is allowed to cancel out of the serial capture process or not during
the receipt.
Note: If the correct number of serial numbers has already been captured
but the serial numbers associated with the license plate need to be changed,
perform an Inventory Adjustment to correct the receipt.
To add serial numbers to a new receipt:
-
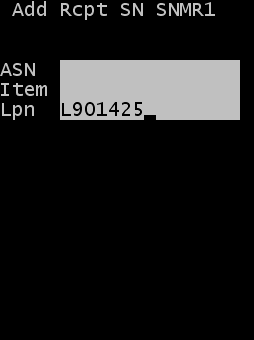
From the Serial Maintenance (SNM) menu, select
. The
Add Rcpt SN (SNMR1)
screen displays.
-
Press
to search for a
list of receipt records to correct. The
Rcpt SN (SNMRLST) screen displays.
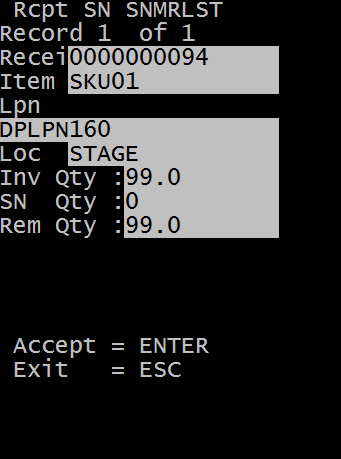
The screen displays a separate page for each potential receipt record to correct based on the search criteria entered in the previous screen.
-
Press
to select the
current page. The
Add Rcpt SN (SNMR2) screen displays.
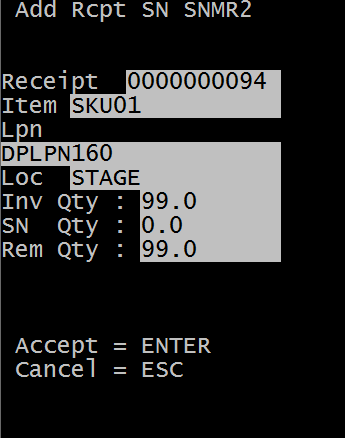
This screen is a display only screen that provides information about the selected receipt record to correct.
- Receipt
- ASN/Receipt number
- Item
- Item number for selected record
- LPN
- License plate number for selected record
- Loc
- Receipt Location
- Inv Qty
- Quantity for the current license plate
- SN Qty
- Number of serial numbers associated to the current license plate
- Rem Qty
- Remaining number of serial numbers that need to be captured for the current license plate to resolve the discrepancy
-
Press
to begin applying
additional serial numbers to this record. The
Serial Capture screen displays.
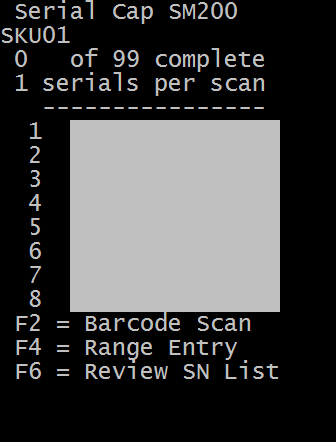
The Serial Capture screen indicates the number of serial numbers that have already been linked to the license plate.
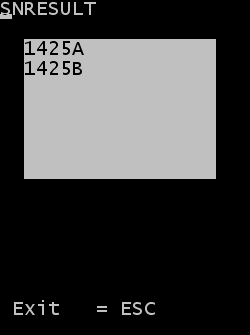
-
If necessary, press
to view the list of
serial numbers that have already been associated with the license plate. The
SNRESULT screen displays a list of the serials
contained on the current license plate.