Single scan receiving (Mode 1 – Auto Receipt is allowed for the ASN)
-
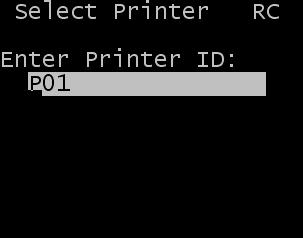
Optionally, specify the
printer ID of a printer at your facility that is set up to print labels.
-
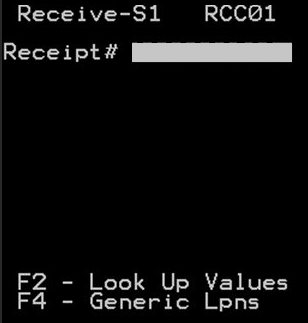
Select
ASN Receipt. The
Receive-S1 (RCC01) screen is displayed.
-
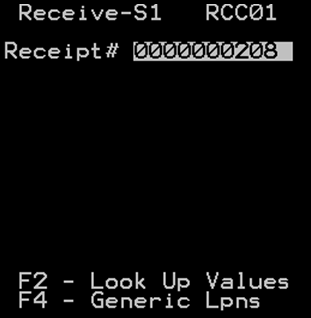
Scan in the receipt
number, or specify all or part of the receipt number.
- If you specify a subset portion of the receipt number instead of the entire
receipt number, press .
- If only one receipt record matches the partial receipt number specified, the receiving process contnues to the next step.
- If multiple receipt records match the partial receipt number you specified, a message is displayed that more than one ASN has been found. You can either press to view the list of ASN receipt matches found or press to enter a different receipt number.
- If you specify a subset portion of the receipt number instead of the entire
receipt number, press .
-
Screen
RCC02 then displays to allow you to input the
LPN or specific Case ID to receive. This screen displays because the Receipt
has been defined as Case Level or SSCC. Scan or input one of the following and
press
.
- LPN to receive
- Single Case ID to
receive
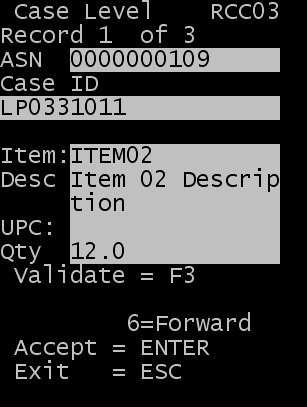
The Case Level (RCC03) screen displays with detail information about the contents of the LPN/Case ID.