Step 1: RF-directed putaway task using pick and drop location

  1. From the RF device Main menu, select Task Manager (8).
  2. Select Standard. The Task Manager (T1) screen is displayed.
  3. Specify this information:
    Area1
    Area or location for the tasks. If this field is blank, the application references tasks for all areas in which you have permission.
    Task
    Putaway tasks. To select putaway tasks, press P twice. PA - Putaway displays in the field. If nothing is selected, non-putaway tasks are sent.
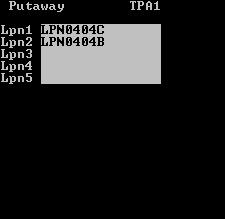
  4. To view the TPA1 screen to specify LPNs to put away, press Enter twice.
    If applicable, the Putaway (TPA1) screen is displayed. Specify the LPNs you want to put away. You must execute these tasks in the order they are given.
    Press Enter three times. The first putaway task displays (TPA1), if applicable.
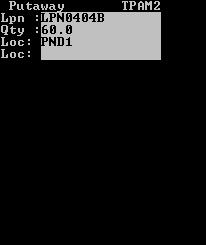
  5. To accept the task, press Enter. The Putaway (TPAM1) screen is displayed.
  6. To confirm it, specify the LPN.
  7. To accept, press Enter. The Putaway (TPAM2) screen is displayed with the To Location and To ID.
  8. Confirm the Location and press Enter.
  9. Do one of the following:
    • To accept the next task, press Enter.
    • To exit the screen, press Esc.

      See the Infor WMS Capture Weight, Serial Number, and Data User Guide for more information.