Entering count information via RF
Once count records have been generated as described in Generating the count records, the physical inventory counts can be performed from RF or the workstation.
To enter physical counts via RF:
-
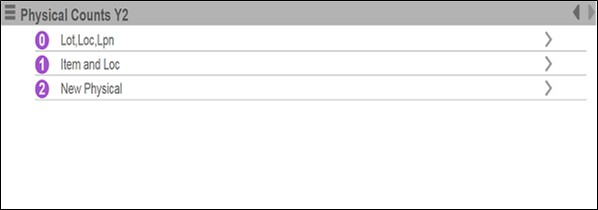
Within the Physical Counts menu, select .
-
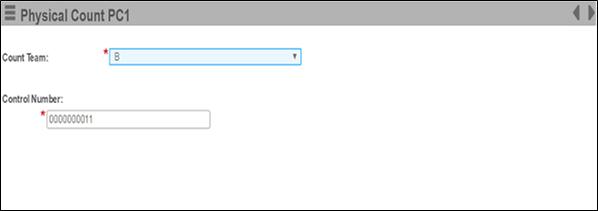
Select the applicable Count Team and
specify the Control Number; press
. The count team can be A,
B, or C. The Control Number is generated when the count process is initiated for
the owner/locations as specified.
-
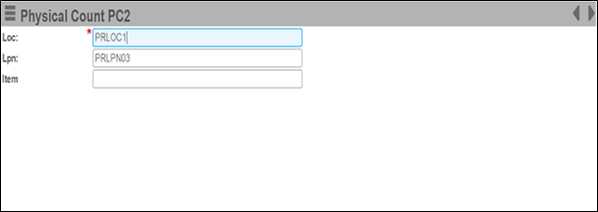
Specify the location and LPN in the corresponding Loc and Lpn fields; press twice. If the LPN is entered, then the item does not have
to be specified. The system uses the location and license plate provided to
determine the inventory to count.
If the LPN and item specified has multiple lots in the same location, then the PC7B screen is displayed where you can select the lot and lot attributes and continue counting.
Note: If the LPN specified does not belong to the location specified, then a confirmation message for capturing the information for the count is displayed. Select .If the LPN exists in the location, but the item specified does not exit on the LPN, then a confirmation message for capturing the information for the count is displayed. Select .
-
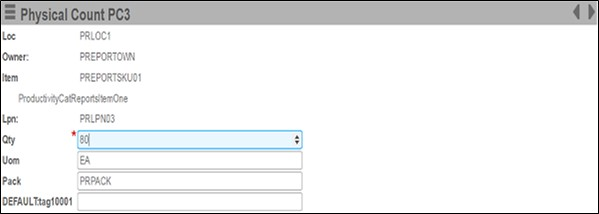
If you did not select Each Piece Scan for New Physical
Count on the Item page, then information on the inventory to
count is displayed for you to visually verify. This information includes the
pack assigned to the item, master unit of measure, and any lot attributes.
Specify the count quantity in the Qty
field. The UOM can also be used if
you want to enter the quantity using a valid unit of measure for the item. For
example, in the screen below, instead of entering 80, you could enter Qty = 8
and UOM = CA if there are 10 units in each case. Note that you can hide the pack
and/or UOM fields using the Mobile Personalization tool if you do not need
them.