My Content for Smart Help

This section contains information about uploading content to Smart Help using Infor Document Management (IDM).

You can use IDM to add your own content for screens in an application. When you add content to Smart Help using the IDM functionality, you must specify the screenID to associate to your content. Before you add Smart Help content, IDM and Smart Help must be configured. Links to the content in IDM are displayed on the My Content channel in Smart Help.

Alternatively, you can add your own content to Smart Help from the Smart Help widget in OS Portal or in the IDM application.

These file formats are supported:

  • doc
  • docx
  • ppt
  • pptx
  • xls
  • xlsx
  • jpeg
  • jpg
  • bmp
  • gif
  • png
  • tif
  • csv
  • pdf
  • xml
  • zip
  • mov
  • avi
  • wmv
  • asf
  • asx
  • m15
  • m1a
  • m1v
  • m75
  • mp4
  • mpeg
  • mpg
  • ogv
  • qt
  • vfw
  • webm
  • ogg
  • txt

Attaching documents from the Smart Help widget

Users with Infor Document Management (IDM) access can upload and view content in Smart Help.

  1. Verify that you have the required security access to Infor Document Management (IDM) and Infor OS Portal.
  2. Sign in to Infor OS Portalâ„¢.
  3. Navigate to the application and screen where the document will be attached.
  4. In the Smart Help widget, select the My Content channel.
  5. Click the Attach Documents icon.
    Attach Documents in My Documents
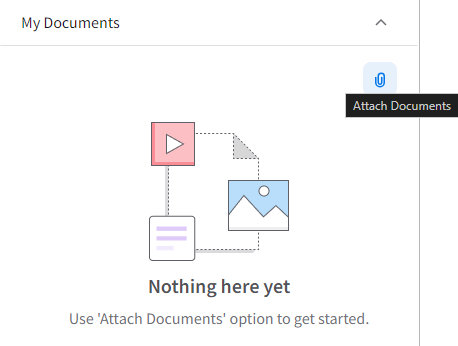
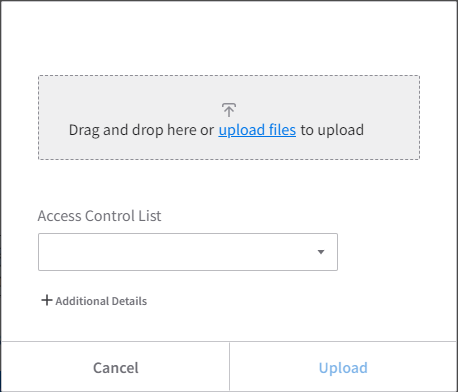
  6. In the Attach Documents window, do one of the following:
    • Drag and drop files into the window.
    • click upload files, select the files from your local drive, and click Open.

    You can upload up to five files at once. The maximum file size is 50 MB per file.

    Drag_And_Drop
    Note: Click +Additional Details to view the screen ID.
  7. Optionally, select an Access Control List to define who can view the content:
    • Private: Only the uploader can view the content.
    • Public: All users in the tenant can view the content.
    • Custom: A system administrator can configure a custom ACL.
      Note: A system administrator can add custom ACL rules to the SMARTHELP Document Type.

      For more information, see the ACL rules section in the Infor OS User and Administration Guide.

  8. After the content is loaded, click Upload.

    The uploaded content appears in the My Content channel.

    To manage the content or open IDM directly, click the Document Management icon in the My Content channel.

Adding content from Infor Document Management (IDM)

Use this procedure to add screen content to Smart Help from the IDM application. To add content to a specific screen, specify the screenID from the Context Viewer in IDM.

Alternatively, you can upload your content directly in the My Content channel.

For information about attaching your content from Infor IDM, see the Infor OS User and Administration Library (Cloud) and select User > Document Management.

  1. Sign in to Infor OS Portal as a user with access to the Infor Document Management administrator.
  2. Before you begin, verify that the Context Viewer is displayed in the context applications panel or your application screen.

    See the section about the Context Viewer in About Smart Help

  3. In your application, access the screen to add the content to.
  4. In the Context Viewer, copy the screen ID attribute from screenId into a text editor, such as Notepad. The screen ID is displayed in the format:

    "screenId": "[screen_ID]", where [screen_ID] is the screen ID of that screen.

  5. From the application switcher or from Infor OS Portal, select Document Management.
  6. Click + Add Document.
  7. Search for and select the document type SMARTHELP. Click Create.
  8. To add a file, drag and drop the document or browse to the file location.
  9. Select the Attributes tab and complete these attribute fields:
    SCREENID
    The application screenID to add your content to.
    DOCUMENT TITLE
    Optionally, you can add a document title for Smart Help to use for your content. Smart Help uses the filename by default.
  10. Optionally, select the Security tab to change the access control list from the default option.
  11. Click Save.