Appendix B - Data Rules Method Based Cached Setting IDO Extension Class Source Code Example
Creating the Assembly.
- In the Mongoose application, open the IDO Extension Class Assemblies form.
- Remove the filter and create a record with these information:
- Assembly Name: DRExampleUserReqs
- Assembly Type: Build From Source
- Language: C#
- References: add
System.Data.dllto the References string.In total, the References are:System.dll, System.Data.dll, System.Linq.dll, System.Core.dll, System.Transactions.dll, System.Net.dll, System.Web.dll, System.Net.Http.dll - Filename on the Assembly: DRExampleUserReqs
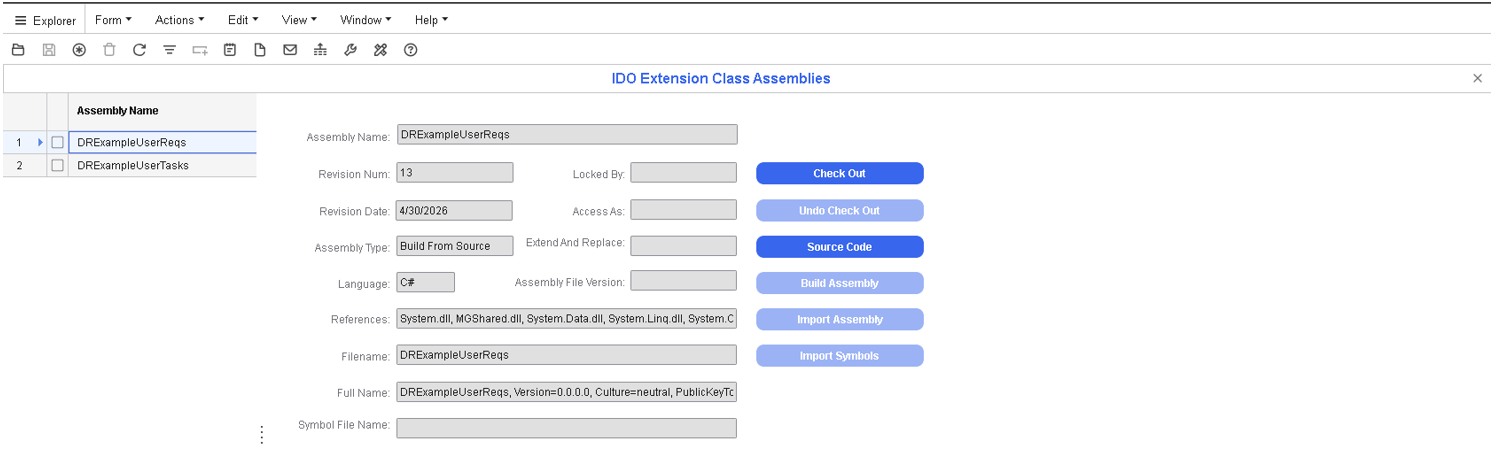
- Save the assembly record.
- Click the Source Code button.
- in the Filename in the source code are of the assembly, specify DRExampleUserReqs.cs.
- Click the Code Editor button and select all of the defaulted coude and delete it.
- Paste this code in the Code Editor:
using System; using Mongoose.IDO; using Mongoose.IDO.Protocol; using Mongoose.Core.Common; namespace DRExampleUserReqs { [IDOExtensionClass( "DRExampleUserReqs" )] public partial class DRExampleUserReqs : IDOExtensionClass { /// <summary> /// Cached Setting Method - Retrieves the CS_VendorControlledMaintMatls cached setting /// from the DRExampleReqParms IDO. /// Returns "1" if vendor controlled maint matls is enabled, /// "0" otherwise. /// </summary> [IDOCachedSettingMethod] public string CheckVCMMUsage() { string usingVCMM = IDORuntime.GetCachedSetting( "DRExampleReqParms", "CS_VendorControlledMaintMatls" ); if ( usingVCMM == "1" ) { return "1"; } return "0"; } } } - Click OK of the Code Editor to close the form, and click the Save button.
- Click the Check In button and click OK past the message:
Source control integration is currently disabled in the current configuration. The item will not be checked in to source control.
- Close the Source Code page using the X or close button at the top right of the page.
- On the IDO Extension Class Assemblies form, click the Build Assembly button on the right side.
It should build and display the message:“Assembly compiled and updated successfully.”
- Click OK.
- Click the Check In button.
- Open the IDOs form and filter on the IDO:
DRExampleUserTasks. - Check out the IDO and populate these fields:
- IDO Assembly Name: DRExampleUserReqs
- Ext. Class Namespace: DRExampleUserReqs
- Extension Class Name: DRExampleUserReqs
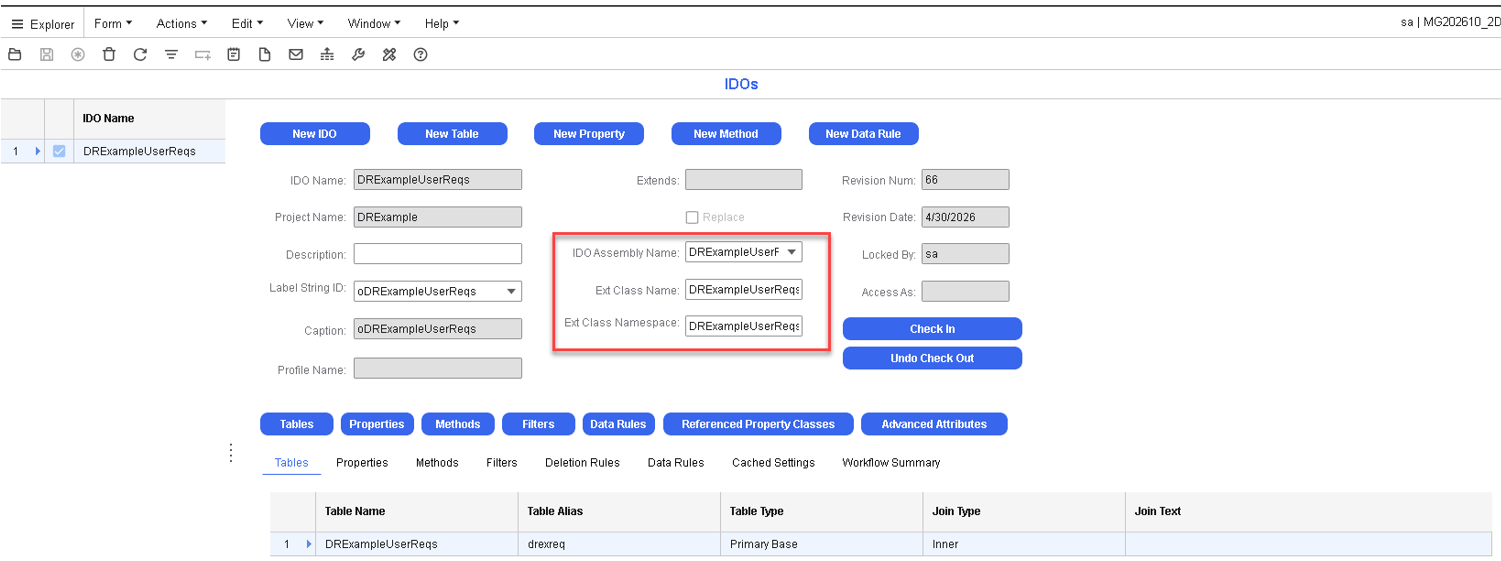
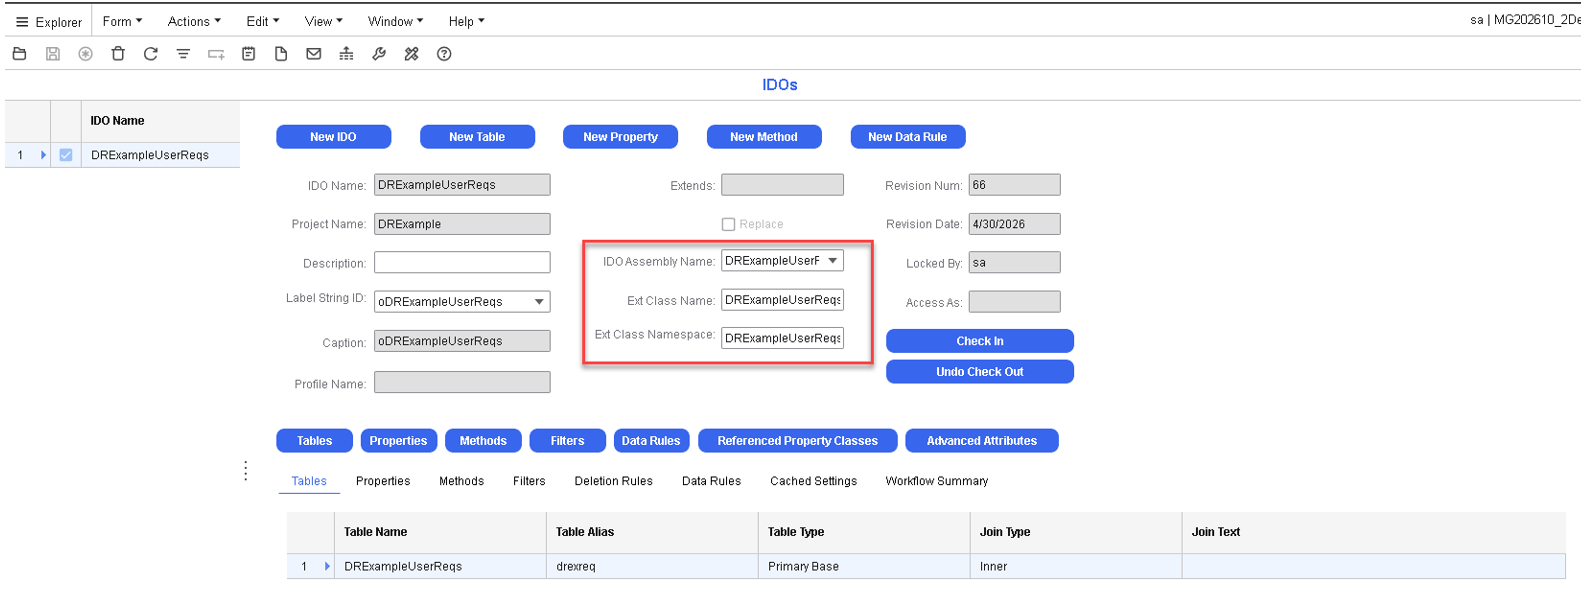
- Save the IDO record.
- Check In the IDO.
- Discard the IDO Cache.
Caution: The IDO Name and Extension Class Name must match exactly.
When adding Custom Assembly Extension Class code, if the IDO already has some, it is better to create a New IDO, or find an IDO that does not have a Custom Assembly Extension Class.
- Navigate to
Note: This will also discard the IDO cache if is selected.