Creating a Test Case
- Click the Test Tab link in the Overview tab and click New. The Create a new test case window is displayed.
-
Specify the method and add a name and description. Click Finish. The Test Cases editor is displayed.

- If there is no input to this test case, it is done.
- Select Deploy from the context menu of the web service.
-
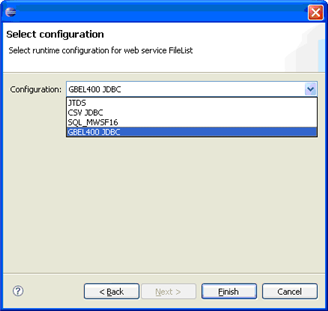
Select the applicable server followed by the applicable
configuration (example).

- Click Finish.
-
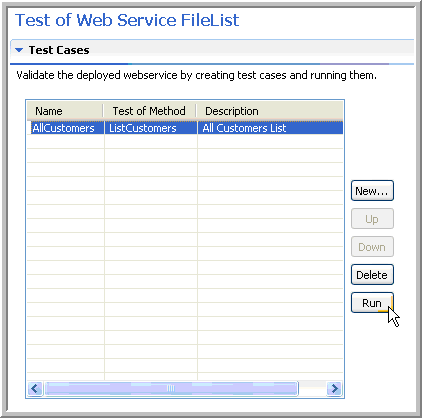
Return to the test case.

- Click Run to run the test case.
-
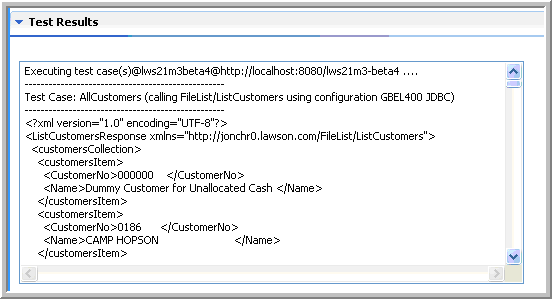
After you have specified the correct user and password for the database as requested,
the results should be shown. Note how the names for the elements match those that we keyed
on our result set earlier.

Related topics