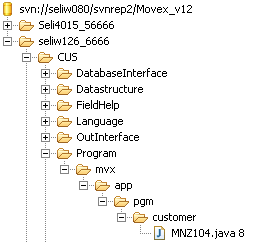
Committing changes to a repository

Use this procedure to commit changes to a repository. If you selected automatic integration, the entity is automatically committed when deploying to HFix.

Before you can perform this procedure, you must already make changes to an entity and be ready to deploy it to HFix. See M3 Adaptation Kit User Guide.
  1. Select the entity that you modified in the MAK Navigator.
  2. Right-click and select Team > Commit. The Commit window is displayed.
  3. Specify your comments in the text box. These comments are useful when you need to check your code history.
  4. Click OK.

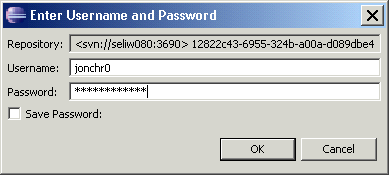
    If you have set up the security, you will be prompted for your repository credentials.

  5. Specify your user name and password and click OK.
  6. Deploy your entity from the MAK Navigator.
  7. Switch to the Workspace Navigator.
  8. Verify that the icon of your entity has changed from an asterisk '*" to a small disc icon. This indicates that the code was committed to the repository.
  9. Verify that the new serial number, date, and time displayed after the entity name are the latest.

    The serial number reflects a change to the repository, not to your specific entity. You should not expect consecutive numbers on your committed code.

  10. Switch to the SVN Repository view.

    Press F5 to refresh the view.

  11. Locate your entity.

    The serial number in your entity must match the one displayed in the Workspace Navigator.