Deploying multiple entities using action number

Use this procedure to deploy multiple entities using the action number. Entities that are connected to the same action number can easily be deployed to the server at the same time.

Note:  The entities you can deploy depends on whether Extended Access Mode is enabled or not.
See Working with entities in M3 Adaptation Kit.

  1. In the MAK Navigator tab, right-click to display the context menu.
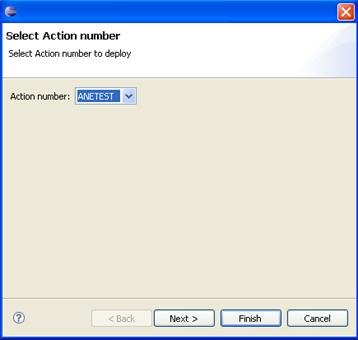
  2. Select Deploy A/N. The Select Action number window is displayed.
  3. Select the Action number that connects the entities that you want to deploy.
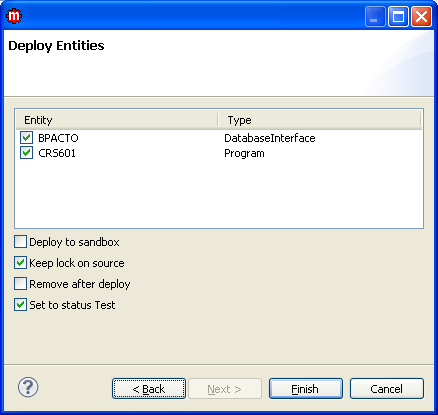
  4. Click Next. The Deploy Entities window is displayed. All entities in workspace that are connected to the selected action number are listed.
  5. Select one or more entities that you want to deploy using the Action Number.
  6. Select from the deploy options as needed:
    Deploy to sandbox Select this option if you want to use the MAK Sandbox functionality. When deploying to the sandbox, the Remove after deploy setting is disabled and the component will remain in the MAK Navigator tab.
    Keep lock on source

    Select this option to keep lock on the file even after deploying.

    This option is selected by default.

    Remove after deploy Select this option to remove the entity from the workspace after deploying.
    Set to status Test Select this option to automatically set the A/N status to Test.
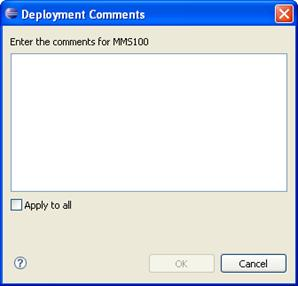
  7. Click Finish. The Deployment Comments window is displayed.
  8. Specify comments in the text box.
  9. Select the Apply to all option if you want your comments to be applied to all the entities that you selected for deployment.
  10. Click OK. The entities are now deployed.
    Note:  If MAK is under Version Control, it performs an auto-commit to the SVN server when an entity is deployed and its corresponding project is connected to SVN. When you browse the SVN history of the deployed entity, the comment column will display the following: <AN>: <User Comment> (Automatic MAK commit)