Mass Assigning Attributes to Users

These instructions assume you are familiar with creating queries. If you are not, search this document for additional instructions.

  1. Log into the Resource Management Administrator.
  2. From the screen for selecting a new or existing view, click Exit.
  3. From the Tools menu, select Mass Assignment.
  4. From the first Resource Management Administrator screen, select People (listed under Resources).

    If you receive a message about changing the object definition, click Yes.

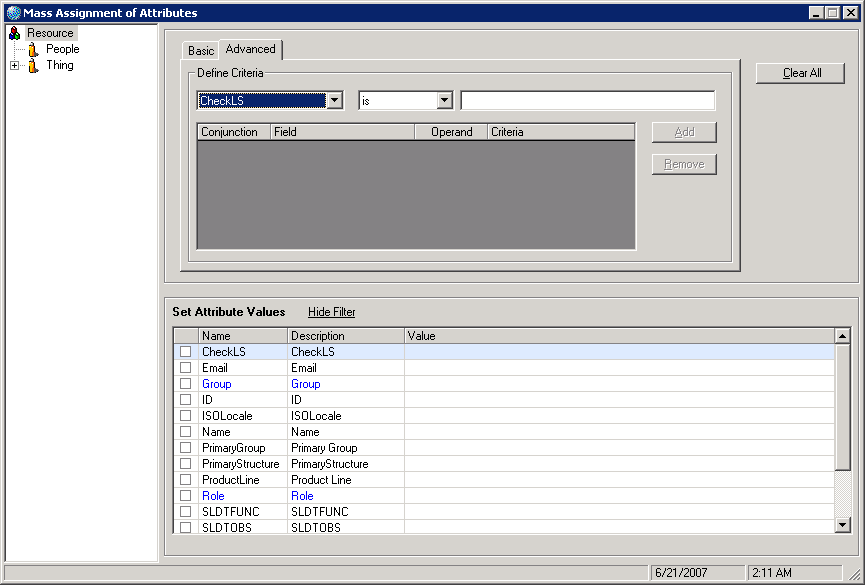
    You should be at the Mass Assignment of Attributes dialog box.

    Form clip: Mass Assign dialog box
  5. Perform a query to identify the entries that you want to update.

    For example, if you want to change an attribute for all users, you could do create a simple query ("ID=*") that would result in all entries. The query rules are the same as when you create views. A results list does not appear on the screen, because the mass assignment process occurs in background.

  6. When you have identified the entries, move to the bottom half of the dialog box to select the attributes that you want to change.

    Click the attribute to add a check mark to the attribute and then in the right-most column, type the appropriate value for the attribute.

    You can change more than one attribute at a time if necessary.

  7. From the main toolbar, click the Mass Assignment icon (green, right-pointing arrow).

    You should see a message that the mass assignment process has started.

  8. From the toolbar, you can click the Mass Assignment Status icon (up-pointing arrow on a white background) to see the current status. Continue checking the Status icon until a message that the mass assignment process has completed.
  9. When the mass assignment procedure completes, click Reset (wrench icon on tools menu).

    This is necessary because no other mass assignment procedures can be run until a reset occurs.