Performing an advanced query
This section describes how to make use of advanced query features to locate users when a simple name search does not provide the correct results.
To create an advanced query
-
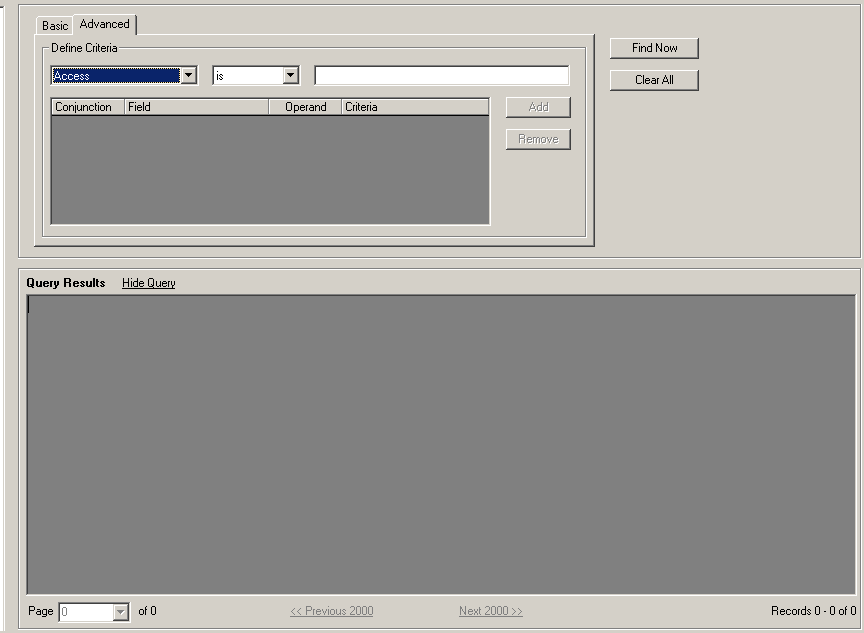
From the User Maintenance screen, click the Advanced tab.
-
From the first drop-down box on the query screen, select the first attribute (field) that you want to include in your query. All attributes associated with the object type you selected should be available.
-
Select an operand from the drop-down box. Options are:
-
is
-
is not
-
less than
-
greater than
-
starts with
-
sounds like (locates all entries that have some words in common)
-
-
Type the data you're looking for in the Criteria box. Use the wildcard character (*, asterisk) to locate all entries.
-
Click Add Criteria.
The criteria will appear in the query box.
-
If you want to add other criteria, select And or Or from the conjunction field and then create another statement in the way you did in steps 2 through 5.
-
When you are finished making criteria selections and are ready to locate the users, click Find Now.
The user (or a list or users) appears in the bottom pane of the screen.
If your results list is long, you can click Hide Query to close the query dialog box and fill the entire screen with the results list.
If your query did not return the correct user or if it returned so many users that the list is not useful, re-run the query using different or additional attributes.
If you are creating a list of users (rather than just locating a specific user), you can make use of options for formatting the query.
-
If you want to make changes to a user in the list, right-click the user to make changes to the entry.
A menu with the following options appears:
-
Edit RM Information: This option is for updating the user entry.
-
Manage Identities: This option lets you change identity information (including password) for the user.
-
Edit Lawson Environment Information (does not apply to users set up through Lawson Security)
-
Delete User: Delete the user and all its identities.
-
To format how the query results will appear on your screen (and execute the query)
-
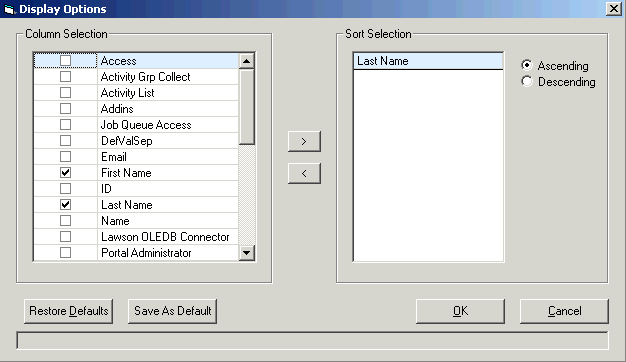
From the list of options you have selected for your query, click Display from the toolbar.
A dialog box for formatting the query results appear.
-
By default, First Name and Last Name are selected as display fields. If you want other fields to display as columns in your results list, select them.
Bear in mind when you are selecting fields that they will display horizontally across your screen and scrolling horizontally to view your data might not be convenient. It is a good idea to limit the number of display fields to a number that will not require scrolling.
-
By default, results are sorted by Last Name. If you want to use different or additional sort fields, select the field in Column Selection and then click the right-pointing arrow to add it to Sort Selection. (Use the left-pointing arrow to remove a field from Sort Selection.) You can also change the sort from the default of Ascending to Descending.
-
When you are satisfied with the formatting selections, click OK to execute the query.
-
You can choose to save changes you have made as defaults for queries you make in the future (click Save As Default) or restore the Lawson-delivered defaults (click Restore Defaults).