Adding a group

Resource Management accepts only the following special characters in text fields (like ID and Description):

  • Alphabetic characters, A through Z, upper- and lowercase

  • Numeric characters

  • Spaces

  1. If you have not already done so, log into the Resource Management Administrator. Bypass the screen for selecting views by clicking the Exit button or the Windows close icon (top right of the dialog box).
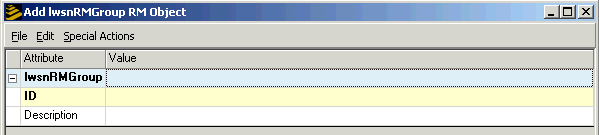
  2. From the Resource Management Administrator toolbar, click Add and then click Group.

    The Add Group RM Object dialog box appears.

    Form clip: Add Group RM Object dialog box
  3. Specify an ID for the group. IDs can be up to 50 characters long.
  4. Provide a description for the group.

    You must provide a description. Resource Management uses the Description field to locate entries when you perform a query.

  5. When you are finished adding the attributes, click Edit and then click Add.

    The message "Add successful" should appear in the bottom left of the dialog box.

    If you receive the message, "Cannot add, attribute is being edited," it means your cursor is still in edit mode on the ID field. Move your cursor out of the ID field to resolve this issue.

    You are now ready to assign resources to groups. You can add them by updating user entries individually or by using the mass assignment procedure. Instructions for locating users and for mass assigning are in other sections of this document.

    See Locating Users (Resources), Groups, or Roles and Mass Assigning Attributes to Users.