Changing the Data Area for a Form

This procedure explains how to change the data area for a form. You might need to perform this procedure if you have created a new form on a development server or downloaded a custom form from one server to another.

To change the data area for a form

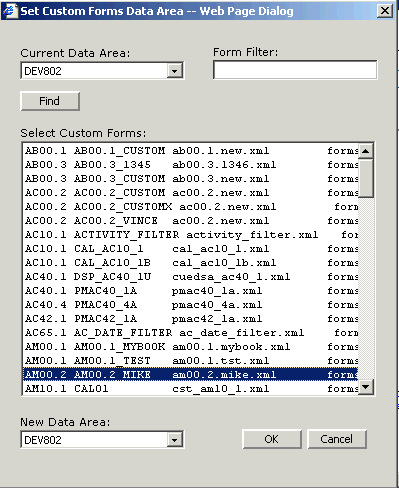
  1. From the UI Designer Tools menu, select Set Forms Productline.

    The Set Custom Forms Productline dialog box appears.

    Form clip: Set Custom Forms Data Area
  2. Make selections for the following:
    • Current Data Area: The current data area of the form.

    • Form Name: Select the form from the list or use the Find button to search for the form.

    • Form Filter: Use in conjunction with Find button to limit the range of your search, that is, to make the search run faster. For example, if you are only interested in a form in the HR data area, you could type "HR" in the Form Filter text box and then click Find.

    • New Data Area: The data area you want to change to.

  3. Click OK when you are finished making selections.

    The new data area will now be the default for the form.