Link to item
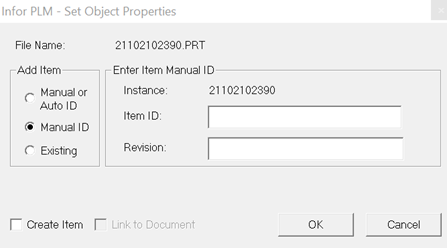
If you click this option, the Link to Item dialog box is displayed. In this dialog box, you must specify the item to which the part/assembly file must be linked or enter an ID for the item that you want PLM to generate and link to the part/assembly file.

If you select the radio button and leave the Item ID: field blank, an item and an item ID is generated in PLM. If you enter an ID in the , an item is generated with the ID that you entered in the : field. The field is optional.
If you select the radio button, you must enter an item ID in the field. As a result, PLM generates an item with the ID that you entered in the field.
If you select the radio button, in the field, you can enter an item from the PLM database. As a result, the part file is linked to the item that you entered or selected in the field.
If you entered incorrect item ID data in the Link to Item dialog box, before you save to PLM, you can click this menu option again to correct the item data.
After you enter the ID data as required, you must save the part file to PLM.
Note that the preferences set in the PLM Preferences dialog box determine which item data you can specify in the Link to Item dialog box. For further information, see PLM preferences.
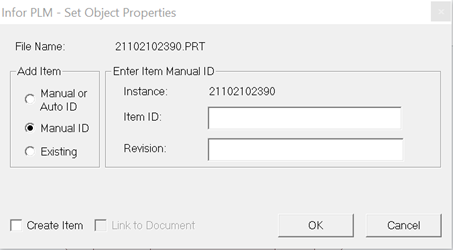
When the present file is not yet saved in PLM and you click Link to Item on the PLM menu, the following screen is displayed.

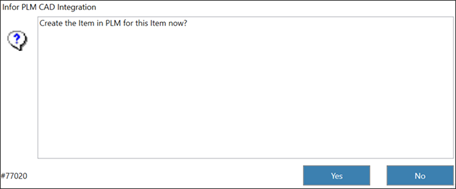
If you select check box, the item is created in PLM when user clicks , without waiting for the Save to PLM operation. Default setting of the Create Item is defined by the integration preference under group in .
Click .

When the current file is already in PLM and when you click , the check box is selected indicating that when user clicks OK, the item is linked to this document in PLM, without the need to perform operation. The check box is enabled based on the options selected in the group in .