To save a file to PLM
- Do not use & < > ' “ symbols in the file names that you save to PLM, this will cause errors to occur.
- If you are working with design variants and you want to save the design variants as well, complete the Capture Design Variant process before you save a file to PLM.
- Click Save to PLM in the PLM toolbar.
- Select Save to PLM from the PLM menu.
- If all the IDs are generated automatically by PLM, which you can specify in the preferences, the file is saved.
- If the Set Object Attribute During Save check box is selected in
the integration preferences, the Set Object Attributes dialog box appears.
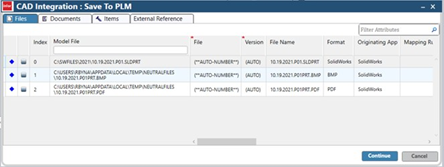
In this dialog box, you can switch between the File, Document, and Item tabs and for each tab you can update any attribute. After you finish updating attributes, click OK in this dialogbox.
For attributes that you do not update, the PLM default values are automatically inserted. For further information, see Initial Save Option.
While saving files to PLM, the integration checks whether you own the files being saved. Editable files that are not owned by you or by any other users are displayed in the Taking Ownership on dialog box. In this dialog box, select the files that you want to save to PLM. See Taking Ownership
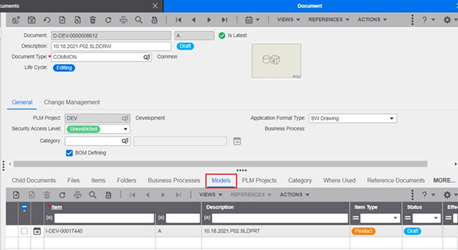
The Integration saves the files, documents, and items to the PLM database and creates hierarchical links between the documents, files, and items for the assembly documents and the bill of material.
When you create a drawing for a part and click Save to PLM, the
integration creates files and documents for the drawing, and in the hierarchy, links the item
of inserted part as a model to the drawing document.