Method-2
- Download the Kisters_Custom_configs.zip file from the KB 2226796.
-
Copy the CRendererInstance.ini and
ViewStationWeb.ini files
installation folder.
For Example, C:\Kisters\WebViewer\ folder.
-
Open ViewStationWeb.ini file and
find the “ClientPort” and assign the
port number, similarly “HostName=<Hostname:port>” and replace with respective
Hostname and port number.
For Example,
ClientPort=8081
HostName=myhostname:8081
-
Copy the
customScripts.js, userdefined.jsandoverride.jsfiles into ~\www\custom folder. - Open the customScripts.js file and find the keyword “Hostname” and replace with the respective Hostname, save and close the file.
-
Open the override.js file and change the value of g_sWebSocketAdress
- http: ws://HOSTNAME:PORT/ws
- https: wss://HOSTNAME:PORT/ws
-
Run the start_WebViewer_log.bat
file to start the Kisters server. A command prompt window is displayed with the
system details:
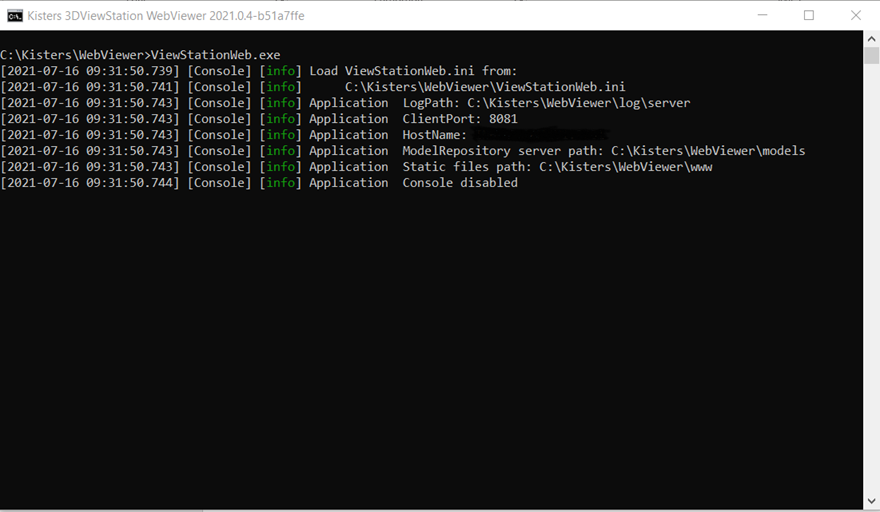
Else, an error message is displayed.
-
Modify this URL.
http://<hostname>:<port>/index.html?file=<C:/Kisters/WebViewer/models/integration_sample_models/>
- Hostname: Kisters installed server Hostname.
- Port: Allotted port number for Kisters.
- File: Converted sample file location.
- Test the URL to confirm that the Kisters is working.