Taking action on a work item
The options available for a work item vary depending on how it was set up.
In the example that follows, buttons for Approve and Reject are available.
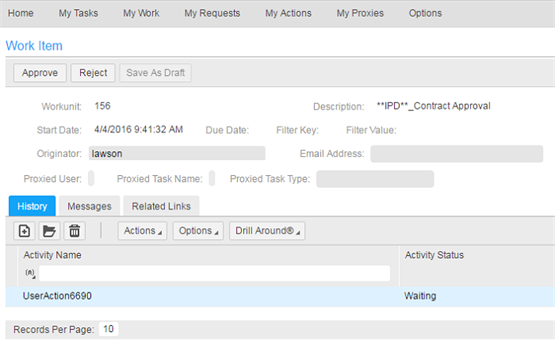
From the Inbasket work item page, you can also view these tabs:
- History
This tab shows all the actions that have been taken to date on the work item.
- Messages
If additional information had been sent with the work item, you could click here to view it.
You can also use this tab to send a message with your action. For example, if you rejected a request that was sent to you, you could send a message to explain why rejecting is necessary. If you want to add a message, you must do so before you click the action for example, Accept or Reject button.
To add a message, click the Add button on the Messages tab and specify your content in the Subject and Message boxes.
- Related Links
You can use this tab to add or view any additional information that was sent to you through the work item.
You can also use this tab to send additional information about the work item by attaching such things as forms or documents or links to documents Internet locations.