Step 1: Install IRC Services
Install IRC Services as follows:
-
Click
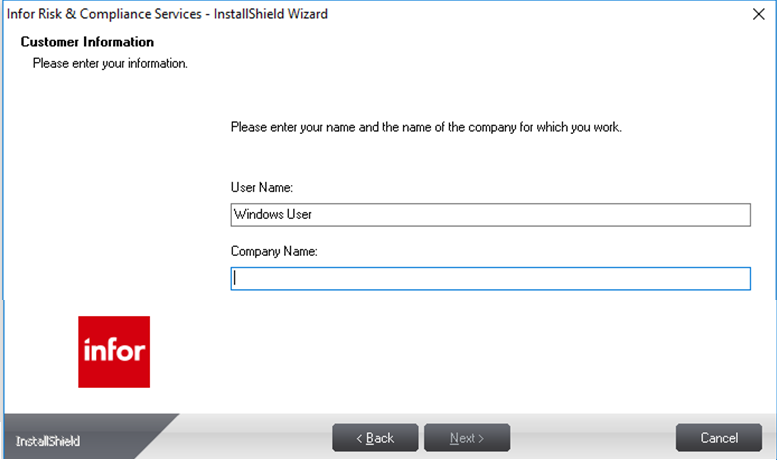
. The installer
displays the
Customer Information screen.
-
Click
. The installer
displays the Select Features screen.
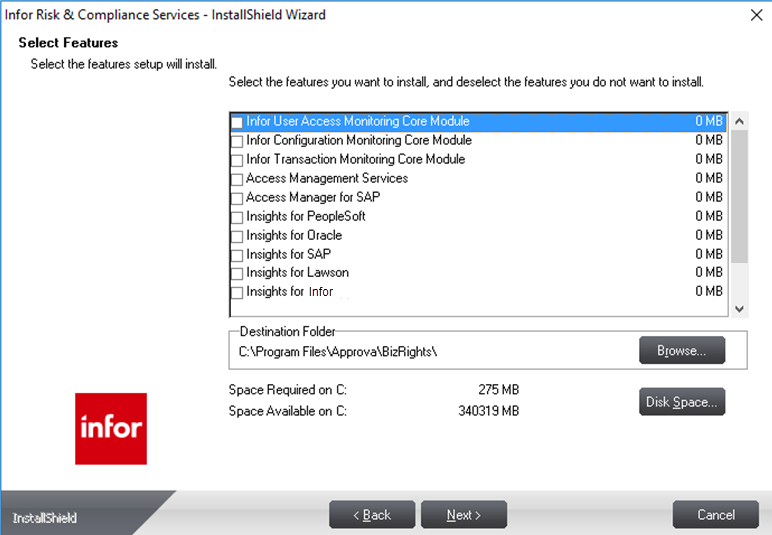
The Select Features screen displays a list of features (Insights) that will be installed on the IRC platform. You have the option of removing an Insight by clearing the check box next to the desired Insight.
Note: To install Process Insights, ensure that the option Flat-File support is selected on the Select Features screen while installing IRC Services.The Destination Folder, a panel on the window, displays the default location in which the selected features will be installed. To change the destination drive, click Browse and select a different location. Ensure that the location selected is not the root drive but a folder.
-
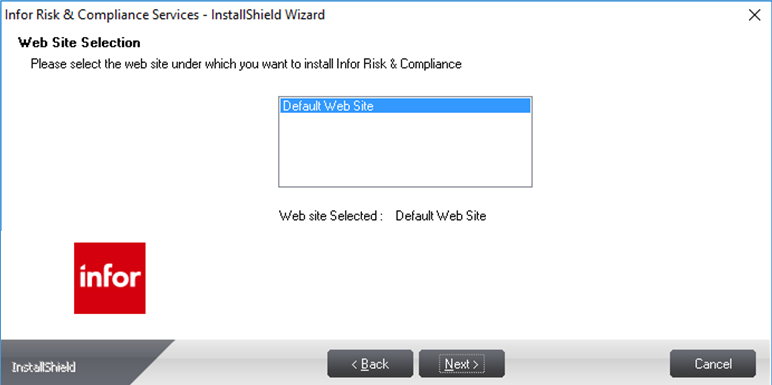
Click. The
Installer displays the Web Site Selection screen.