Adding Infor CloudSuite to Google G-Suite
- Log on to the Google Admin console as an administrator.
- Navigate to . Click and select Search for apps.
- Search for Adobe and select the Adobe app for the Web (SAML) platform.
- Click Download Metadata to download the Google metadata to be used in later steps. Click Continue.
- For the ACS URL specify the value for the Infor CloudSuite Assertion Consumer Service saved from previous steps.
- For Entity ID, specify the value of the Infor CloudSuite Entity ID saved from previous steps.
- Under Name ID, change the Name ID format from EMAIL to UNSPECIFIED and click Continue.
- Click Finish on the Attributes page.
- In the User access area, click the down arrow in the top right corner to expand the panel.
- Change the Service status value to ON for everyone and click Save.
- In the Service status area, click the up arrow in the top right corner to collapse the panel.
- In the Service provider details area, click the down arrow in the top right corner to expand the panel. . Optionally, select the Signed response option. Click Save. Collapse the panel.
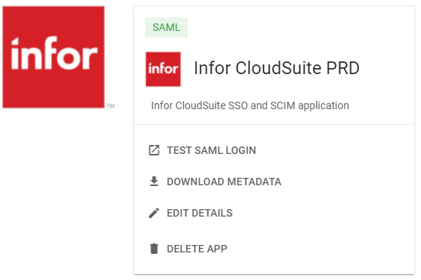
- Click Edit Details in the SAML area.
- Change the App name from Adobe to Infor CloudSuite <ENV> (PRD, TST, TRN, and so).
- Change the Description to Infor CloudSuite SSO and SCIM application.
- Under , click the current icon and select Change Photo. Browse and select an image to be used as the icon. The Infor icon below may be used.
- Click Save.