Creating the Data Lake flow
A prerequisite of setting up the Data Lake is that you must generate an API Gateway file. See Obtaining the IDM user credentials.
A value from this file will be used below in step 3. It is crucial that the user who is identified on the Download Credential page when generating the API Gateway file have, at the minimum, the following security roles before setting up the Data Lake. If this is not the case, the roles can be added. Then, a new API Gateway file can be generated and used as an input to the Action for Import API Gateway Config file wizard in PLM Process. Failure to have the necessary security roles will result in a 403 - Forbidden error when setting up the Data Lake.
This is a list of the necessary security roles:DATALAKE-AdministratorDATALAKE-DataAdministratorDATALAKE-SystemAdministrorIONAPI-AdministratorIONDeskAdminIONDeskSecurityAdminSecurityApplicationAdminIONDeskOAuthGenerator
- In the Name field, specify Optiva2DataLake.
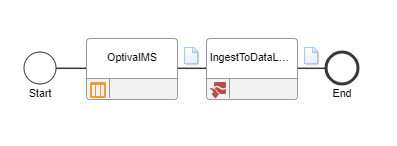
The data flow should look like this:

- In Application Activity Properties, specify the name: OptivaIMS.