Synchronizing customized files with changes to system files
If you have customized .config files and other system files from your previous installations of Optiva, follow these instructions.
The system files that you installed may require updates for the new version of Optiva. Consequently, you must incorporate your customized changes into the new standard files.
The recommended approach to synchronizing these files is to use a third-party comparison utility to see the differences between the files. Then, manually copy changes from one file to another to create an updated customized file.
Use the
OptivaSettings to update the authentication settings to
those used by the previous installation before making the comparison. The
settings for the
WS-Federation authentication profiles are different from
those of any other authentication profiles.
- Backup FsOptivaWeb/Web.config and make a note of the authentication profile that is used.
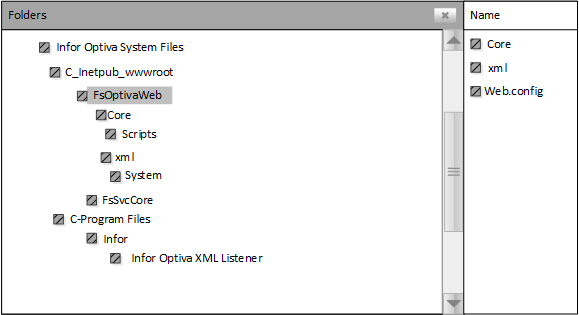
- Create a folder structure for your custom files that
mimics the Optiva installation folder
structure.

- Uninstall the old version of Optiva.
- Install the new version of Optiva.
- Use
OptivaSettingsto specify the authentication profile that was in use for the previous version. - Compare FsOptivaWeb/Web.config with the backup to discern the customizations. You can use a standard file comparison utility such as Beyond Compare.
- Run a comparison of the new system files with your customized files. The tool shows all of the differences between the files.
- Add your previously customized changes to the new standard files.