Assigning an item code to a formula
There are various methods within Optiva that you can use to create a manufacturing item and designate a Master Formula for it.
Each method is described here.
First method
Create the item first.
- Create a Material item (i.e., component type 1) in the Item form.
- Create or open a formula in the Formula form.
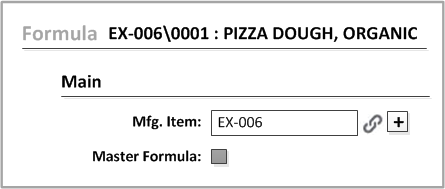
- Add the newly created item to the Mfg Item field.
- Select the Master Formula check box.
Second method
Create the item in the Formula form.
- Open a formula in the Formula form.
- Specify a new item (i.e., one that you have not yet created) in the Mfg Item field.
- Select the Master Formula check box.
- Click . This button is beside the Mfg Item field.
Third method
Start in the Formula form, but create the item in the Item form.
- Open a formula in the Formula form.
- Leave the Mfg
Item field blank and click the button beside that field.
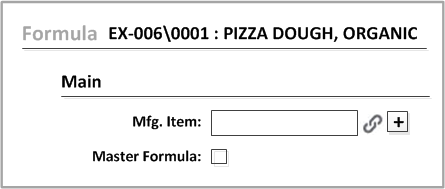
- Complete the entries in the Create Rule dialog, if prompted to do so. The administrator can configure Optiva to bypass this dialog.
- When your new item is displayed in the Mfg Item field, select the Master Formula check box in the Formula form.
If the Master Formula box is read-only, master formulas are set through Optiva Workflow Management. If you change the master formula, the parameters in every formula that use the master formula are updated to reflect the change; this concept is called Rollup.