Configuring Optiva
-
Add the Document Types to the
Optiva
Symbol form.
-
Select Text/Attachments or Attachments from the
Capabilities
list. This enables users to upload text and image files (e.g., PDF files and
JPG files).
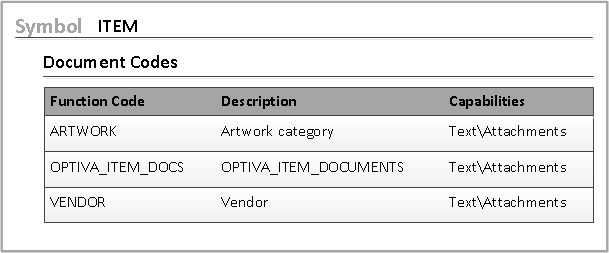
In the Symbol form, you can create Function Codes and specify URL in the Capabilities field. This option enables users to attach URLs instead of files. The URLs are not uploaded to IDM.
-
Select Text/Attachments or Attachments from the
Capabilities
list. This enables users to upload text and image files (e.g., PDF files and
JPG files).
-
This step is optional. Create a filter for the Function Codes that
you want displayed in the Attachments grid. In this example, the Filter is called
GLOBALDOCCODES.-
Assign a lab to the filter, such as the Global lab.

-
Assign a role, such as
RL_ADMIN, or a user to the filter.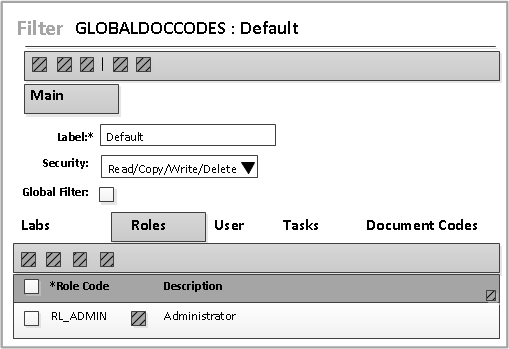
-
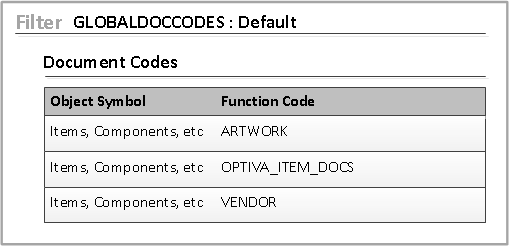
Assign the function codes to the filter.
These Function Codes are the IDM Document Types that you assigned to the Item Symbol.
-
Assign a lab to the filter, such as the Global lab.
- This step is optional. You can limit the list of Function Code choices that are displayed in the Attachments grid. See Specifying form controls for function codes.
- Configure the browser, if necessary, to allow pop-ups. This ensures that when Optiva users click the IDM link in the Attachments grid, the file is displayed.