Adding views

Each user can have their own set of views.

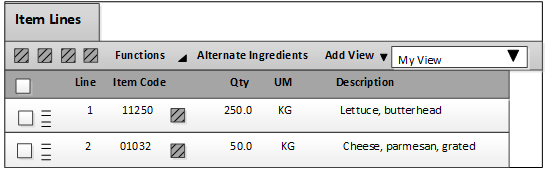
A default view is provided for the Parameters tab and the Item Lines tab. You use this default view as the basis to create a new view.

  1. Click Add View.
  2. Specify a name for the new view and click OK. The name of your new view is displayed in the drop-list that is beside the Add View button.
  3. Customize your new view to suit your business needs.
    • Add columns using the Column Personalization menu.
    • Hide the columns that you do not want to include in your new view.
    • Resize the column widths.
    • Rearrange the order in which the columns are displayed in the view.
    • Freeze columns so that they remain visible as you scroll horizontally.
    You can create as many views as desired and switch between those views. The Parameters grids for Formula, Item, and Project share the same views.
    Filters and column sort order do not apply to the Add View feature.