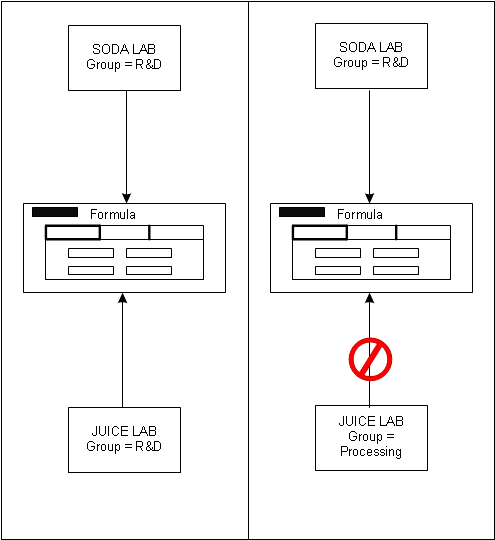
Naming conventions for groups
Use the same group for users in different labs. This allows users to access the same objects.
-
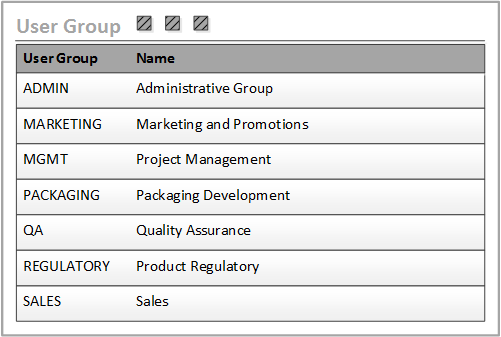
The User Group is now displayed in the User Group Lookup list.
-
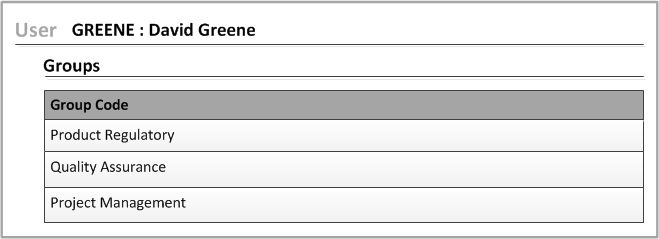
Assign the groups to the user in the
User form. In this example, the user belongs to
three groups.
 You can assign a default group to the user in the tab. This group is considered to be the primary group for Optiva security. The code in the Main tab overrides the codes in the Role and Group tabs.
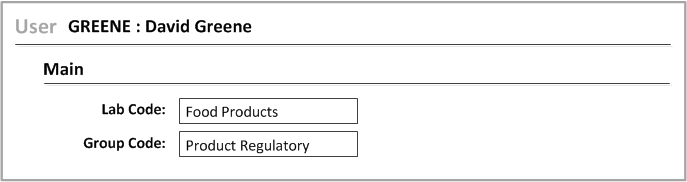 When you specify a default lab and group in the Main tab, those values are used to log the user directly into Optiva. The user is not prompted to select a lab and group when they log in.