Filtering Data Source Columns
For each column you select, you can filter its columns, by clicking the filter icon at the top of a column. The filter you apply limits the number of rows extracted based on the filter criteria.
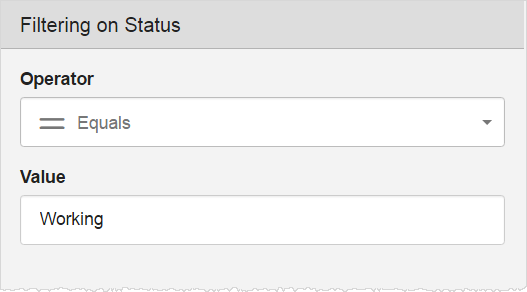
The filter panel lets you select a valid operator based on the data type such as equal to, greater than, less than, not equal to, and so on. You need to provide a valid value for the selected column.

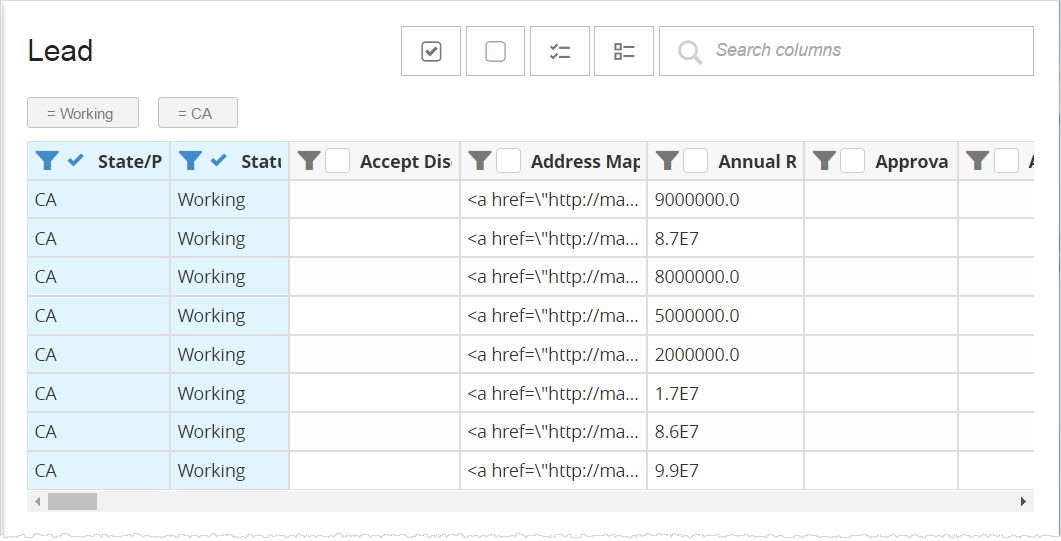
When you apply a filter and click , the preview panel updates displaying only the rows that match the filter criteria. Selected filter tag(s) display at the top of the table.

Select more columns and add filters for additional tables as needed.
Click .
If you used a recommendation, make sure to scroll through the columns to see what was selected by default.

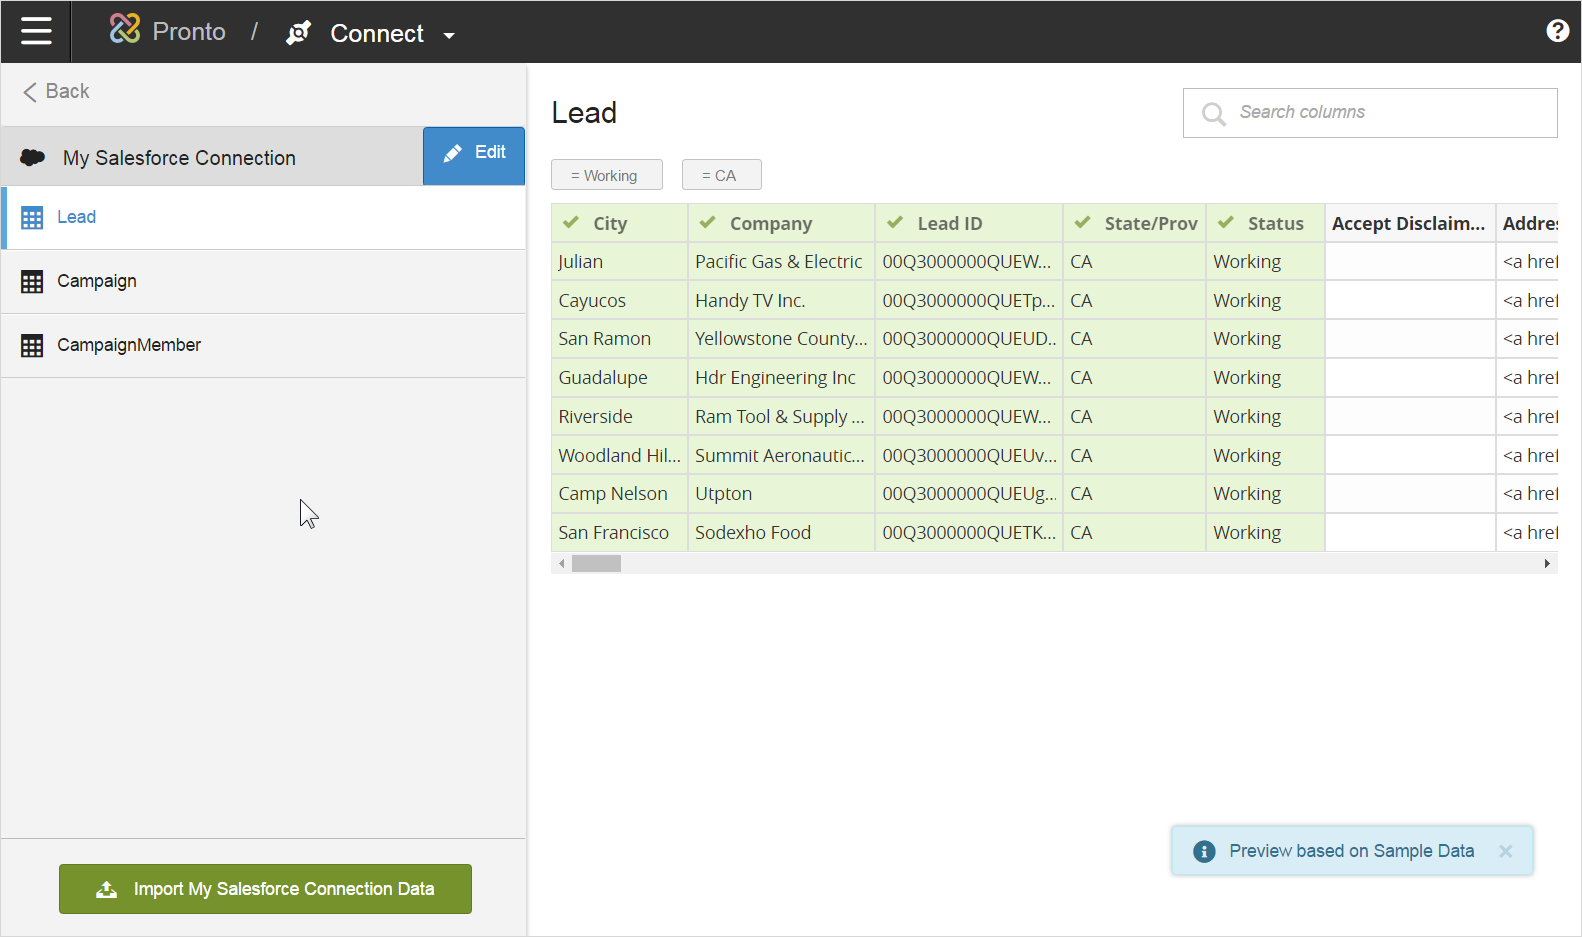
The Connect page refreshes, displaying only the tables you selected, and a preview of all the rows. You can click , to continue refining the columns you want to select for each table.

- BINARY
- VARBINARY
- LONGVARBINARY
- BLOB
- CLOB
- NCLOB