Creating a REST connection
- Navigate to Modeler Connect.
- Select the REST connector or click +Create and select REST from the Select the connector list.
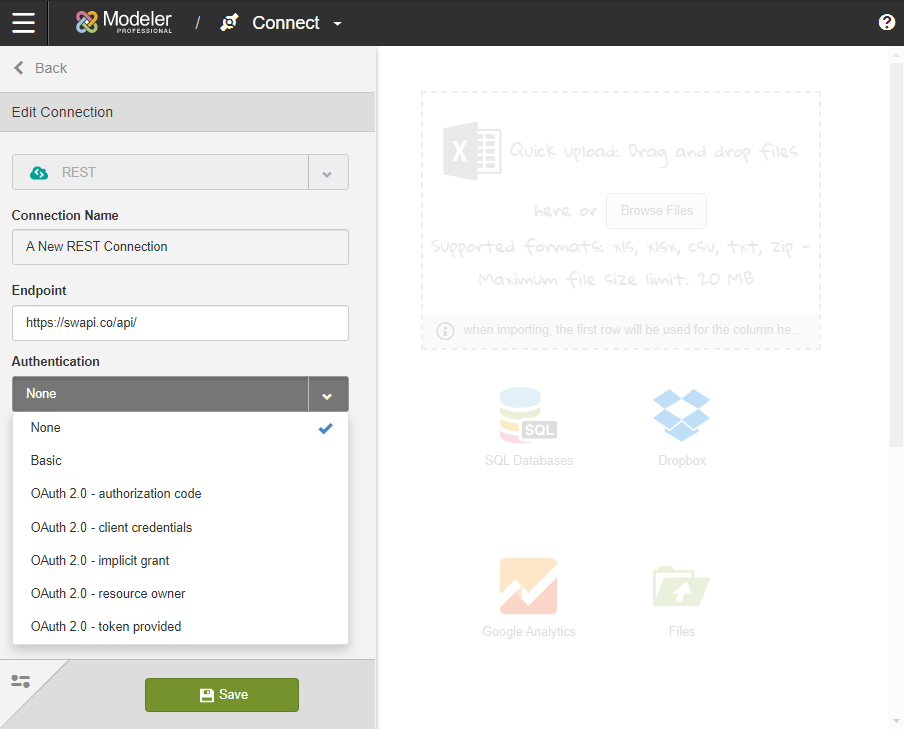
- Specify the Connection Name. The name must be unique.
- Specify the Endpoint URL. This is the Root URL of the Web Service used to retrieve data. The REST Connector requires the following syntax for URLs:HTTP | HTTPS://<Endpoint>/<Resource>?<Query>
- Select the Authentication method. Depending on the method selected, additional information must be provided. Birst supports these methods.
- None
- No additional information is needed.
- Basic
- Requires Username and Password.
- OAuth 2.0
-
Birst supports five different authentication methods for OAuth 2.0. You can verify the information you'll need to supply with your chosen application's API documentation.
For more information on these fields, see OAuth2.0's help content.
- OAuth 2.0 Authorization Code requires Access Token URL, Authorization URL, Client ID, Client Secret, and Callback URL.
- OAuth 2.0 Client Credentials requires Access Token URL, Client ID, and Client Secret.
- OAuth 2.0 Implicit Grant requires Authentication URL, Client ID, and Callback URL.
- OAuth 2.0 Resource Owner requires Access Token URL, Owner Username, Owner Password, Client ID, and Client Secret.
- OAuth 2.0 Token Provided requires Access Token. When this method is selected, optional fields for Refresh Token, Refresh URL, Client ID, and Client Secret are available under More Options.

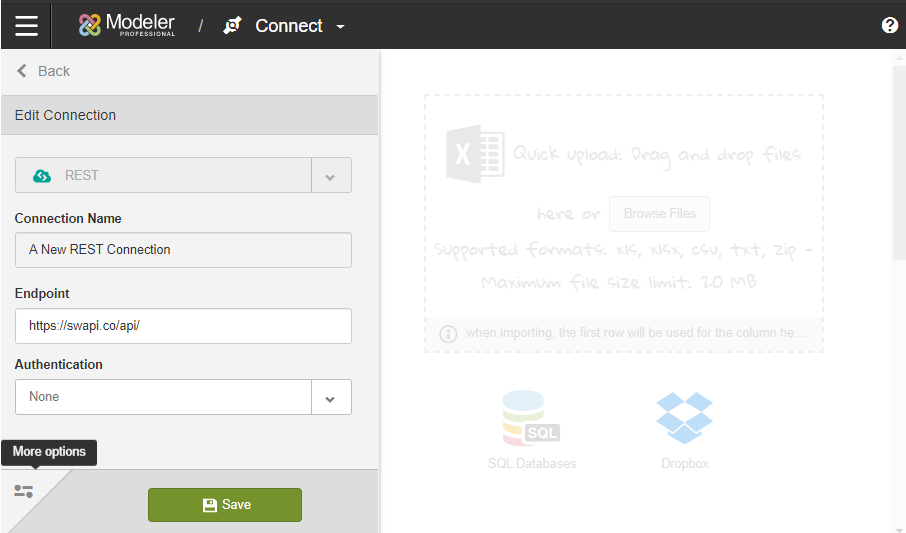
- For additional advanced settings, click More Options.

The available optional fields depend on the selected authentication method:- Add access token to URL is available for OAuth 2.0 methods. Enabling this setting passes the token in the URL.
- Headers creates REST call headers at the connection level. For example, headers can be used to accommodate for an API's custom authentication needs. If more than one header is necessary, use the following syntax: <header name1>=<header value1>&<header name2>=<header value2>
- Scope. Available for OAuth 2.0 methods. Enabling this setting defines the application's access to a user's account.
- Source Prefix. Enabling this setting will add the designated prefix to all sources created through the connection.
- Upload SSL Certificate. Enabling this setting allows you to upload an SSL certificate to secure the connection.
- Click Save.