Creating a space from the All Spaces page

You can create a space directly from the All Spaces page allowing you to manage and create spaces from a central place.
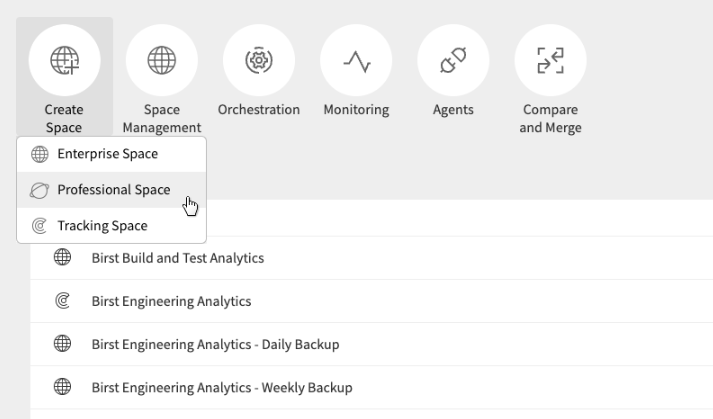
CreateSpace_FromAllSpaces
  1. Navigate to the All Spaces page.
  2. Click Create Space from the global options at the top of the page.
  3. Select the type of space to create. You can select:
    Enterprise Space
    Enables complex, scalable data management with dimensional data models.
    Professional Space
    Enables streamlined data analysis with self-service data preparation.
    Usage Tracking Space
    Used for gathering usage statistics on one or more spaces with an account.
    Note: If you are an Account Administrator, you see the option to create a Usage Tracking space. See Usage Tracking in the Infor Birst Administration Guide
    Space on External Cloud
    Allows an Infor Birst warehouse to be created on an external platform, such as AWS Redshift. See External Databases in the Infor Birst Administration Guide.
    Note: This option is controlled by the Warehouse field in User Management and may not display for all users.
  4. Specify a name for the space, then click Save.
    Note: When specifying a name for your space, do not use the ampersand special character (&).