Connect and upload data from spreadsheet, dashboard tutorial
In Modeler Connect, you can either drag-and-drop or click to upload the spreadsheet.
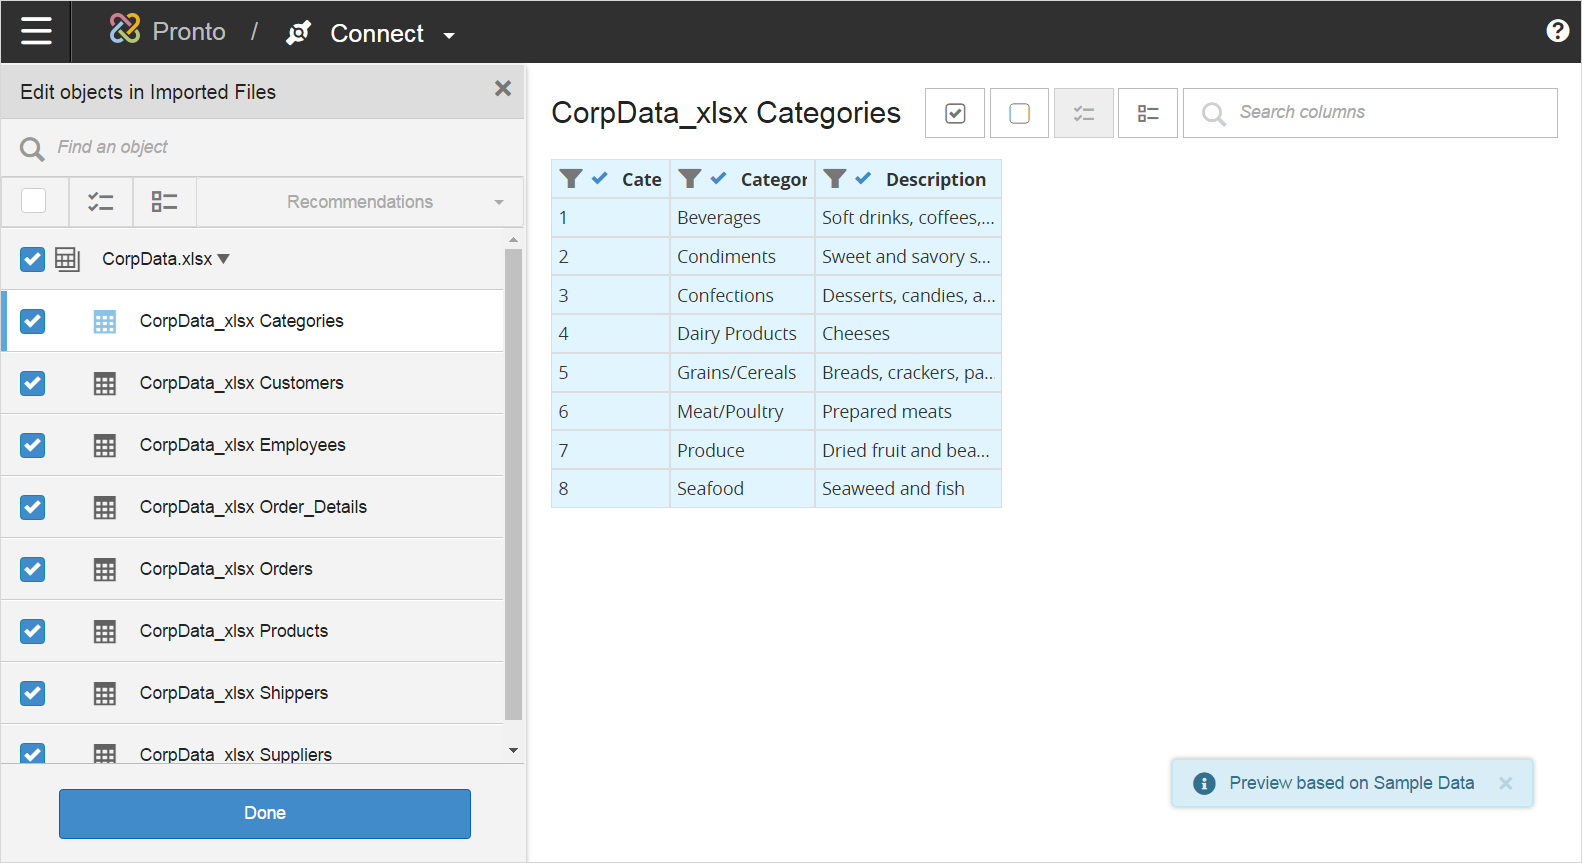
A preview shows the sheets as separate tables, also called "raw sources", and the columns in each.
Modeler Connect shows a preview of the tables and columns, the data is not yet in Birst. Modeler gives you a chance to refine and select only what you need to upload. This is extremely useful when connecting to large data sets.

In the preview, you select the tables and columns you want to pull into Birst.
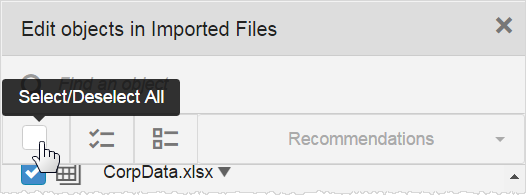
For this tutorial, you do not need all the tables; you only need Categories, Products, and Suppliers. By default all tables are selected. You can either uncheck the ones you do not want or use the toggle and select the ones you do.

If you want to change column selections later, Modeler lets you update the connection details, so you are never stuck with your initial column selections.
When the three tables are selected, click .
Modeler may show a message prompting you to add filters. For this tutorial, this file size is under the limit. Click .
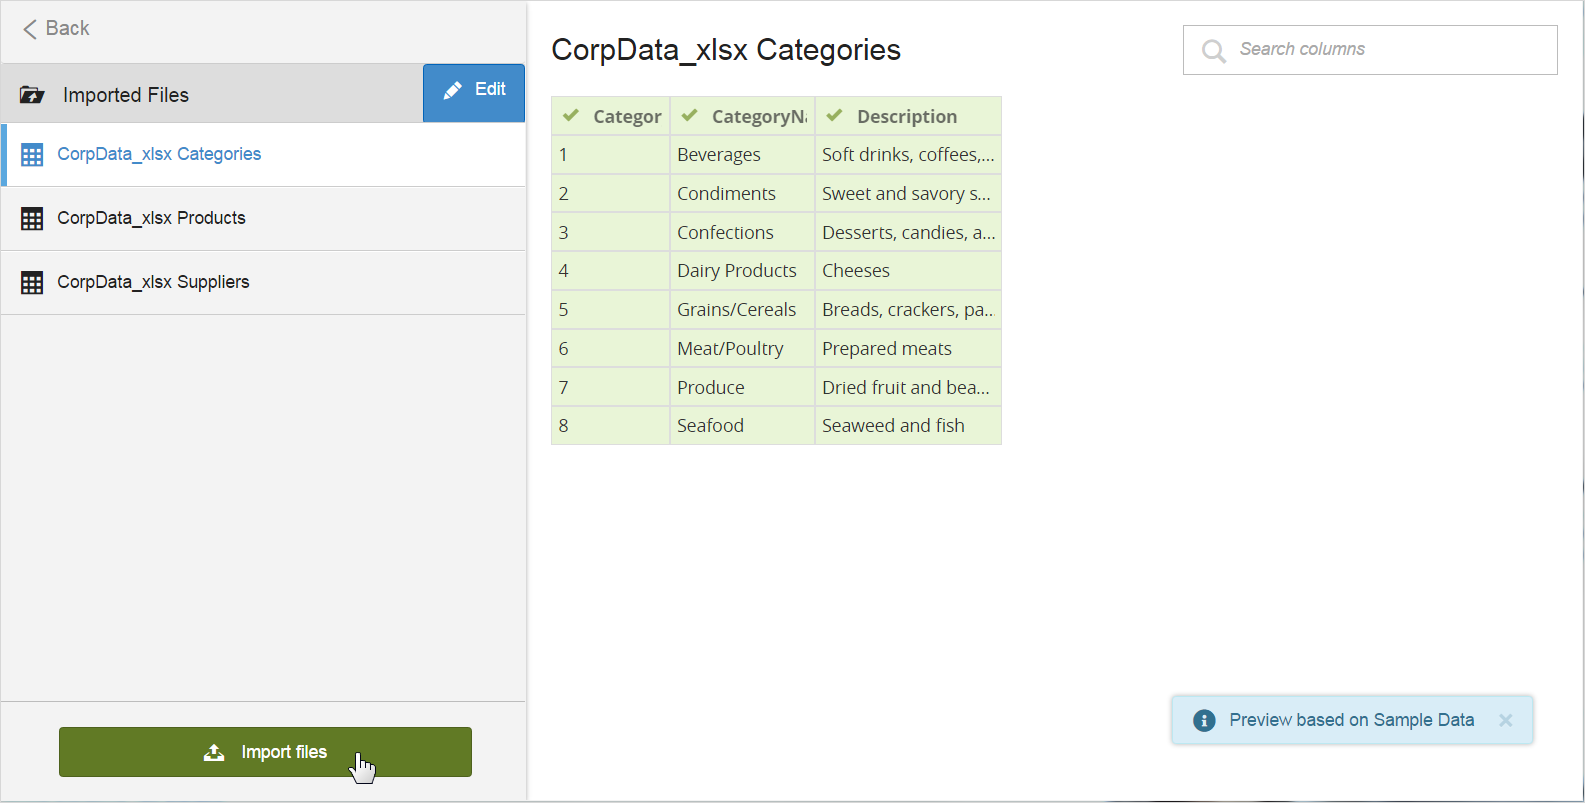
Modeler shows the tabs you selected and previews the contents.

Then click .
Modeler shows a progress bar, and then a message when the imported files have been extracted into Birst.
