Connecting to database data sources

Your database connection will require the database type, database name and login credentials. The steps listed here are applicable to Live Access connections too.

Note: You must download and run the Birst Cloud Agent when making connections to some external data sources. If you are using an agent and you have not yet installed the Birst Cloud Connect Agent, see Installing Birst Cloud Agent for instructions.

Each database connection has its own connectivity requirements, depending on the vendor. Some databases such as Oracle require their supporting database driver for connectivity. You must obtain the desired database driver from the vendor and place it in the Birst Cloud Connect drivers directory before you connect to those databases.

Example location of the database driver: C:\Birst Cloud Connect\BirstCloudAgent\drivers

Note: When you start a new space, verify the connectivity information you need for your database. See Connection Requirements Reference for details about different connections.

You can Import to Birst or create a Live Access connection to your database.

These steps are for a MSSQL database connection. The steps vary slightly for different database types.
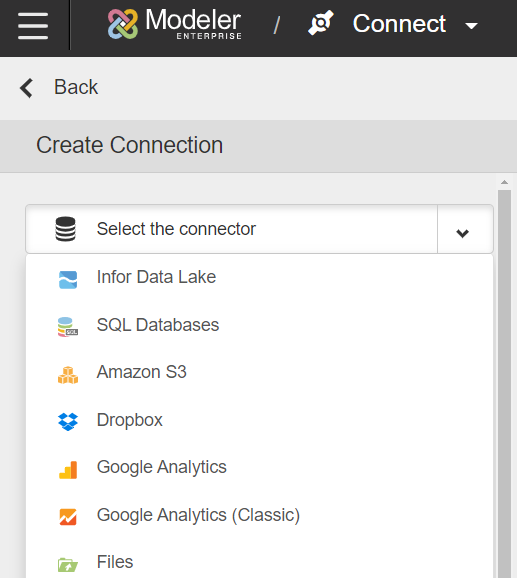
  1. To add a database connection, you can either:
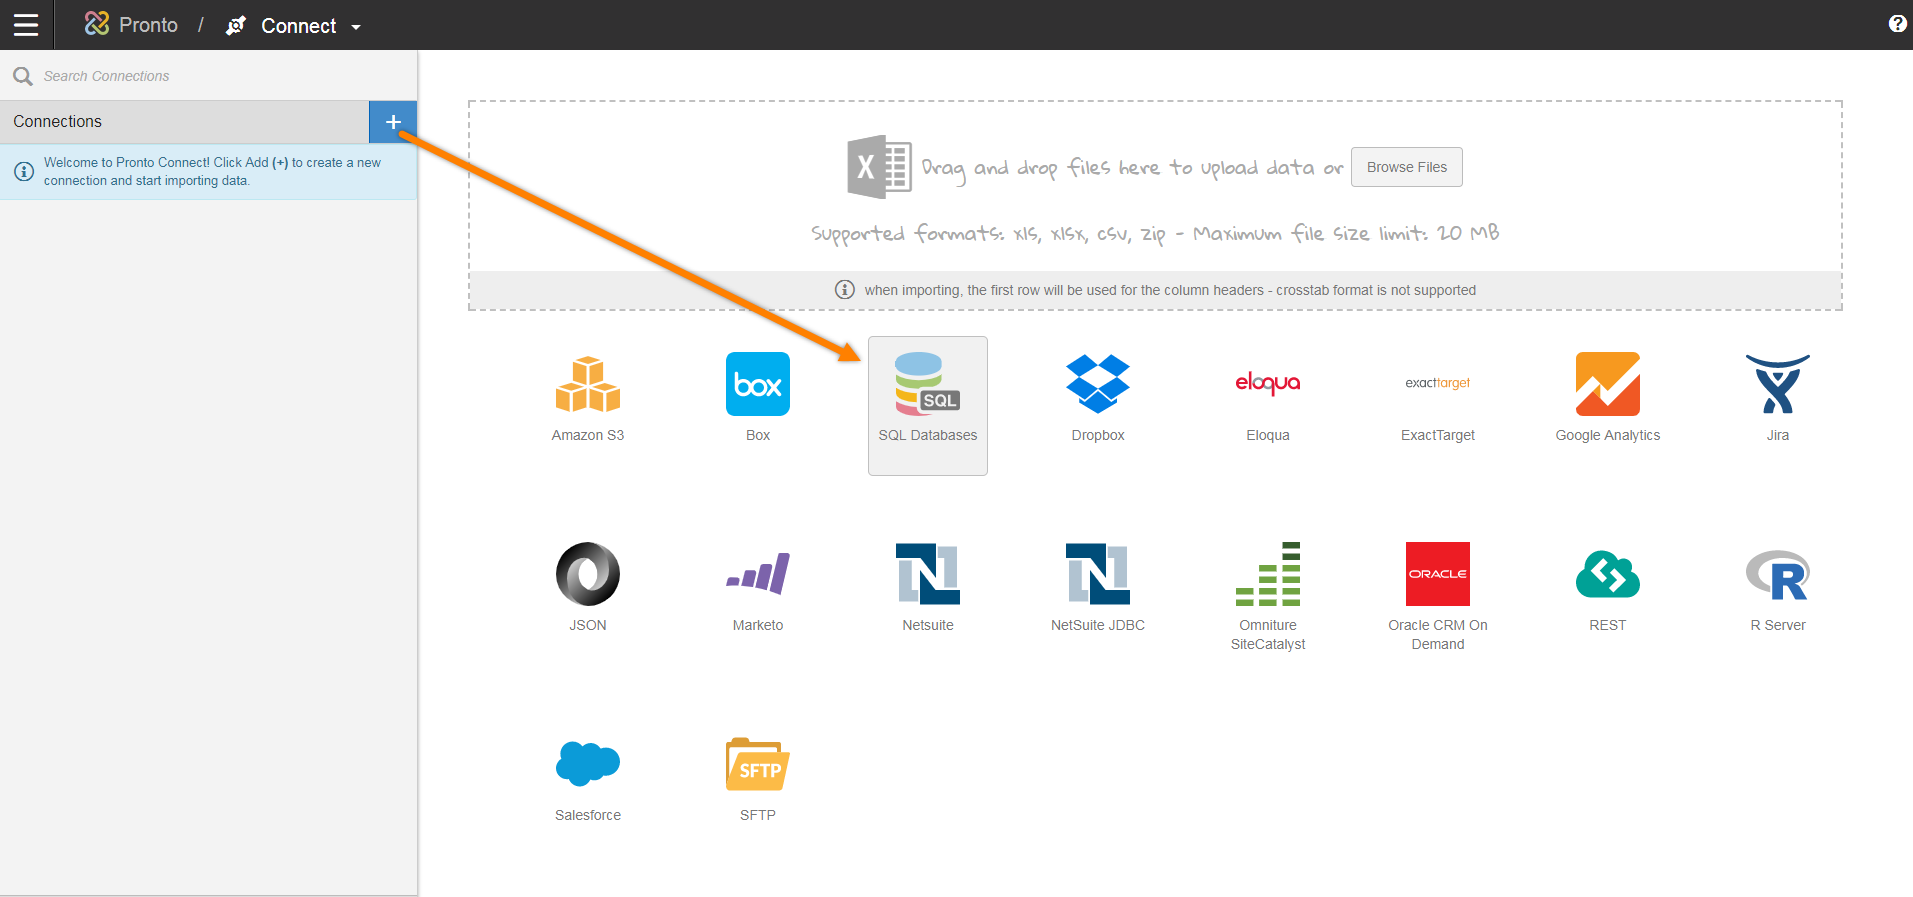
    • Click SQL Databases in the Connections panel.
    • Click Create and select SQL Databases from the list.

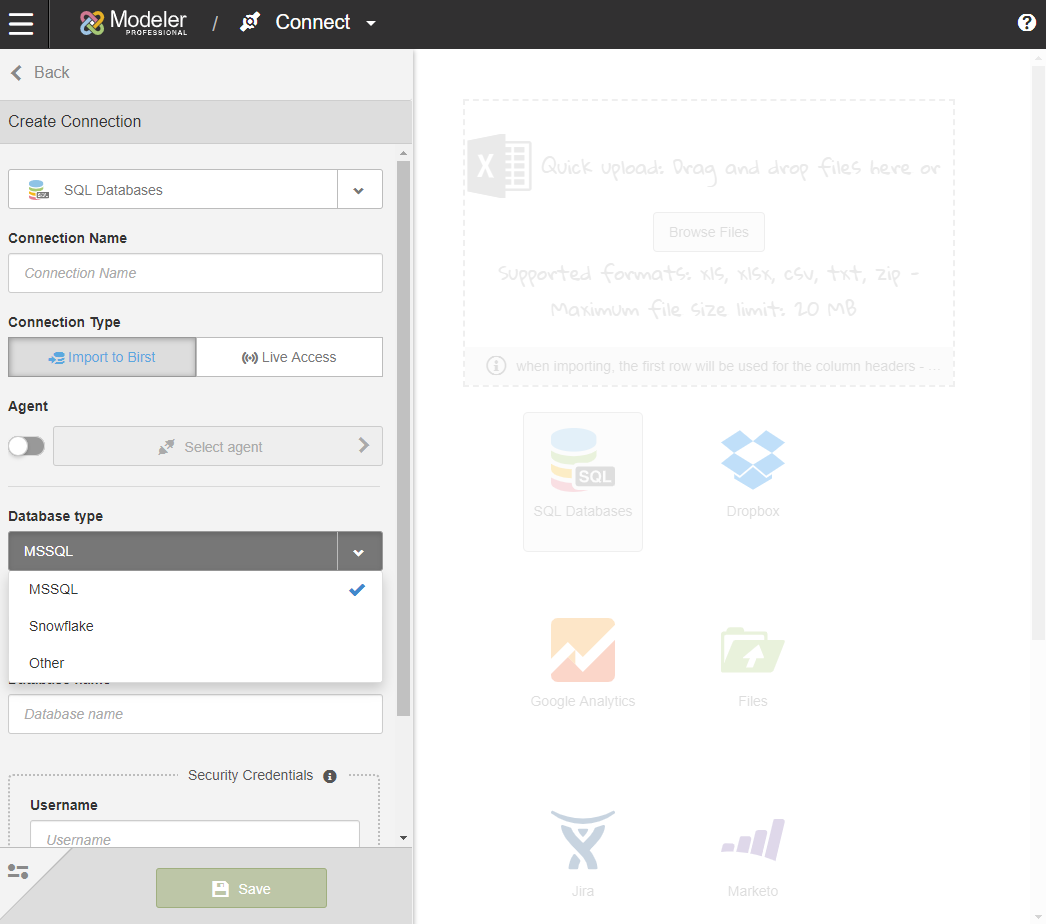
  2. Select your Connection Type:
    • Click Import to Birst to import data objects into Birst.
    • Click Live Access to create a logical data map to the data objects in the database.
  3. Specify a Connection Name. This should be a logical connection name in Birst such as MSSQL1.
    Caution: 
    If you are using Birst Connect 2.0 to import data into an existing ADR model that has been converted to use the new metadata infrastructure, please see Enabling the Do Not Use Prefix Option before extracting your data.
  4. Select an Agent to run connect for your database or disable the Agent toggle to run an agentless connection.
    Note: Agentless connections can only be used with cloud-based databases. Local databases require a local agent to run on a machine that can reach the database in order for Birst to connect to it.


  5. Select a Database type.
    Note: If you are using an agent and you have not yet installed the Birst Cloud Connect Agent, you must install Birst Cloud Connect Agent. The Birst Cloud Agent must be running before you can select the agent and validate your database connection.
  6. Specify the Server Name. This can be the server IP address or the logical name provided for the server.
  7. Specify the Database Name.
  8. Specify valid credentials for the database connection in the Username and Password fields.
  9. Optionally, specify the Port Number.
  10. Click Save to validate the connection credentials and access the database.
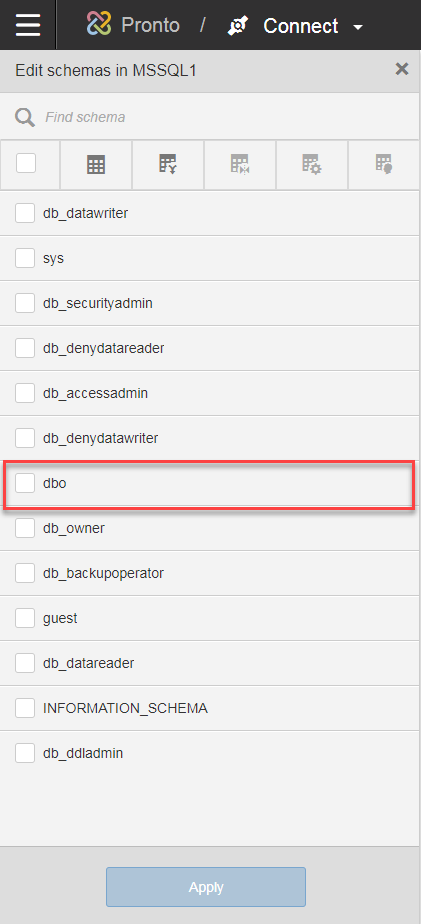
  11. Select the desired database schema and click Apply.

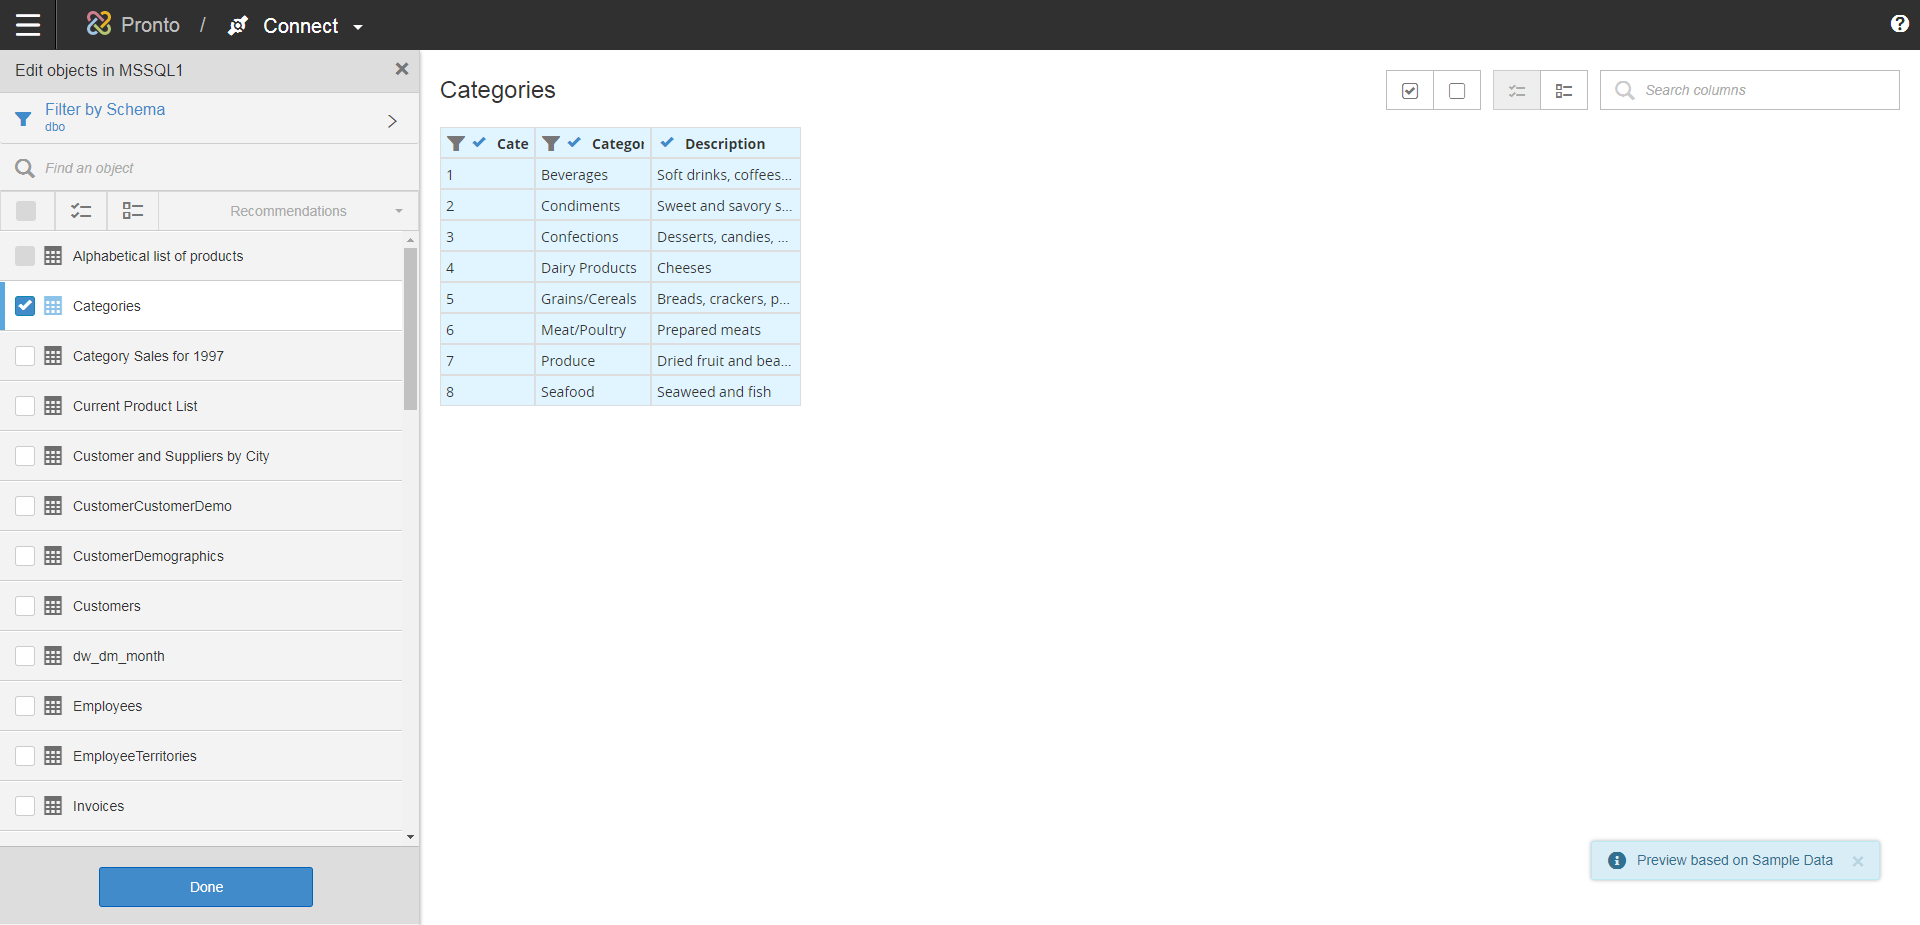
  12. Select a data source to preview or to import.
    Note: Live Access connections do not import data sources. You can edit the mapping to the data source in a similar fashion as editing objects.
  13. Edit the tables and filter rows for desired content. See Editing Objects in Connected Data Sources for more information.