Configuring Jira data sources
-
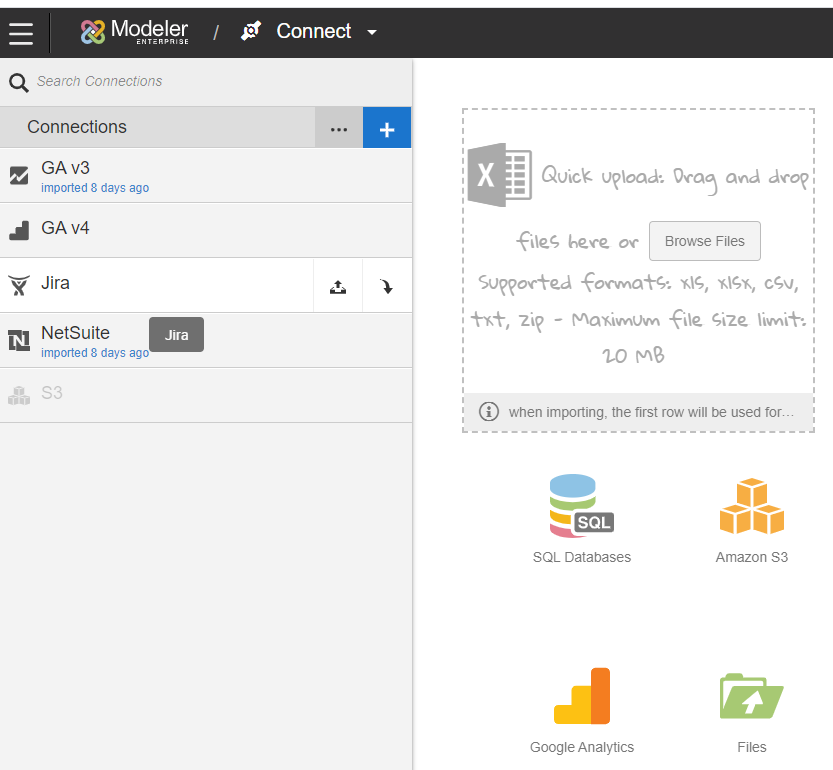
Select the Jira connector from the
Connector section or click the existing Jira connection from
the Connections panel.
-
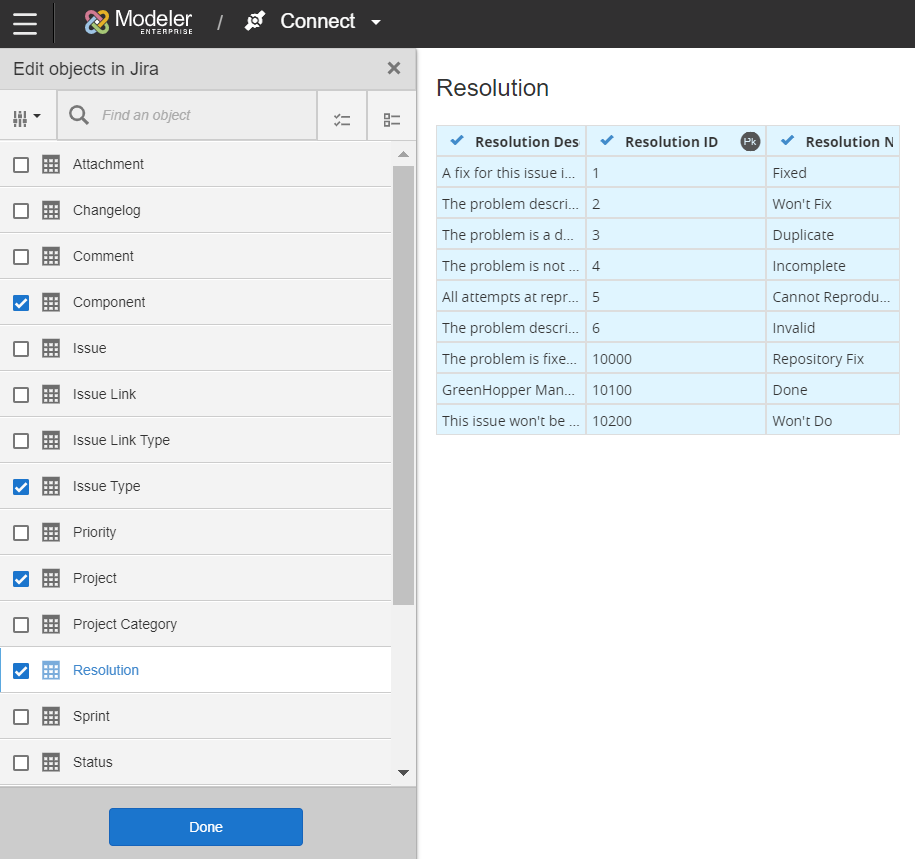
Select the objects to add, then click .
-
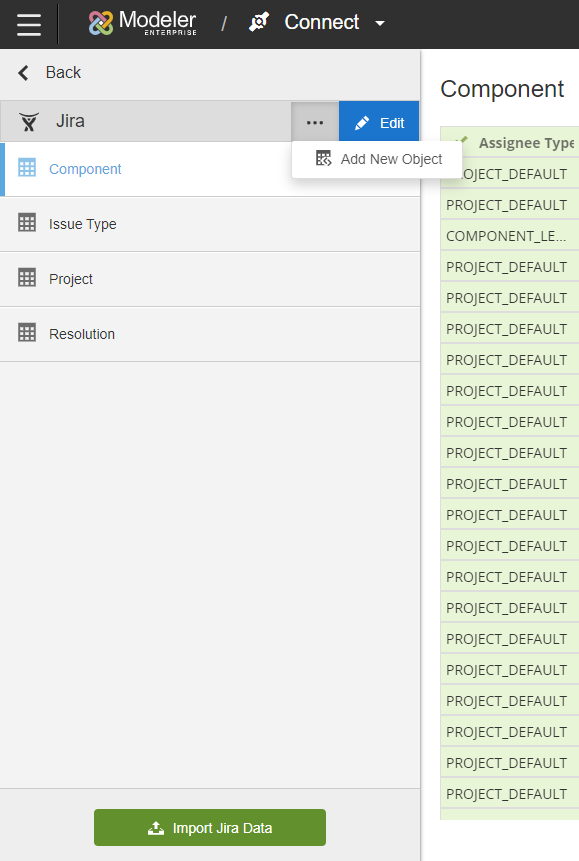
Fore more advanced use cases like customizing the list of columns or use JQL
statements to filter the data, follow these instructions:
- Click the Ellipses icon, and then select .
- Complete these fields:
- Object Label
- The object label. Do not use the same name as an existing saved object in the Data Sources list. You cannot edit the object label after saving.
- Object Name
- The name of the supported Jira object.
- Columns
- The columns you need for reporting. Selecting populates the Columns and Mapping fields. Delete any columns you do not want to import.
- Select Criteria
- Use the Jira Query Language (JQL) to filter the result set. You can copy and paste a query from the Jira UI.
- Mapping
- This section is populated when you select Get Columns. To edit the mapping, click the .

- Click .
- Click the Ellipses icon, and then select .
Note: You can safely log out of Birst while the extraction takes
place and log back in later.