Tagging files or folders
Tags are used to organize and categorize your files and folders in Report Catalog. You can create a new tag, add tags to files or folders, and delete tags that are no longer needed.
Note: To manage tags in Report Catalog,
users need the specific tag permissions, such as Create Tags and
Add Tags. See Group permissions.
- Select your file or folder from the Report Catalog.
-
To create a new tag:
-
Click + Add Tag in the Tags column.

-
Click + Create Tag.

-
Specify the name of the new tag, and then click the green check mark to save the new tag. The
new tag can be added to other files and folders in the space.

-
Click + Add Tag in the Tags column.
-
To add a tag to a file or folder:
- Click + Add Tag in the Tags column.
-
Select the tag from the list of existing tags. Tags that are already applied
to your object are highlighted in the menu.

Note: When a tag is applied to a folder, it is only applied to that specific folder. Any files or sub-folders within the parent folder do not have the tag applied.
-
If there are multiple tags in the Tags
column, click Show All Tags (ellipsis
button) to see the complete list of tags associated with this catalog
item.

-
To remove a tag from a file or folder:
- Select the tag you want to remove from the Tags column.
-
Click the X in the selected tag
to remove that tag from that file or folder.

Note: Removing a tag removes it from the specific object. Other files and folders using the tag in the Report Catalog are not affected.
-
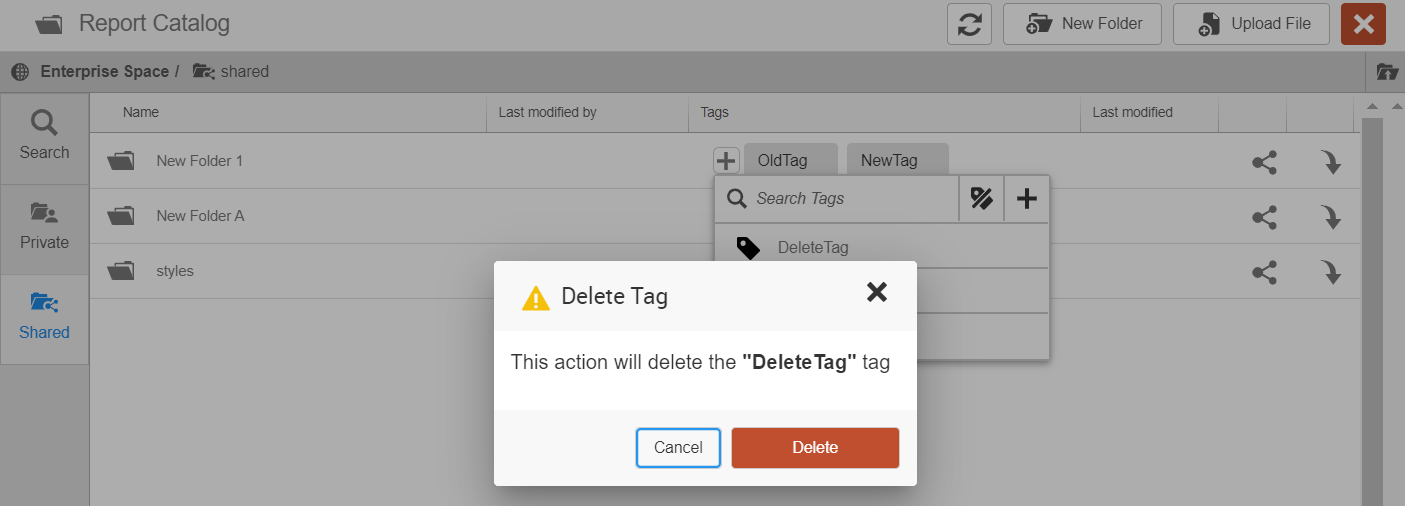
To delete an existing tag from the Report Catalog:
- Click + Add Tag in the Tags column.
- Select the tag from the list of existing tags.
-
Click the Trashcan icon to delete
the tag.

Caution:The tag is removed from all items in the Report Catalog. Deleting a tag is permanent, this action cannot be undone. -
Click Delete on the confirmation message. The tag is removed from all
items in theReport Catalog.

Caution:Deleting a tag is permanent, this action cannot be undone. - For a catalog item, click Show All Tags (ellipsis button) which lists the tags associated with this catalog item, and click the Trashcan icon next to the desired tag.
Related topics