Sorting and filtering in Designer
-
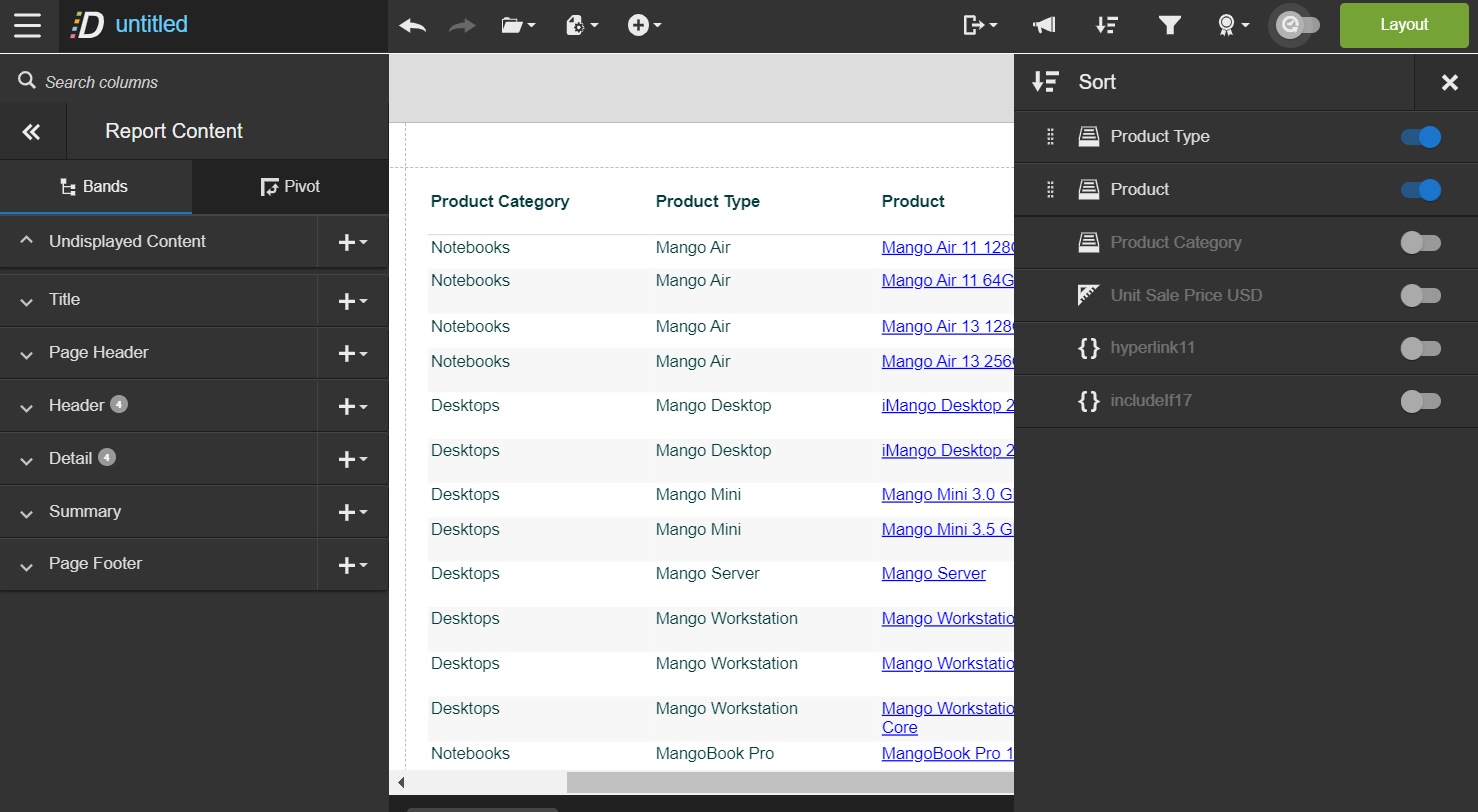
To access sorting, select Sort icon from the toolbar.
-
Enable the columns you like to sort the report by. When sort is enabled on a column, that column automatically comes up before columns on which sort is disabled. Drag and drop the order of the columns to change the sort order.
-
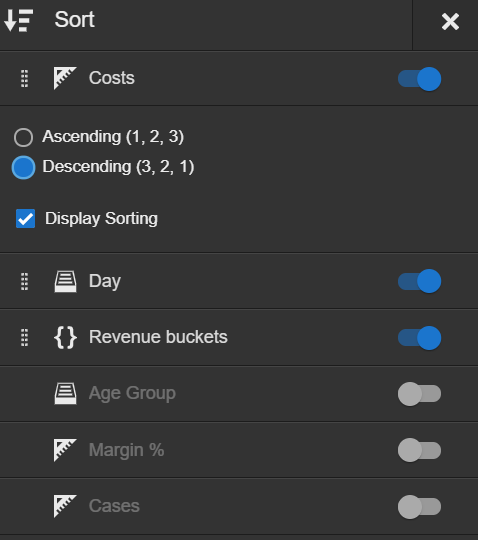
Select an enabled sort to change the sort type and enable Display Sorting. When Display Sorting is enabled, the columns are sorted after the database query has run so all expressions are executed.
You can create and enable filters for your Designer report. Filters can be used to restrict the result set in a report so that only records that satisfy the filter conditions are used. Filter conditions can be defined on any of the selected columns in a report. When filtering a report, chart results are also filtered. Access filters by clicking the Filters icon from the toolbar.
- To create a new filter either:
- Select the Filters icon from the toolbar, select the +Add Filter icon. Choose either the Filter or Advanced Filter option. Select the column to filter on. The filter will be added to the filter section. Select the filter to edit and apply to the report.
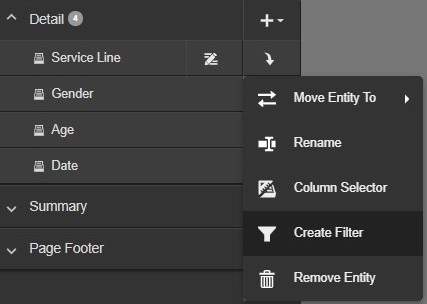
- From the Report Content menu, select the Entity Actions icon and then Create Filter.
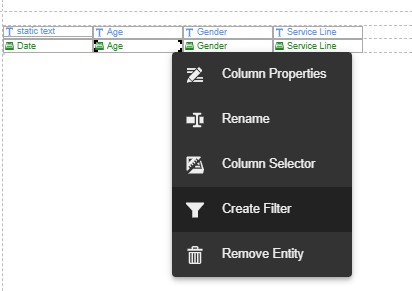
- From the report display area, click on the entity, select the Entity Actions icon, and select Create Filter.
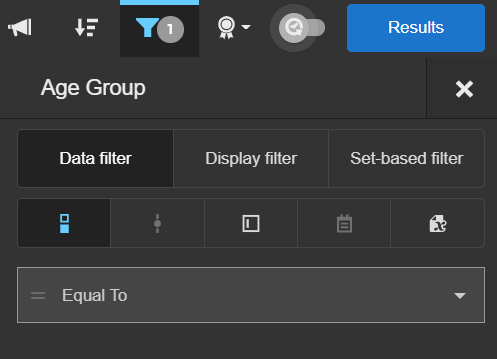
- Select the Filter Type:
- Data (default): The filter operation is carried out at the database level and returns only results that meet the criteria.
- Display: The filter operation is applied after the database returns the result set for the report query; only the selected values are displayed in the report.
- Set-based: The result set of another report is used to provide filter values. This is useful for exception reporting. Important: When this filter is based on another report, the column in the subreport must not contain any BQL functions or positional calculations. BQL expressions in set-based filter subqueries are not supported. The set-based filter is an "IN" or "NOT IN" subquery that can use the basic operators such as equal to (=), less than (<), etc.
- Select the filter operator from the list
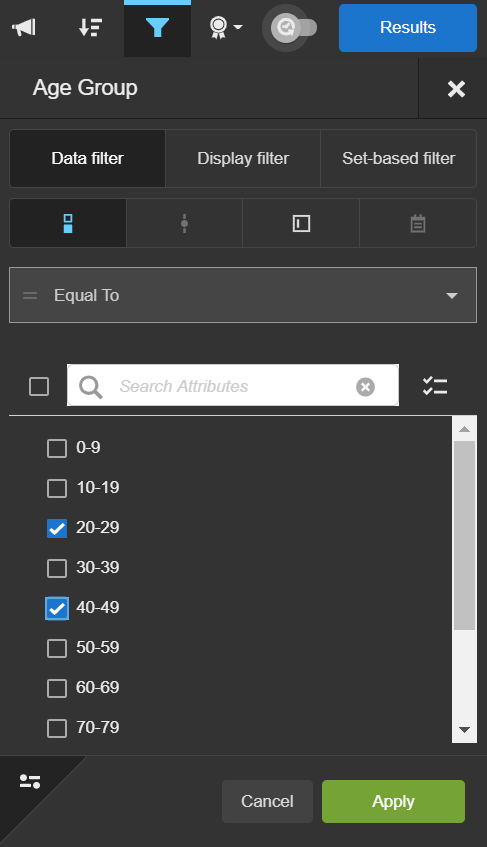
- Select the filter style. The styles available are based on the data type. Filter styles include:
- Check list: for multi-select text-based, or numeric data types.
- Slider: for date, datetime, and integer data types.
- Value: for text-based data.
- Date picker: for date data types.
- Variable: for multi-select, text-based, numeric data, or date types.
- Choose the options to filter by. This displays differently depending on the selected filter style.
- Select the More Options icon to access the following items:
- Apply to Measures: Select whether to apply the filter the measures in the report.
- Prompted: When enabled, this creates a filter that can be used by a dashboard prompt. Birst will automatically create a prompt for you when the report is added to a dashlet.
- When you have finished with the filter selection, select Apply.
- Advanced Filters should be used to create complex expressions. Advanced Filters support parenthetical precedence, operators such as IN and NOT IN, and nesting using AND/OR syntax between filters.
- Advanced Filters are created using the Expression Builder..
- Enter the name of your filter. This displays at the top of the report to indicate the filters that are applied
- Create the BQL expression.
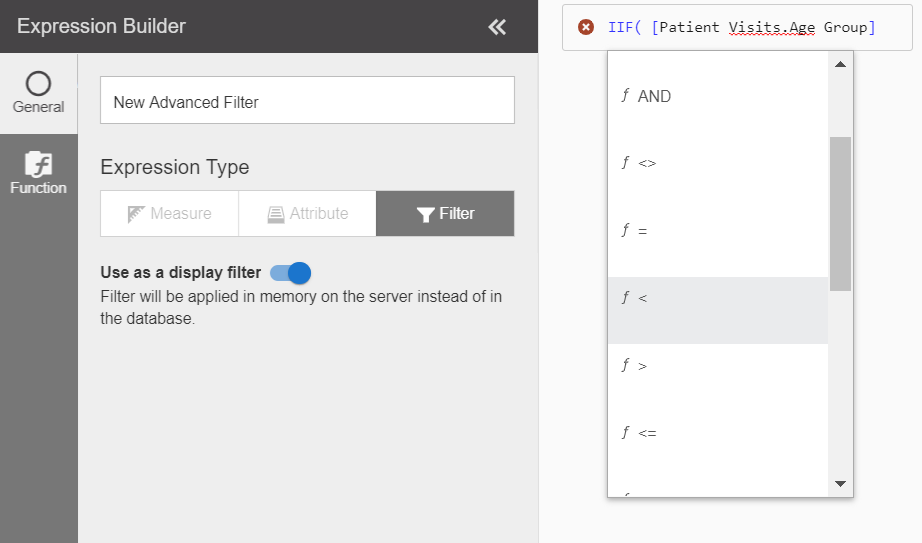
- By default, Advanced Filters are data filters meaning the filter operation is carried out at the database level and returns only results that meet the criteria. To change this to a display filter, enable Use as a display filter.
- When finished, select Done.
- Applied filters on the report will display at the top of the report. Hover over the filter to view more information.
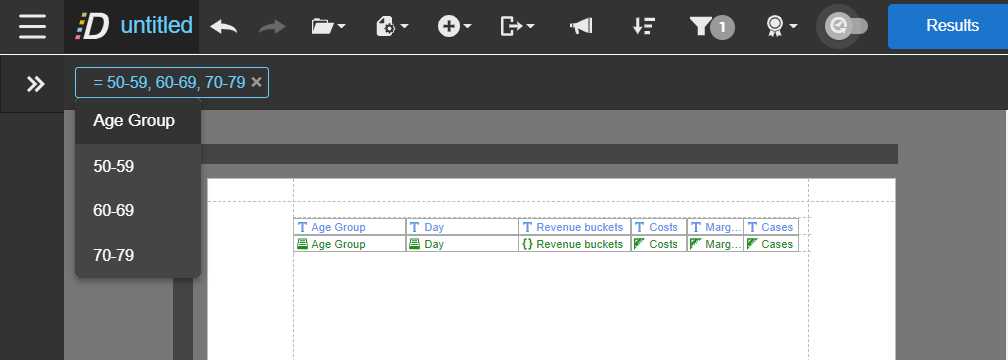
- Remove filters from a report by clicking the X icon or disabling from the Filters menu.