Using Birst Data in Excel
The Birst ODBC Driver provides integration with Open Database Connectivity (ODBC) clients. Clients can access data from Birst.
Excel passes BQL queries through the driver to execute them on Birst, and the results are passed back to Excel. In the ODBC client SQL entry tool, you simply surround the BQL query with curly brackets {…}.
The driver has been verified against Excel 2010.
Tip: there are other ways to connect Birst with Excel, to bring Excel data into Birst:
- To upload
Excel files less than 20MB to Birst
on an ad-hoc basis,
- To automatically
upload and process Excel files on regular schedule, or for files larger
than 20MB,
-
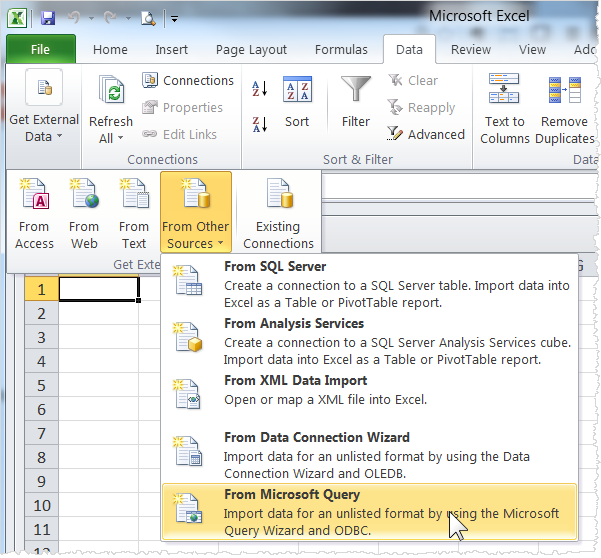
To set up Birst data in Excel
- In Excel,
go to Data - Get External Data - From Other Sources - From Microsoft Query.
- Select the data source you set up for ODBC.
- Enable the Use the Query Wizard to create/edit queries option.
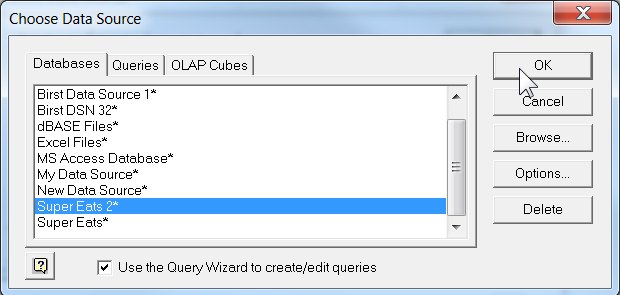
- Click OK.
- Enter the connection information in the Connect to Birst dialog, and select the space you want to use.
- Click OK. The Query Wizard displays the Birst Subject Areas.
- Expand the Custom Subject Area and select the columns you want to use in Excel.
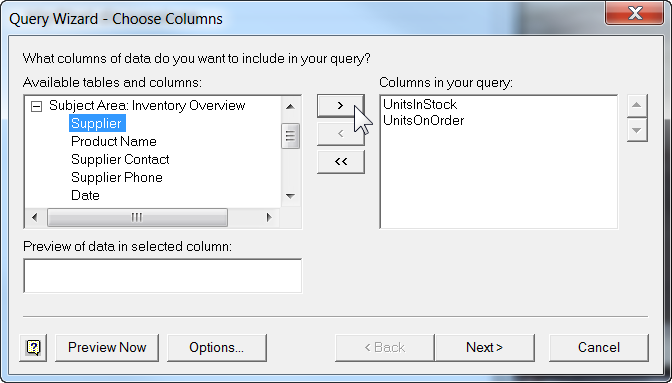
Tip: Preview Data and Preview Now are not supported. - Click Next. The Query Wizard - Filter Data dialog opens. This functionality is not supported.
- Click Next. The Query Wizard - Sort Order dialog opens. This functionality is not supported.
- Click Next. The Query Wizard - Finish dialog opens.
- Select Return Data to Microsoft Excel and click Finish.
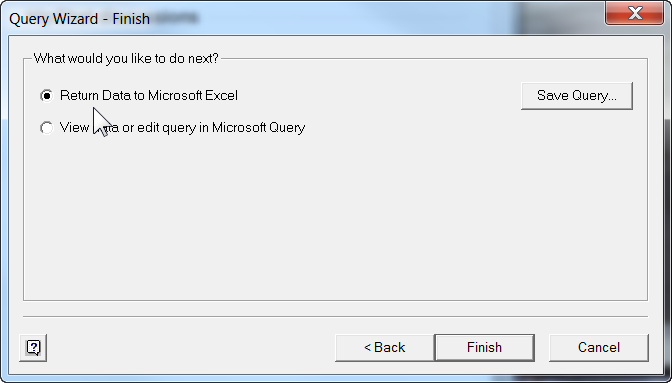
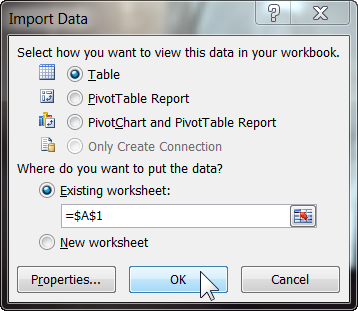
The Import Data dialog opens. - Select how and where to add the data in Excel and click OK.
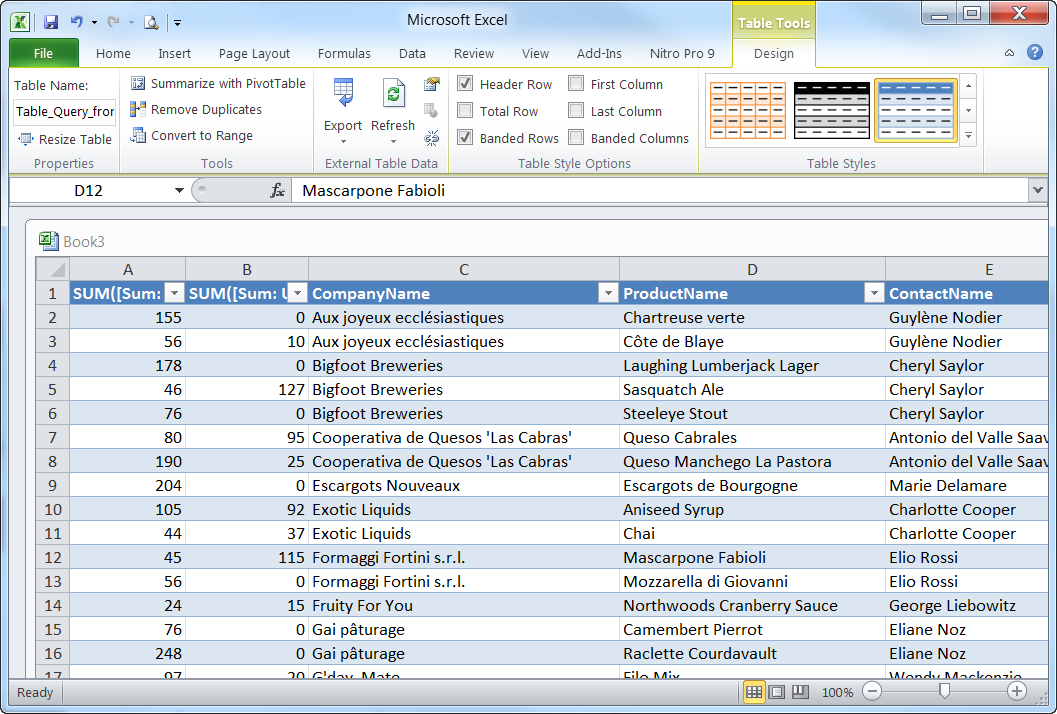
- Excel pulls the data into the spreadsheet.
Next Steps
Use the data in your Excel worksheet.