Manage Aggregates
A Birst application may involve a large amount of data that can affect query performance.
Pre-aggregated data speeds up run-time query performance in two ways:
-
An aggregate can be created at a higher level than base data, thus allowing calculations to span fewer rows when running. This reduction in run-time row count is called compression. Generally a compression of at least 10 to 1 creates a meaningful increase in performance.
-
An aggregate can pre-join two large tables, allowing run-time queries to avoid expensive joins. In general, this is only useful for large table to large table joins (e.g., large fact to large dimension).
Aggregates have the following drawbacks:
-
Longer load times: The aggregates need to be calculated after every load of data. Load times can be mitigated using incremental refreshes of aggregates.
-
Storage: Aggregates take space and can bloat a database.
Aggregates can be layered. For example, if there is a fact table with 250 million records, you can create an aggregate that has 25 million records and another that has 200,000. Birst will automatically use the highest level aggregate available.
Create an Aggregate
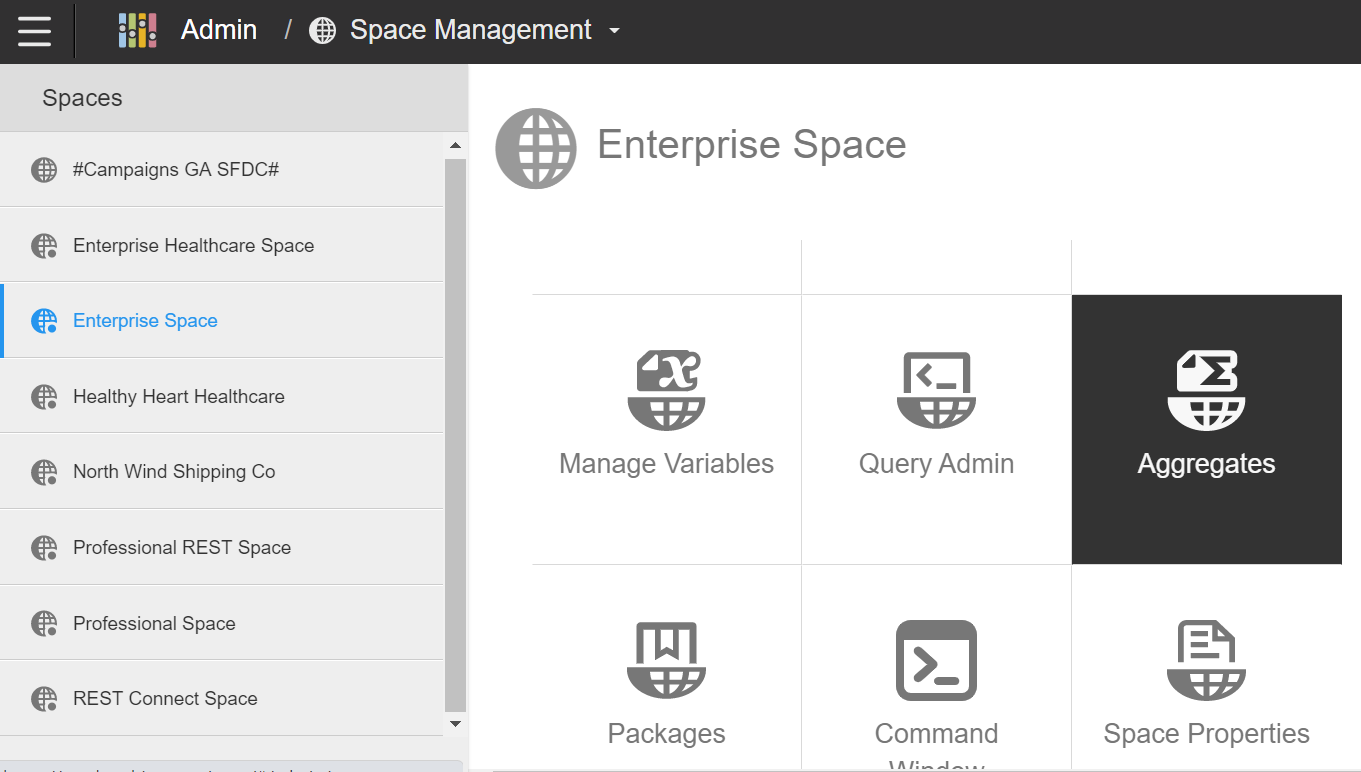
- From Admin 2.0, select Space Management.
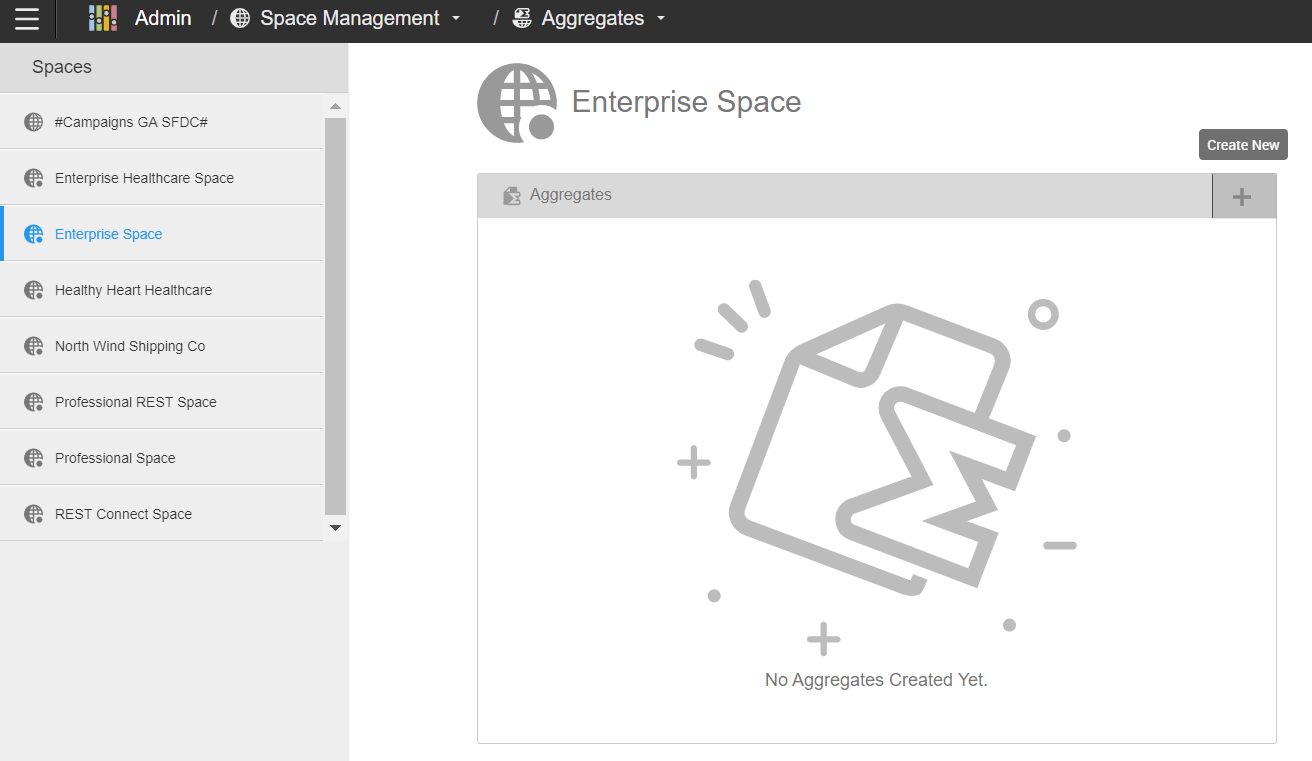
- Select Aggregates.
- Click the +Create New button.
- Enter the following information:
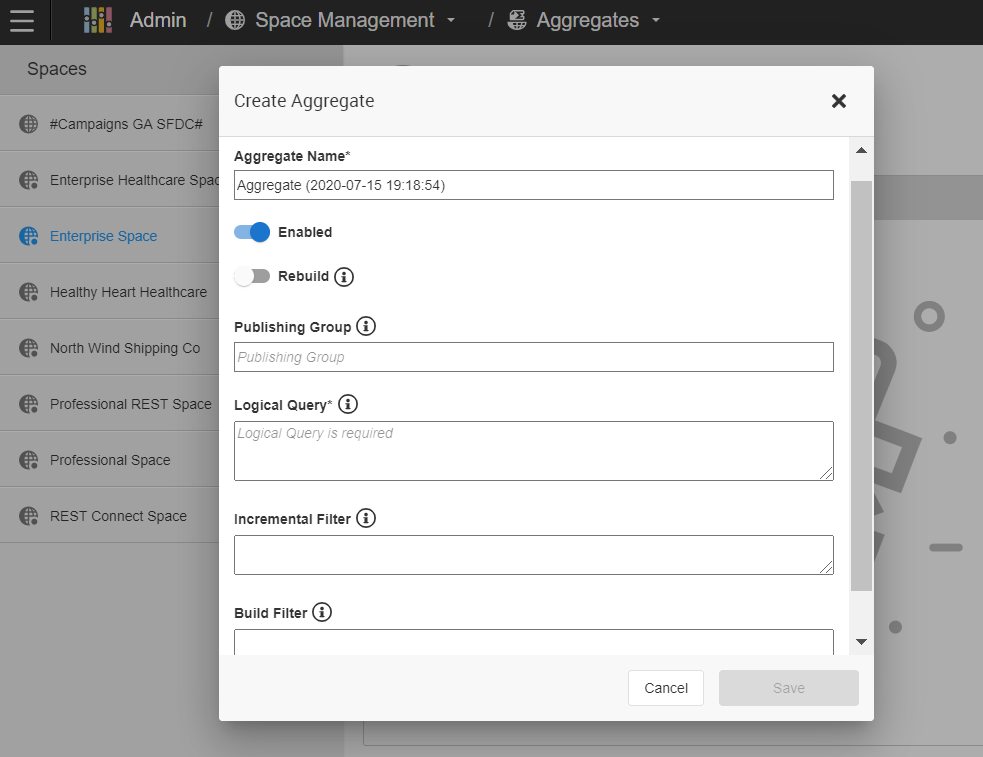
- Aggregate Name: The name for the new aggregate.
- Enabled: The aggregate is enabled by default. To disable it, uncheck the Enabled check box. Tip: Disabling an aggregate can be helpful for testing so that you can compare which table or tables a logical query hits when the aggregate is enabled versus disabled.
- Rebuild: The REBUILD option can be used to drop the aggregate table and build the table entirely from scratch, as opposed to the normal process which adds new records to the existing aggregate table. To rebuild the aggregate table every time, enable Rebuild.
- Publishing Groups: Enter the publishing group name. Leave the field blank if you do not want to
assign it to a specific publishing group. In both cases, the aggregate
will be executed at the end of publishing ensuring that it hits the most
recent data.
Tip: If you specify the publishing group for a new aggregate, it must be a publishing group associated with a data source. Later, you can put it in a separate publishing group just for aggregates. If you want to publish only the aggregate and not the other data sources related to the publishing group, you can use a command to create the physical aggregate table. From the Command Window, enter the following command
persistaggregate aggregate_name - Logical Query: Enter the Logical Query field.
- Tips for using Logical Queries:
- To help with syntax, you can copy a query from a report in Designer or in Visualizer.
- The aggregate logical query should only contain the logical columns that will be used in a report.
- Remove any duplicate logical column names from the query. No two columns should have the same name, otherwise the aggregate execution will fail.
- Remove column aliases (e.g., 'F7').
- Remove all column expressions including STAT(), LOOKUPVALUE(), GETVARIABLE(), and math. For example, if you had the expression SUBSTRING([Categories.CategoryName],0,3) you would only include [Categories.CategoryName].
- If a report is using a column selector, you need to manually add each field in the column selector to the query.
- If there are any report level filters, you may want to add them to the aggregate query.
- Include dashboard prompt fields as a part of the aggregate query if they are not present at the report level.
- Tips for using Logical Queries:
- Incremental
Filter: During each load, this filter will be applied to a
delete against the aggregate (that is, all records that satisfy the filter
will be deleted). Then, an insert of new records will be applied for records
that satisfy the filter. This allows for flexible incremental updating
of an aggregate. It is useful for cases where you may want to not only
update today’s data, but also update the aggregate for the last few weeks
or months as hierarchies or values may result in changes to previously
aggregated data.
For example:
[Time.Year/Month]>'2012/01'.
If you use an incremental filter only, the incremental filter will always be ignored the first time the aggregate is built. In subsequent loads, data is first deleted from the aggregate based on the incremental filter condition and then re-inserted using the latest data in the warehouse. - Build
Filter: The build filter is used to apply a filter only at
the time that the aggregate is built, but not when it is used. This means
queries without the filter will hit the aggregate despite the fact that
the table only contains filtered data. For example:
[OrderDate: Sum: Quantity] IS NOT NULL
If using both a build filter and incremental filter, the incremental filter will be ignored the first time the aggregate is built. The build filter will be used to filter the data set to build the aggregate for the first time. During subsequent building of the aggregate, data is first deleted from the aggregate using both incremental and build filters then reloaded using the same filters against the latest data in the warehouse.- Tip: To initially create the aggregate using an incremental filter along with
a build filter, you can include the incremental filter as a part of the
build filter for the initial building of the aggregate (as shown in the
example below). Then, remove the incremental filter from the build filter
expression for subsequent building of the aggregate.
- Tip: To initially create the aggregate using an incremental filter along with
a build filter, you can include the incremental filter as a part of the
build filter for the initial building of the aggregate (as shown in the
example below). Then, remove the incremental filter from the build filter
expression for subsequent building of the aggregate.
- Select Save.
To modify or delete an aggregate, select the aggregate and click either the Modify or Delete button at the top of the page.
Important: Aggregates that were imported as part of a package will appear greyed out and italicized on the Manage Aggregates page. Although they can be used in the space, they cannot be modified.