The Modeler Relate page helps you set up relationships between the various data sources you have imported and set up in Modeler. The Relate page handles database joins, attributes and measures. The Relate page will also allow you to make column modifications for flexibility to the data.
Use the Relate page when you know that the report you want to make needs to show data from multiple sources and it doesn't make sense to merge the tables together.
Using the Relate page is optional if your data is already set up the way you need it for reports. In this case, you can go straight to Visualizer after you have uploaded the raw sources and extracted them in the Connect page or after you've created prepared sources and published them in the Prepare page.
When you go to the Relate page for the first time, you see all of the data sources on the left side menu and arranged in a circle. Both displays can be used to quickly switch between sources.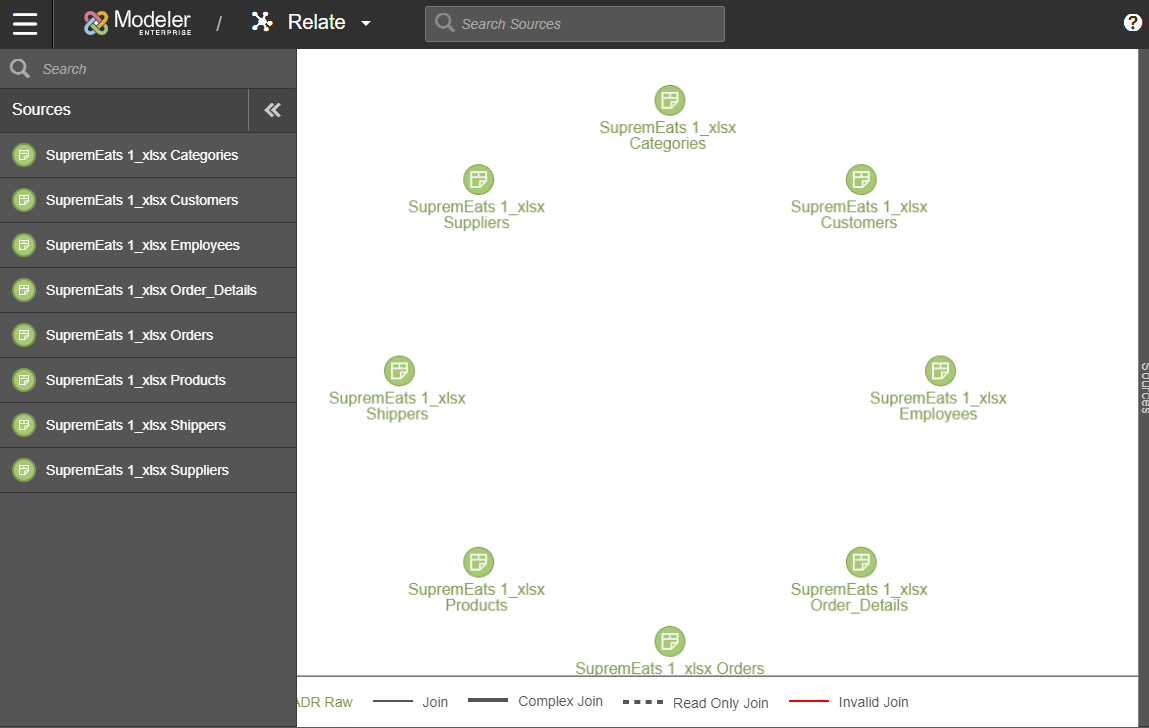
Tip: If Modeler detects that there are changes that haven't yet been published, you will see a message prompting you to Publish before using the Relate page.
The type ahead search function searches for columns, sources, and data flows. The results of the search are organized by category and alphabetized. To see more results for a specific category, click the more link.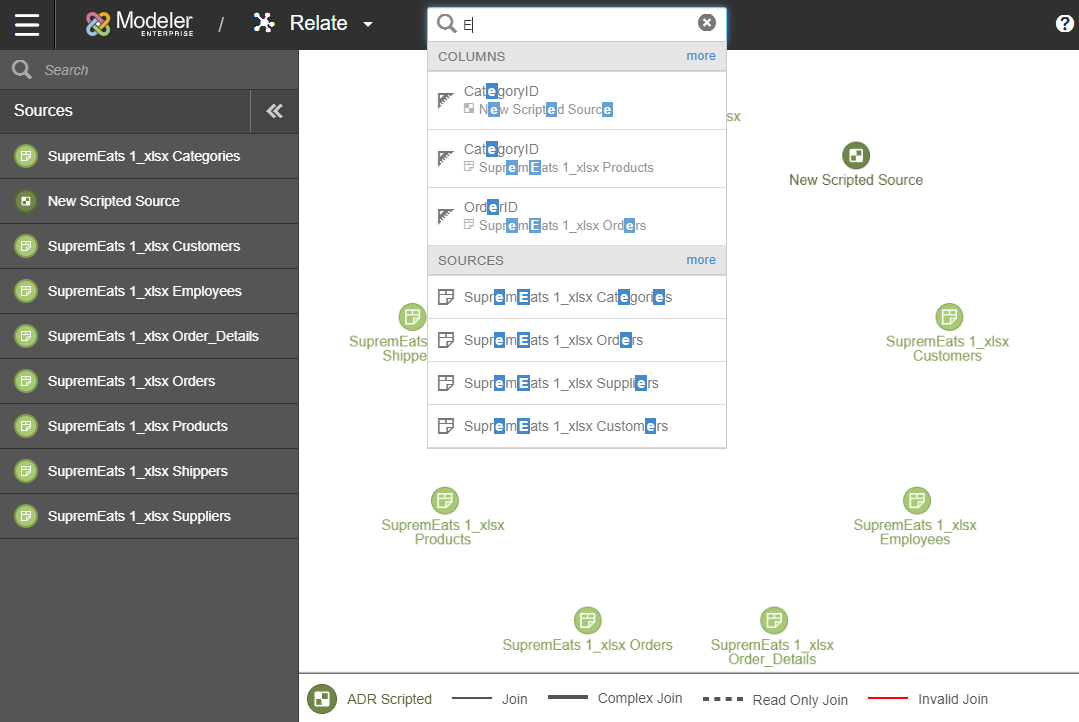
Create Relationships Between Columns
You can easily create a relationship between columns from different sources.
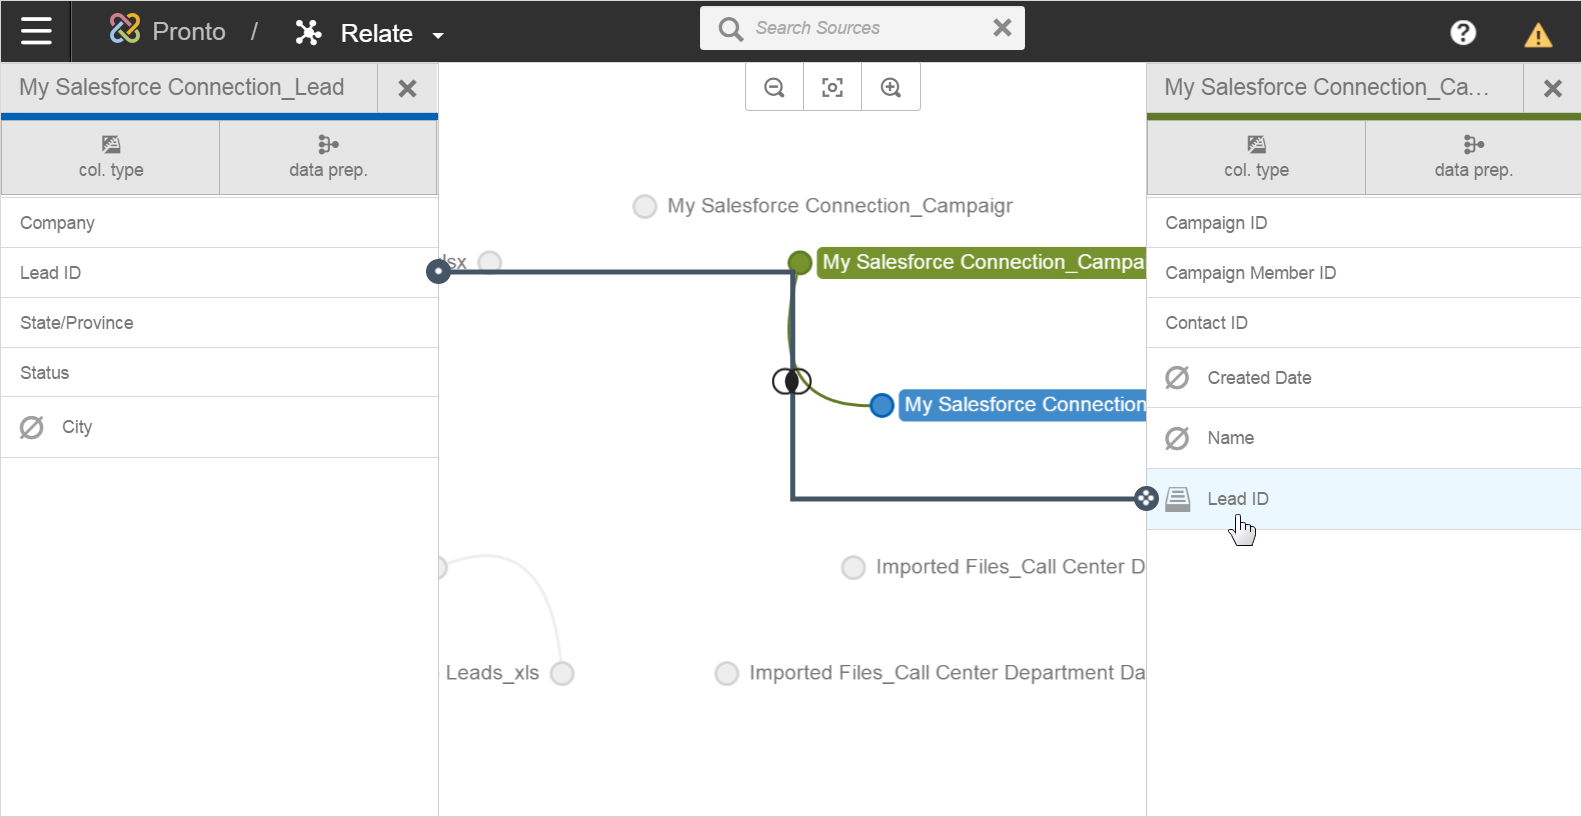
For example, to create a report that shows what leads came from what marketing campaigns you would create a relationship between the CampaignMember and Lead tables. The column that they have in common is the Lead ID column.
In this example, you select the Connection_Lead table and the CampaignMember table. Modeler shows the columns from each on the sidebars.
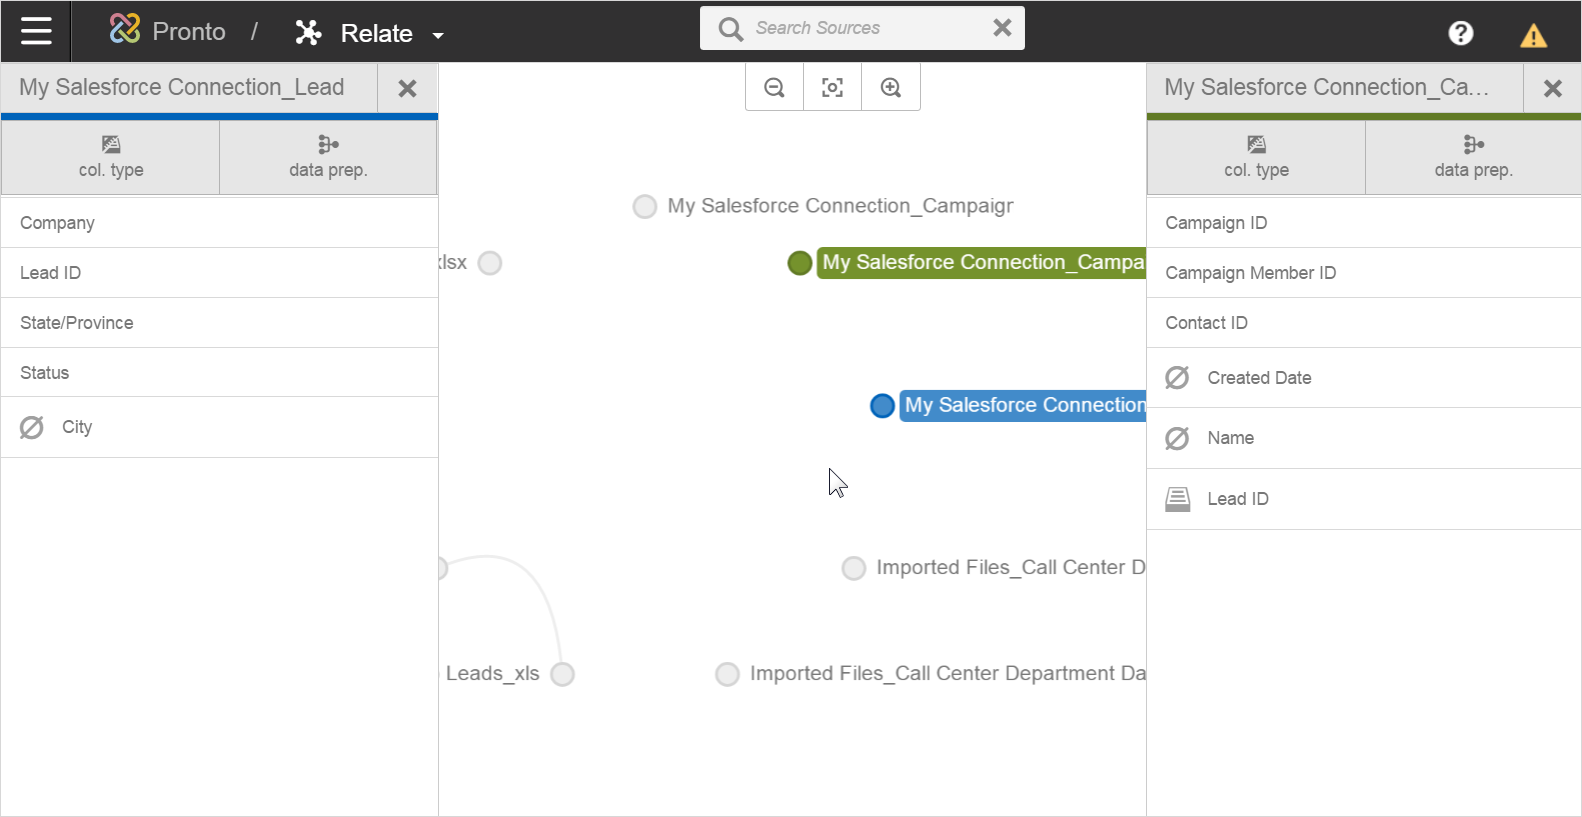
Then you tell Modeler what to use for the join. Select a column from the left; it should be a column that has unique values in every cell, such as an ID column. Modeler grays out the columns on the right that are not going to match, and leaves the ones that may match, based on an automatic analysis of the data.
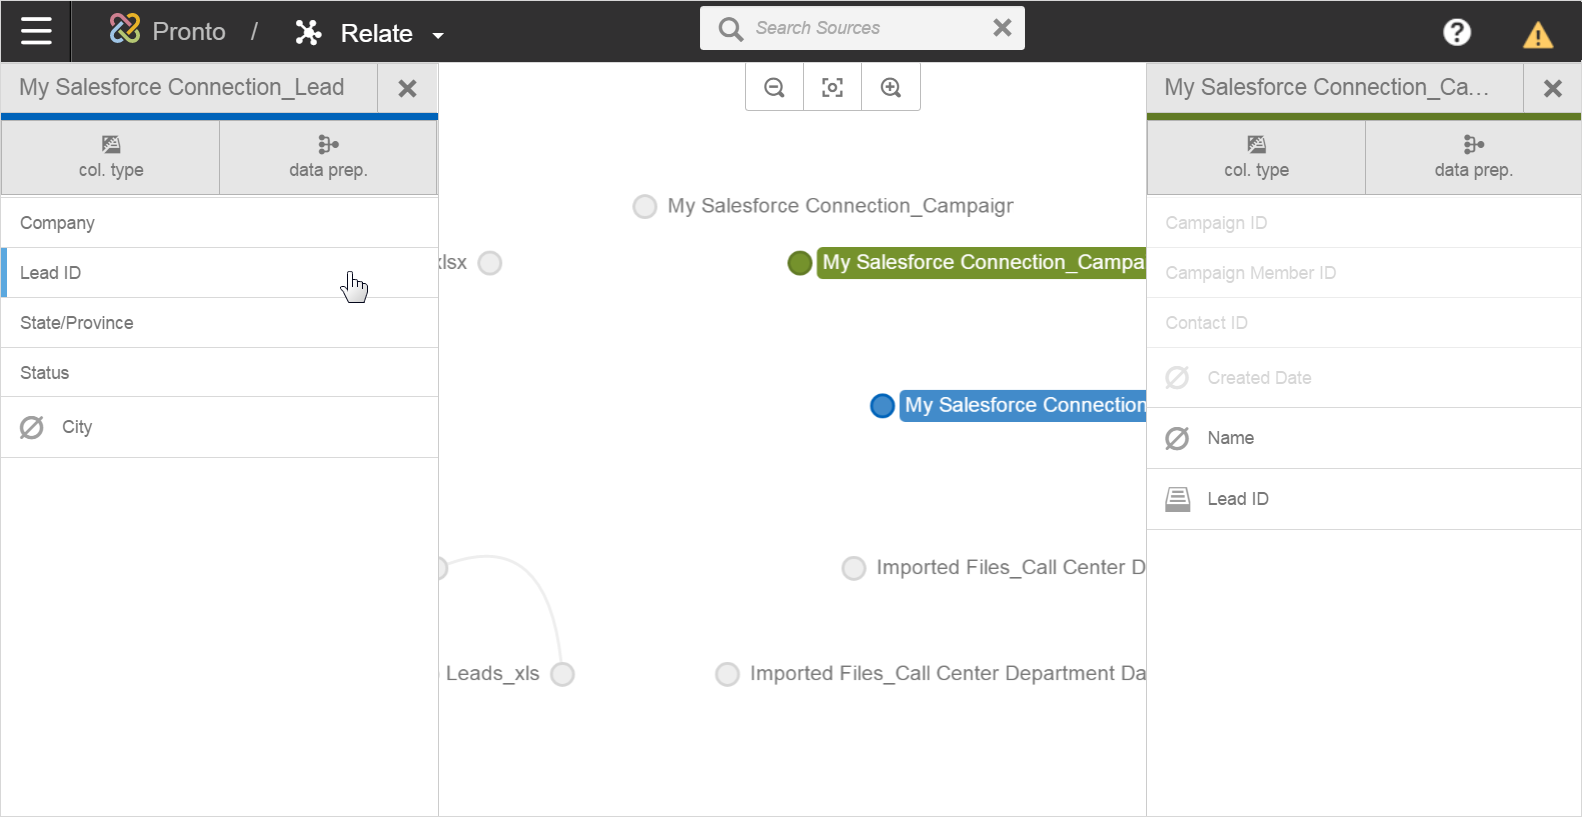
In this case the Lead ID in the CampaignMember table is the best match. When you click it, Modeler creates the relationship (join) and shows it to you.
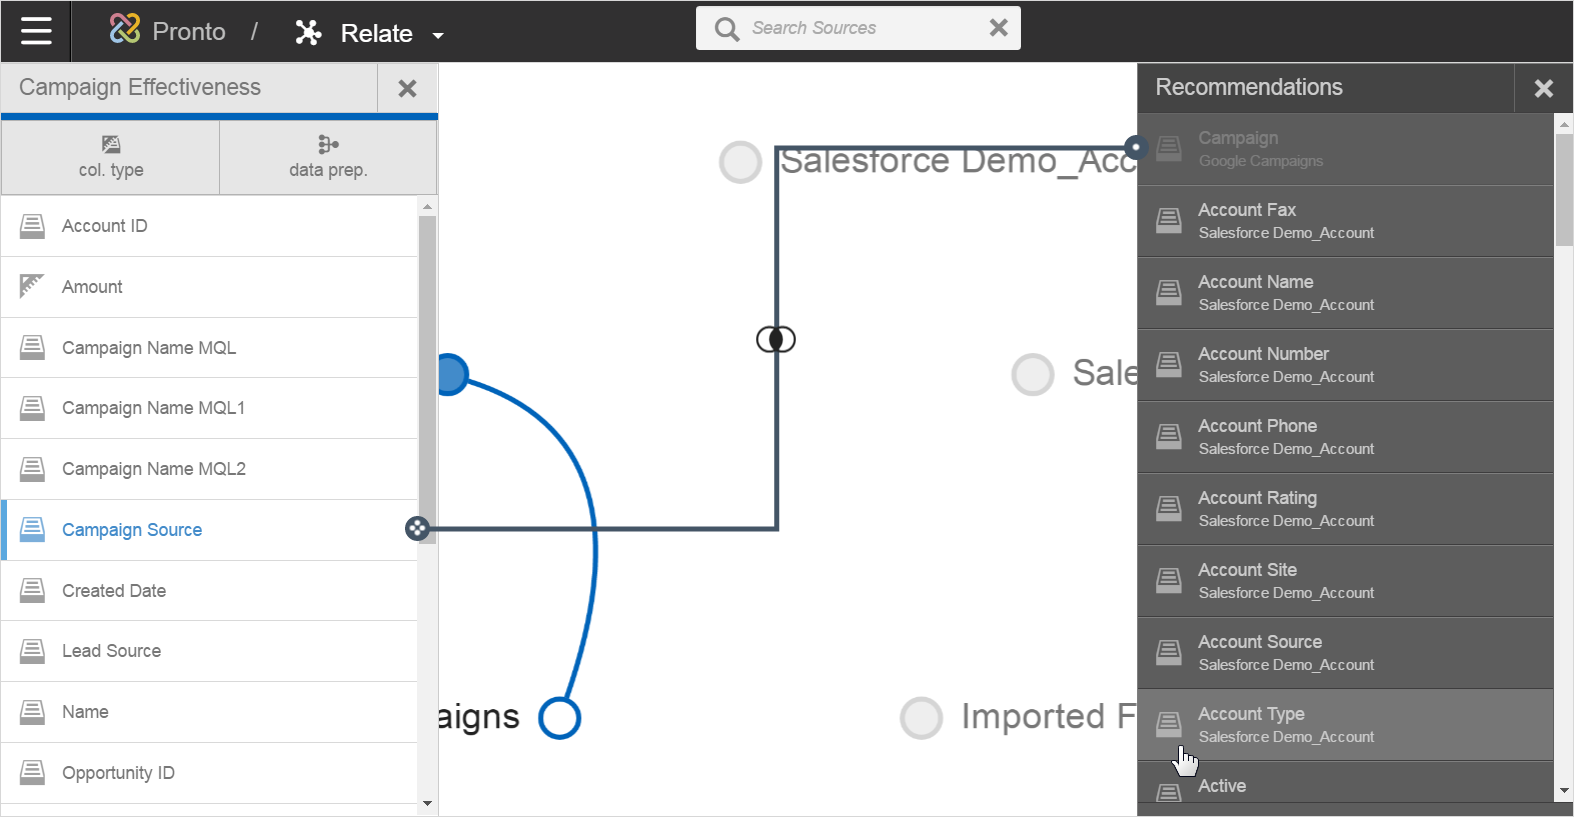
Use the Recommendation Method
Modeler will make suggestions of possible column relationships.
When you click on a column on the left, Modeler gives suggestions for possible joins on the right. These suggestions are based on data types and not on the actual data in the columns. If you select one that doesn't match, Modeler warns you and you can delete it.
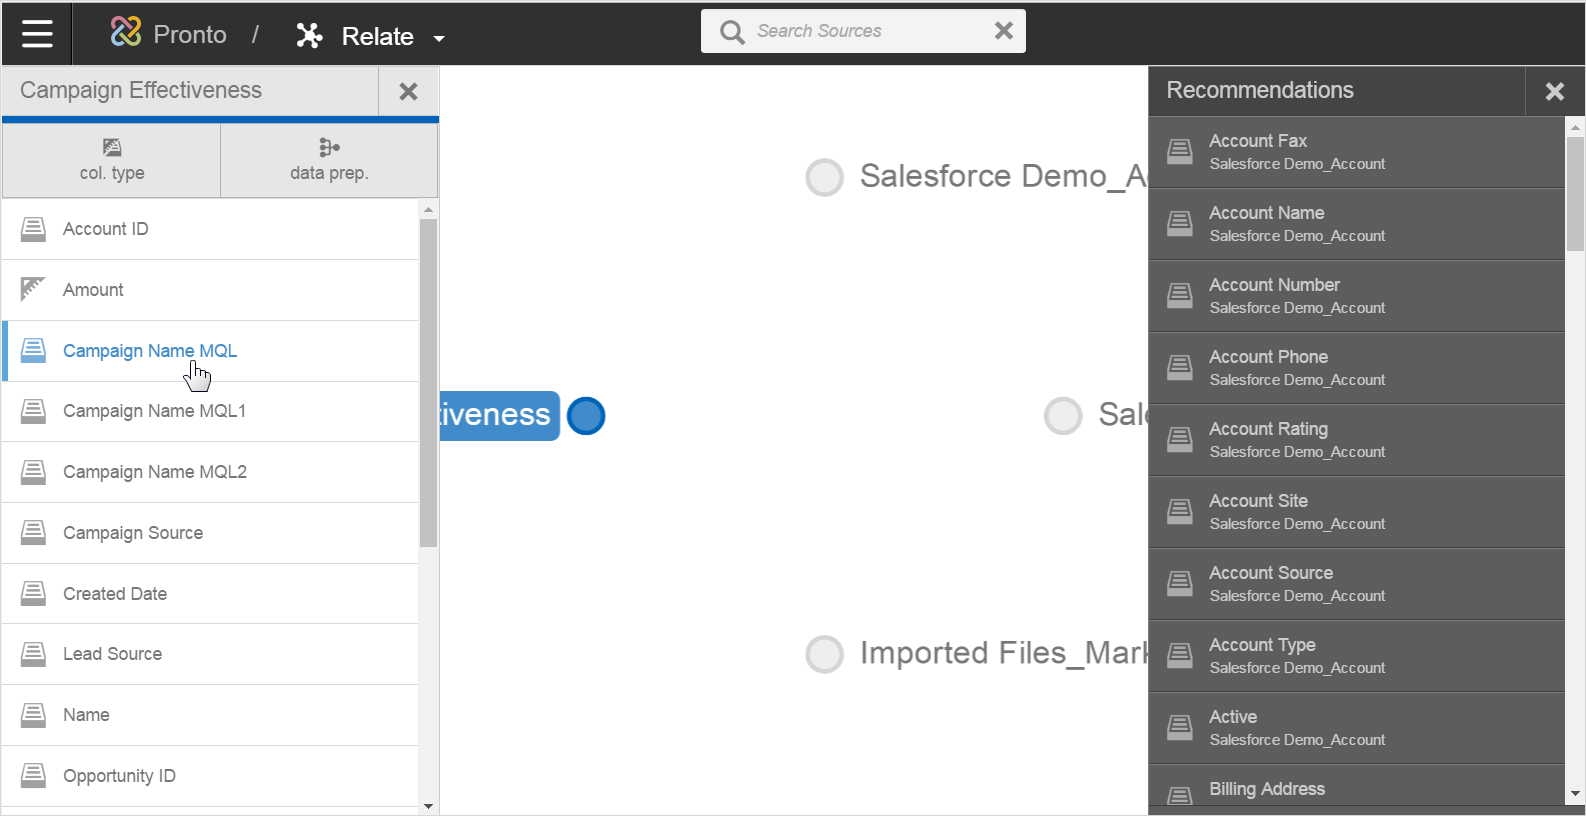
To make a join, drag the join line from a column on the left to the corresponding one on the right.
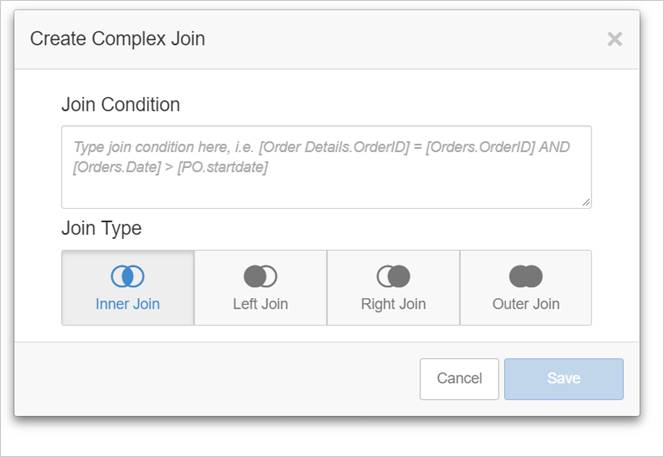
Create a Complex Join
If additional flexibility is needed for a join, use the guided interaction of the “Table Join” along with a query to create a complex join.
To create a complex join:
- Navigate to Modeler - Relate and select a single source to populate recommendations or choose the two sources you wish to join.
- Click Table Join.
- Write the complex join condition in the Join Condition field.
-
The syntax is [logical source name1.logical column name1] [operator] [logical source name2.logical column name2]
-
Example: [Order Details.OrderID] = [Orders.OrderID] AND [Orders.Date] > [PO.startdate]
-
- Select the join type and click Save.
Tip: Hovering over the types of joins will display a brief description of the join capability.
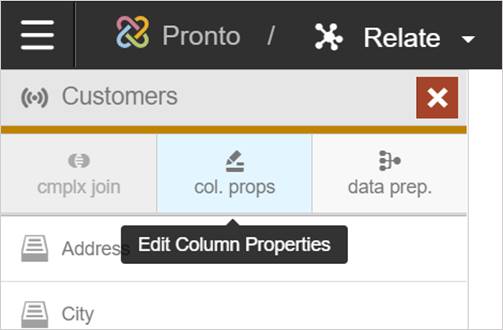
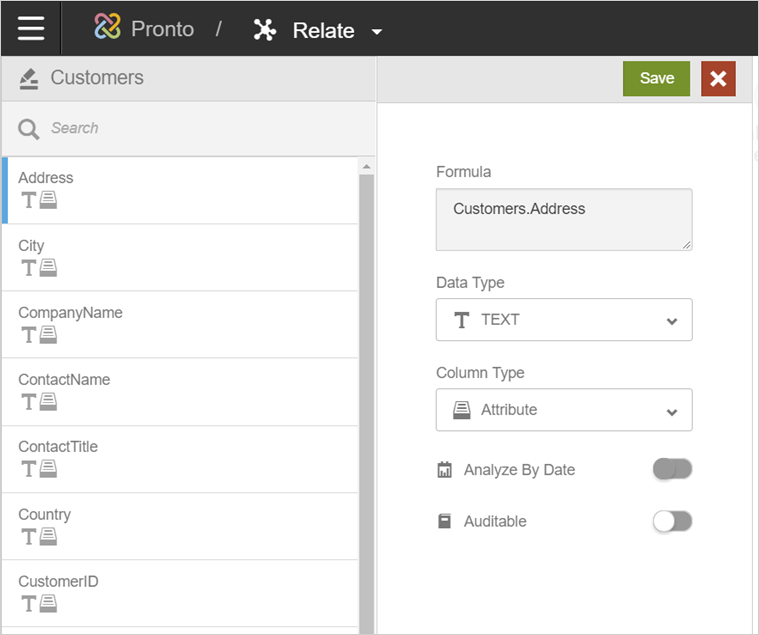
Modify Column Properties
The properties of a single column can be modified for both uploaded and Live Access data sources.
For details on the column properties settings, see Define Column Properties in Modeler.
Some of the column properties settings for raw sources should be handled in the Prepare view.
Next Steps: