Create Hierarchies
Hierarchies define the levels of analysis and aggregation along a dimension. A hierarchy defines multiple levels that describe relationships between attributes, and the attributes that belong to each level. For example, in a Location dimension a hierarchy could be defined as Region - Country - Province - City.
Note: You can only create hierarchies for Enterprise spaces.
A hierarchy and its levels are not linked to a specific data source. Data sources are displayed only to make it easier to find columns that represent the hierarchy level keys. After hierarchies and levels have been set up, if you select a hierarchy or level on the left, the data source that is highlighted in the data source box may not be the original data source that was used to select the level keys, however, the selected source will contain the level key columns that were assigned. The level key columns can be changed as necessary without regard for the data source that is used.
Create Hierarchy
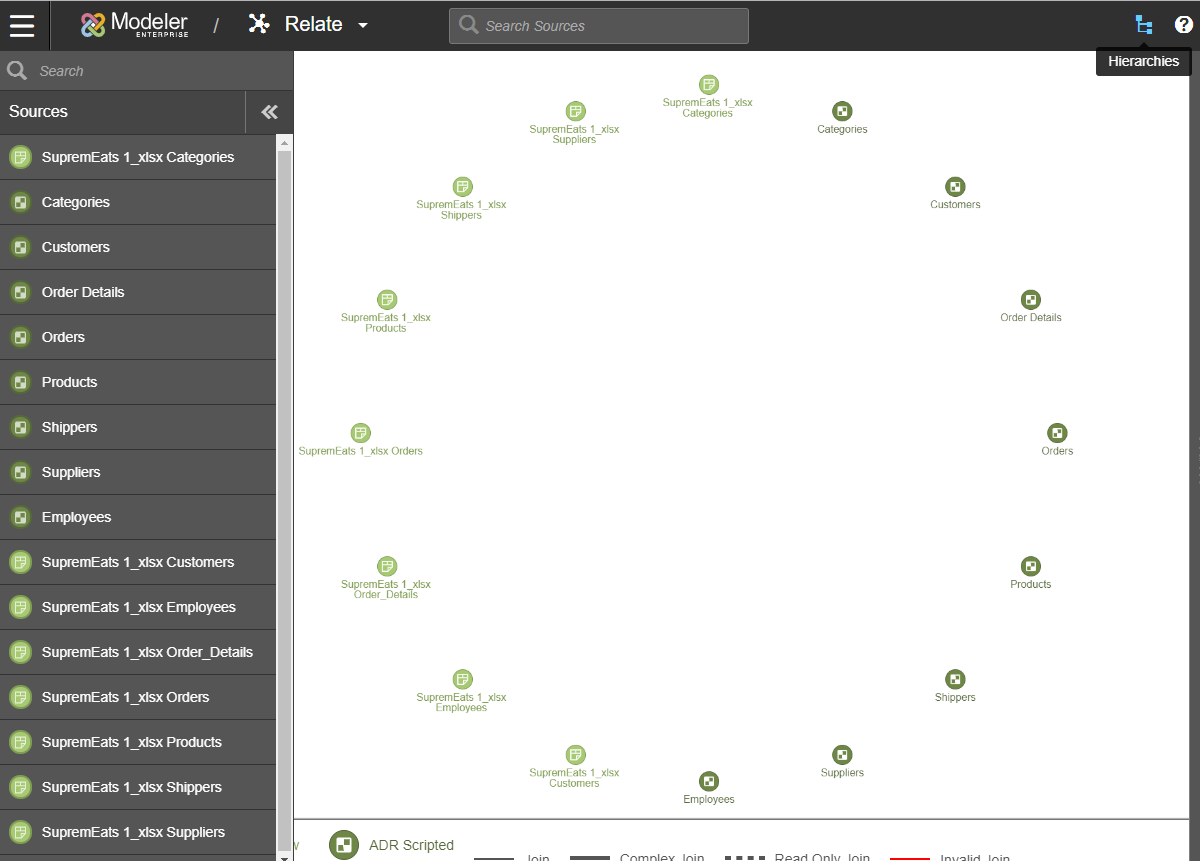
- From Modeler Relate, click the Hierarchies icon.
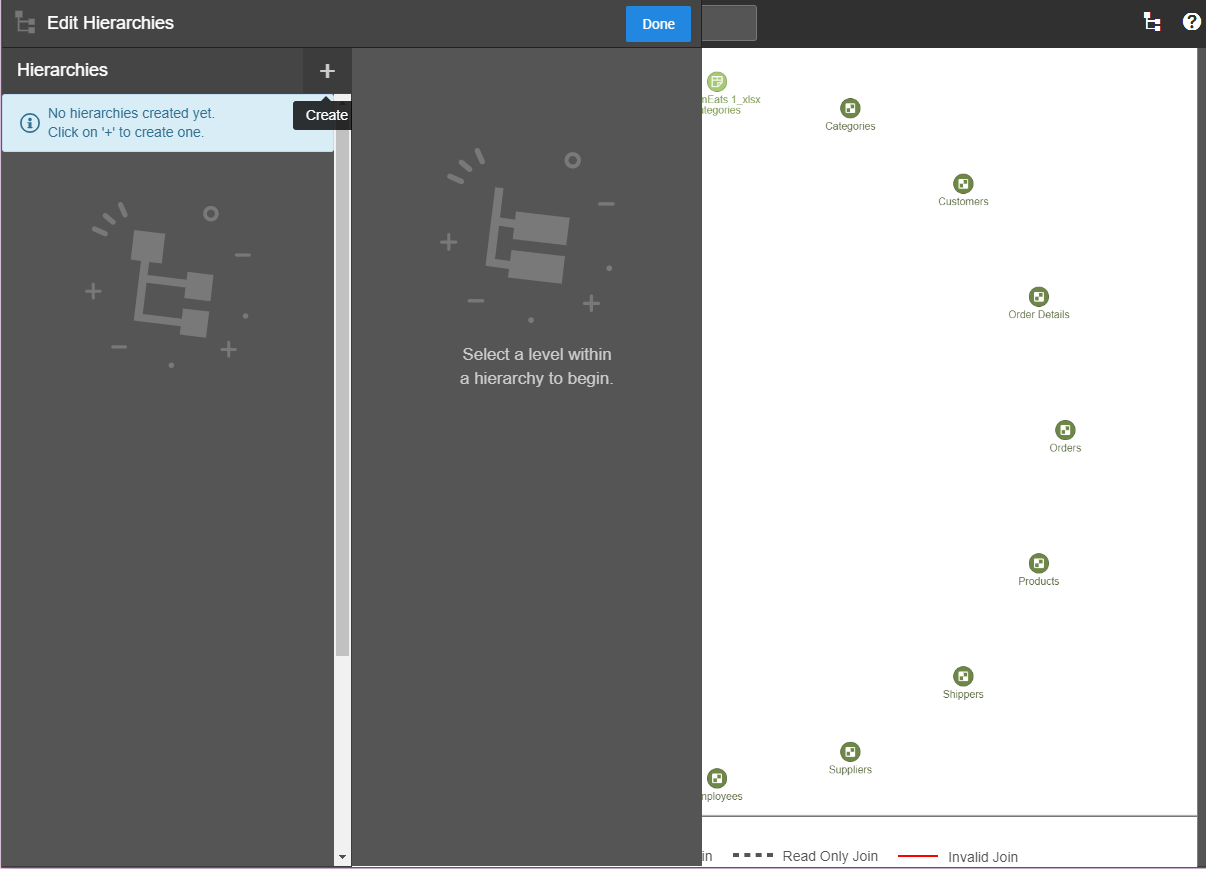
- Click the + Create icon, name the hierarchy, and Save.
- To assign
level keys, use the search and select the hierarchy level. A level key, also called a level key column, is one or more columns of a single dimension in a dimensional hierarchy that uniquely identifies records at that dimension, at that level of the hierarchy.
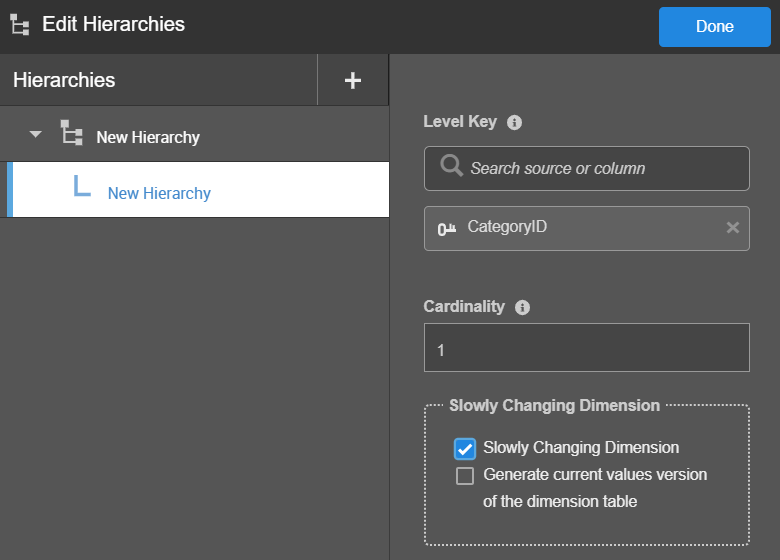
- We recommend setting the level’s cardinality as an estimate for the number of records the level key(s) represent. This does not need to be an exact number. It can be a rough estimate of the order of magnitude for the number of records. This will help the Birst analysis engine determine the lowest cost way to satisfy a request. When multiple options to satisfy a query are available, Birst will always choose the table with lower cardinality.
- Check Slowly Changing Dimension for data that changes over time, rather than changing entirely at one time .When a hierarchy is set to Slowly Changing Dimension, Birst automatically creates two new attributes called Start Date and End Date which will be available in the Subject Area for that hierarchy.
- Select Generate current values version of the dimension table if you would like to create duplicate versions of the attributes tied to this hierarchy with a prefix of Current. This allows a report author to include only the most recent values from the dimension in a report.
- Changes to your hierarchy are saved with each update. Click Done when you are finished.
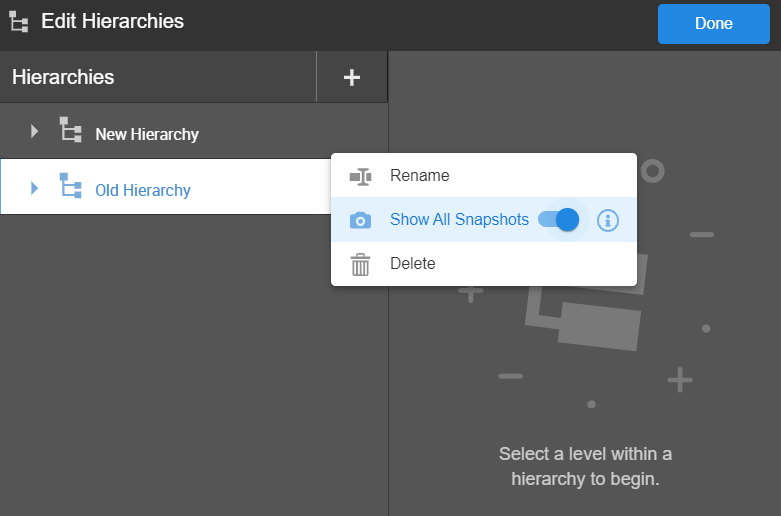
- From the Edit Hierarchies page, click on the hierarchy and select More Options icon.
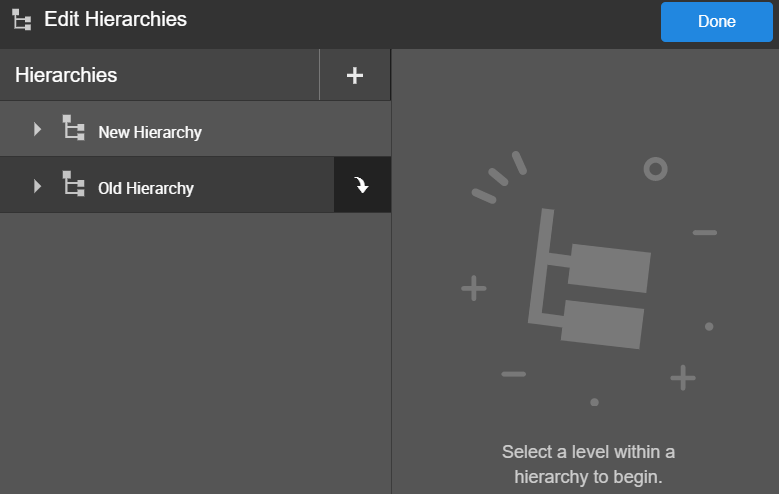
- From this menu, you can Rename, Delete, and enable Show All Snapshots. When enabled, Show All Snapshots runs the query on all the snapshots for the desired dimension.