Creating Custom Measures
Custom measures are measures that you define in the data model by applying a formula to one or more base measures from the same data grain.
Important: Custom measures are not supported for Live Access sources.
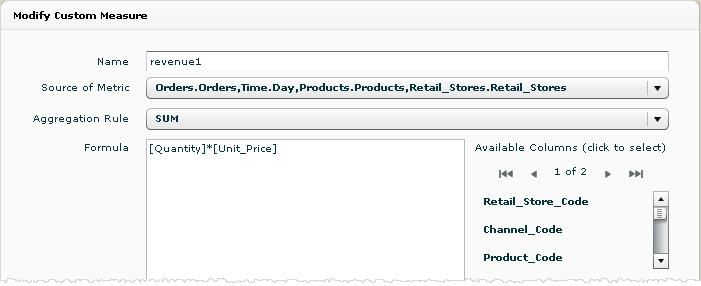
A common use for custom measures is to calculate a third measure from two base measures. For example, to calculate revenue from quantity and unit price:
[Quantity]*[Unit_Price]
Tip: The syntax for custom measure formulas is similar to BQL but not the same. The Custom Measures dialog adds the dimension and aggregation syntax behind the scenes. See Formula Grammar for Custom Attributes and Measures.
Another use of a custom measure is to find the difference between two dates. The dates must be measures, not attributes. For example, to calculate the the difference between the order and shipped date:
DATEDIFF(DAY,[OrderDate],[ShippedDate])
Custom formulas execute at the data tier (pre-aggregation) and the custom measures become available in the subject areas of Designer and Visualizer. See Pre-Aggregation vs. Post-Aggregation Calculations.
You can pass prompt filters and values to custom formulas. See Passing Prompt Filters and Values to Expressions and Custom Formulas for information.
To create a custom measure
- Go to Admin - Customize Space - Custom Measures.
- Click Create. The Add Custom Measure dialog box opens.
- Type a name for the new custom measure.
- Select a grain to use as the source of the metric.
- Select an aggregation rule. The aggregation rule determines how the custom metric is aggregated at higher levels. For example, SUM determines that the values of the custom metric are added together at levels above the grain.
- In the Formula
field, enter the formula for the new custom metric. See Formula
Grammar for Custom Attributes and Measures. To the right of the
Formula text box you can select columns to use in the formula.
- Click OK.
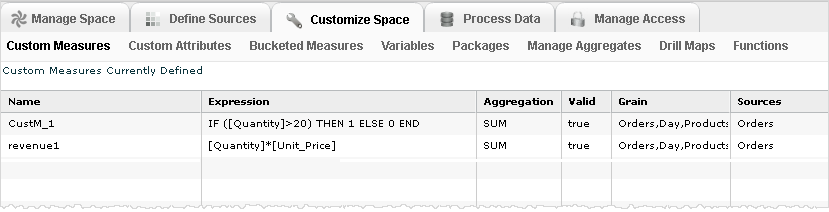
The Custom Measures tab lists the new custom measure.
Tip: To modify or delete a custom measure, select the custom measure and click either Modify or Delete. - The new measure becomes available for reports.
Tip: In some cases you need to process the data at Admin - Process Data to make them available in the Subject Area of Designer and Visualizer.
You can add them to a report, for example in Visualizer.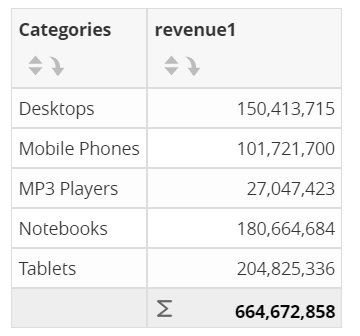
See Also
Creating Custom Attributes
Functions
and Grammar for Custom Attributes and Measures
Custom Measures vs.
Custom Expressions
Pre-Aggregation
vs. Post-Aggregation Calculations
Passing
Prompt Filters and Values to Expressions and Custom Formulas